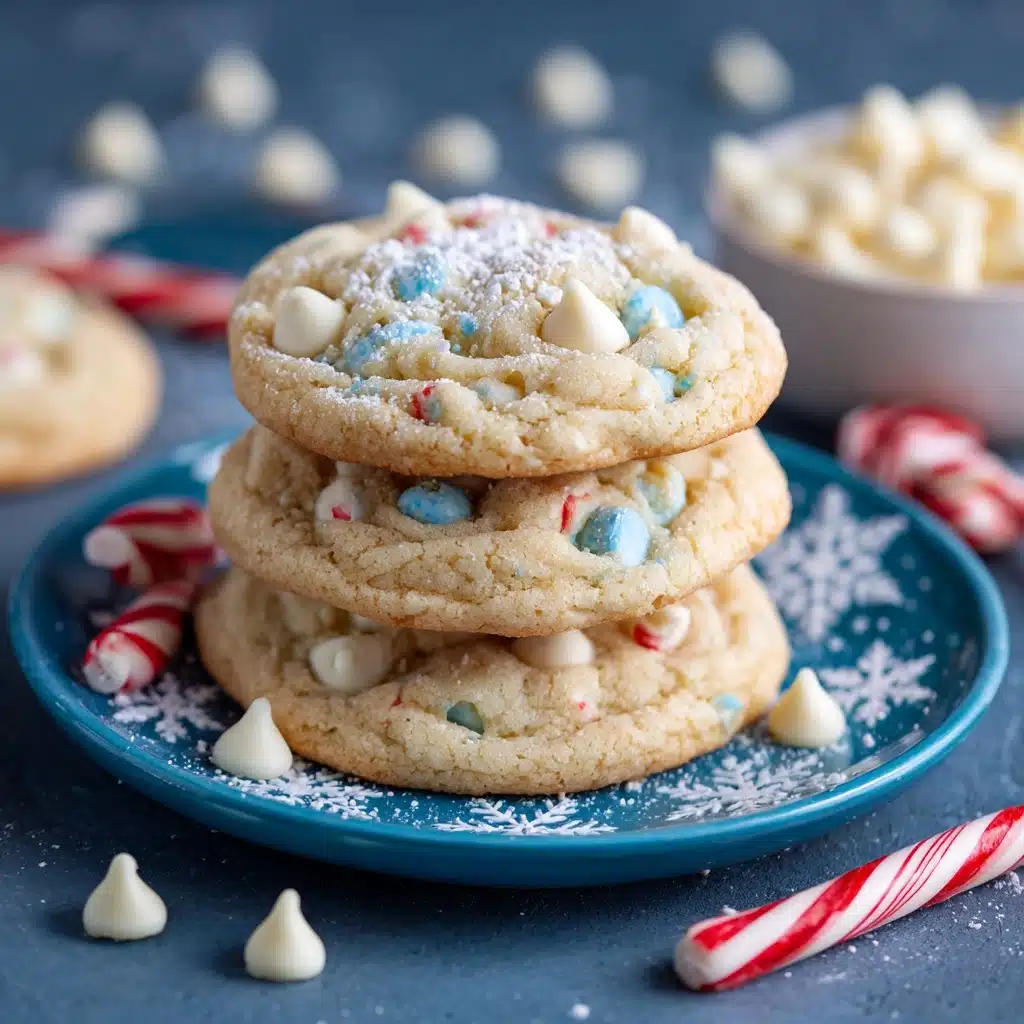
If you’re on the hunt for a cookie that captures the frosty sparkle and pure comfort of the holidays, Winter Blizzard Cookies are about to become your new tradition. These beauties are a dreamy mix of buttery dough, snowy coconut, creamy white chocolate, and a blizzard of peppermint crunch. Every bite is soft, gently sweet, and dazzling with wintry flavor—like a cozy snow day in cookie form. Whether you’re baking for a cookie swap, holiday party, or just to warm up a chilly afternoon, Winter Blizzard Cookies bring a festive cheer that never fails to make people smile.

Ingredients You’ll Need
The magic of Winter Blizzard Cookies lies in a handful of pantry staples, each with a special role to play. From rich butter to a swirl of vanilla, every ingredient brings its own touch—whether it’s flavor, tenderness, or that irresistible wintery sparkle. Here’s what you’ll need for your own batch:
- Unsalted Butter (1 cup, softened): Creates a rich, tender base and helps the cookies bake up soft and chewy.
- Granulated Sugar (3/4 cup): Adds sweetness and helps the cookies spread just the right amount in the oven.
- Powdered Sugar (1/2 cup, plus extra for dusting): Gives the cookies a fine, delicate crumb and a pretty snowy finish.
- Large Eggs (2): Bind everything together and add richness for a soft, cake-like texture.
- Vanilla Extract (2 teaspoons): Rounds out the flavor and adds warmth that ties all the wintry notes together.
- All-Purpose Flour (2 1/4 cups): The structure of the cookies; measure carefully for a tender bite.
- Baking Soda (1/2 teaspoon): Lifts the dough just enough for a pillowy cookie.
- Salt (1/2 teaspoon): Balances the sweetness and brings out the flavors of the other ingredients.
- White Chocolate Chips (1 cup): Melty pockets of creamy sweetness, perfectly complementing the cool peppermint.
- Sweetened Shredded Coconut (1/2 cup): Adds a snowy look, chewy texture, and subtle tropical sweetness.
- Crushed Peppermint Candies or Candy Canes (1/2 cup): Lends a festive crunch and bright, refreshing flavor.
How to Make Winter Blizzard Cookies
Step 1: Prep Your Baking Tools
Start by preheating your oven to 350°F (175°C) and lining a baking sheet with parchment paper. This simple step keeps your cookies from sticking and makes cleanup a breeze—always a win in my book!
Step 2: Cream the Butter and Sugars
In a large bowl, beat together the softened unsalted butter, granulated sugar, and powdered sugar. Take your time here; creaming until the mixture is light and fluffy gives your Winter Blizzard Cookies their signature tender texture.
Step 3: Add Eggs and Vanilla
Crack in the eggs one at a time, mixing well after each addition. Then pour in the vanilla extract, swirling in that comforting aroma. The dough should be creamy and smooth at this stage—almost too tempting not to taste!
Step 4: Combine Dry Ingredients
In a separate bowl, whisk together the all-purpose flour, baking soda, and salt. This little step ensures even distribution of the leavening and salt, so every cookie rises and tastes just right.
Step 5: Mix Wet and Dry Together
Gradually add your dry mixture into the wet ingredients, mixing gently until just combined. Be careful not to overmix—stir until you no longer see streaks of flour. This keeps your Winter Blizzard Cookies tender, not tough.
Step 6: Fold in the Magic
Gently fold in the white chocolate chips, sweetened shredded coconut, and crushed peppermint candies. Each addition brings a burst of flavor and that unmistakable blizzard effect—don’t skimp on the mix-ins!
Step 7: Scoop and Bake
Scoop tablespoon-sized portions of dough onto your prepared baking sheet, spacing them about 2 inches apart. Bake for 10 to 12 minutes, or until the edges are just turning golden and the centers still look a little soft. That’s the secret to a perfectly chewy cookie!
Step 8: Cool and Finish
Let the cookies cool on the pan for 5 minutes, then transfer them to a wire rack. If you like, finish with a dusting of extra powdered sugar for a snowy, festive look. Now comes the hardest part—waiting for them to cool enough to eat!
How to Serve Winter Blizzard Cookies

Garnishes
A dusting of powdered sugar turns Winter Blizzard Cookies into edible snowdrifts, while a drizzle of melted white chocolate adds a decadent touch. For extra sparkle, sprinkle more crushed peppermint on top before the chocolate sets—so pretty and irresistibly festive!
Side Dishes
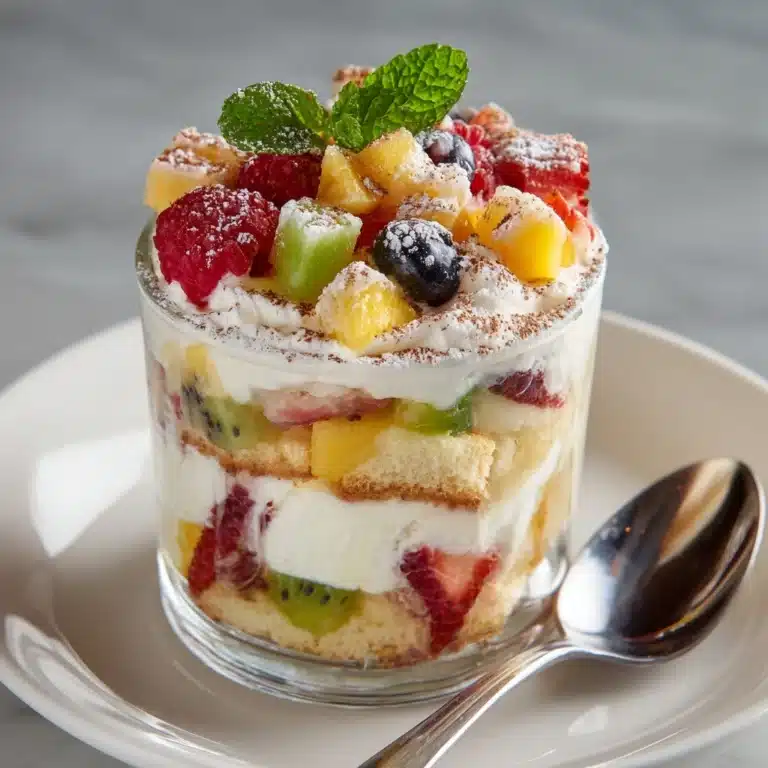
These cookies are dreamy with a mug of hot cocoa or creamy eggnog. If you want to go all out, serve them alongside a scoop of vanilla ice cream or a bowl of fresh berries for a bright, refreshing contrast to their rich sweetness.
Creative Ways to Present
Pile Winter Blizzard Cookies high on a tiered cake stand or arrange them in a rustic basket lined with a red-and-white napkin for a holiday dessert table. For gifts, tuck a few into cellophane bags tied with ribbon or layer them in a festive cookie tin—guaranteed to make anyone’s day a little bit brighter.
Make Ahead and Storage
Storing Leftovers
Keep any leftover Winter Blizzard Cookies in an airtight container at room temperature for up to four days. They stay soft and flavorful, making them perfect for nibbling all week long. If you like them extra chewy, pop a slice of bread into the container to maintain that just-baked texture.
Freezing
Winter Blizzard Cookies freeze beautifully! Once cooled, layer them between sheets of parchment paper in a freezer-safe container. They’ll keep for up to two months—just thaw at room temperature when you’re ready for a sweet winter treat at a moment’s notice.
Reheating
To enjoy that freshly-baked warmth, pop a few cookies in a 300°F (150°C) oven for 3–4 minutes or microwave for about 10 seconds. This brings back the gooey white chocolate and makes the peppermint aroma dance through your kitchen all over again.
FAQs
Can I make Winter Blizzard Cookies ahead of time for a party?
Absolutely! These cookies are perfect for making in advance. Bake them a day or two ahead and store at room temperature, or freeze them and thaw right before your event. They taste just as magical as the day they’re baked.
What’s the best way to crush peppermint candies?
Place the candies or candy canes in a sturdy zip-top bag and use a rolling pin or heavy pan to gently crush them. Aim for small pieces—too fine and they’ll melt into the dough, too large and they’ll be hard to bite!
Can I use unsweetened coconut instead of sweetened?
You can, but the cookies won’t be quite as sweet and the texture will be a bit drier. If you do swap to unsweetened coconut, consider adding an extra tablespoon of sugar to balance the flavors.
How do I keep the cookies from spreading too much?
If you prefer thicker cookies, chill the dough in the refrigerator for 30 minutes before baking. This helps the butter firm up and keeps your Winter Blizzard Cookies tall and chewy.
Are Winter Blizzard Cookies kid-friendly?
Definitely! Kids love the snowy look and the sweet, minty flavor. Just be mindful if serving to little ones, as the candy pieces can be crunchy. You can always use slightly smaller peppermint bits for a gentler texture.
Final Thoughts
There’s something truly special about baking a batch of Winter Blizzard Cookies—the kitchen fills with peppermint and vanilla, and suddenly it feels like the holidays, no matter what the calendar says. I hope you’ll give these magical cookies a try and share them with the people you love. Happy baking, and may your cookie jar never be empty!
Print
Winter Blizzard Cookies Recipe
- Total Time: 27 minutes
- Yield: 24 cookies 1x
- Diet: Vegetarian
Description
Winter Blizzard Cookies are festive, soft-baked treats bursting with white chocolate, peppermint, and a hint of coconut. Perfect for holiday celebrations or cozy winter afternoons, these cookies combine a tender buttery base with the refreshing crunch of crushed candy canes, delivering a delightful seasonal flavor that’s both sweet and minty.
Ingredients
Wet Ingredients
- 1 cup unsalted butter (softened)
- 3/4 cup granulated sugar
- 1/2 cup powdered sugar
- 2 large eggs
- 2 teaspoons vanilla extract
Dry Ingredients
- 2 1/4 cups all-purpose flour
- 1/2 teaspoon baking soda
- 1/2 teaspoon salt
Add-ins
- 1 cup white chocolate chips
- 1/2 cup sweetened shredded coconut
- 1/2 cup crushed peppermint candies or candy canes
- Extra powdered sugar for dusting (optional)
Instructions
- Preheat and Prepare: Preheat the oven to 350°F (175°C) and line a baking sheet with parchment paper to prevent sticking and ensure even baking.
- Cream Butter and Sugars: In a large bowl, cream the softened butter, granulated sugar, and powdered sugar together until light and fluffy, which helps create a tender cookie texture.
- Add Eggs and Vanilla: Add the eggs one at a time to the butter mixture, beating well after each addition, then mix in the vanilla extract for flavor.
- Mix Dry Ingredients: In a separate bowl, whisk together the all-purpose flour, baking soda, and salt to evenly distribute the leavening agents and seasonings.
- Combine Wet and Dry: Gradually add the dry ingredients to the wet ingredients, mixing until just combined to avoid overworking the dough which can toughen cookies.
- Fold in Add-ins: Gently fold in the white chocolate chips, shredded coconut, and crushed peppermint candies to distribute them evenly throughout the dough.
- Portion Dough: Scoop tablespoon-sized portions of dough onto the prepared baking sheet, spacing them about 2 inches apart to allow spreading during baking.
- Bake: Bake for 10–12 minutes or until the edges are just golden, indicating the cookies are cooked through but remain soft in the center.
- Cool: Let the cookies cool on the baking sheet for 5 minutes to set, then transfer them to a wire rack to cool completely.
- Optional Dusting: Dust the cooled cookies with extra powdered sugar for a festive, snow-like finish.
Notes
- For extra crunch, chill the dough for 30 minutes before baking to prevent spreading and enhance texture.
- These cookies freeze well; store them in an airtight container for up to 2 months to enjoy later.
- Drizzle with melted white chocolate for an elegant, festive look and added sweetness.
- Prep Time: 15 minutes
- Cook Time: 12 minutes
- Category: Dessert
- Method: Baking
- Cuisine: American
Nutrition
- Serving Size: 1 cookie
- Calories: 160
- Sugar: 12g
- Sodium: 85mg
- Fat: 9g
- Saturated Fat: 6g
- Unsaturated Fat: 2.5g
- Trans Fat: 0g
- Carbohydrates: 18g
- Fiber: 0.5g
- Protein: 2g
- Cholesterol: 25mg


