
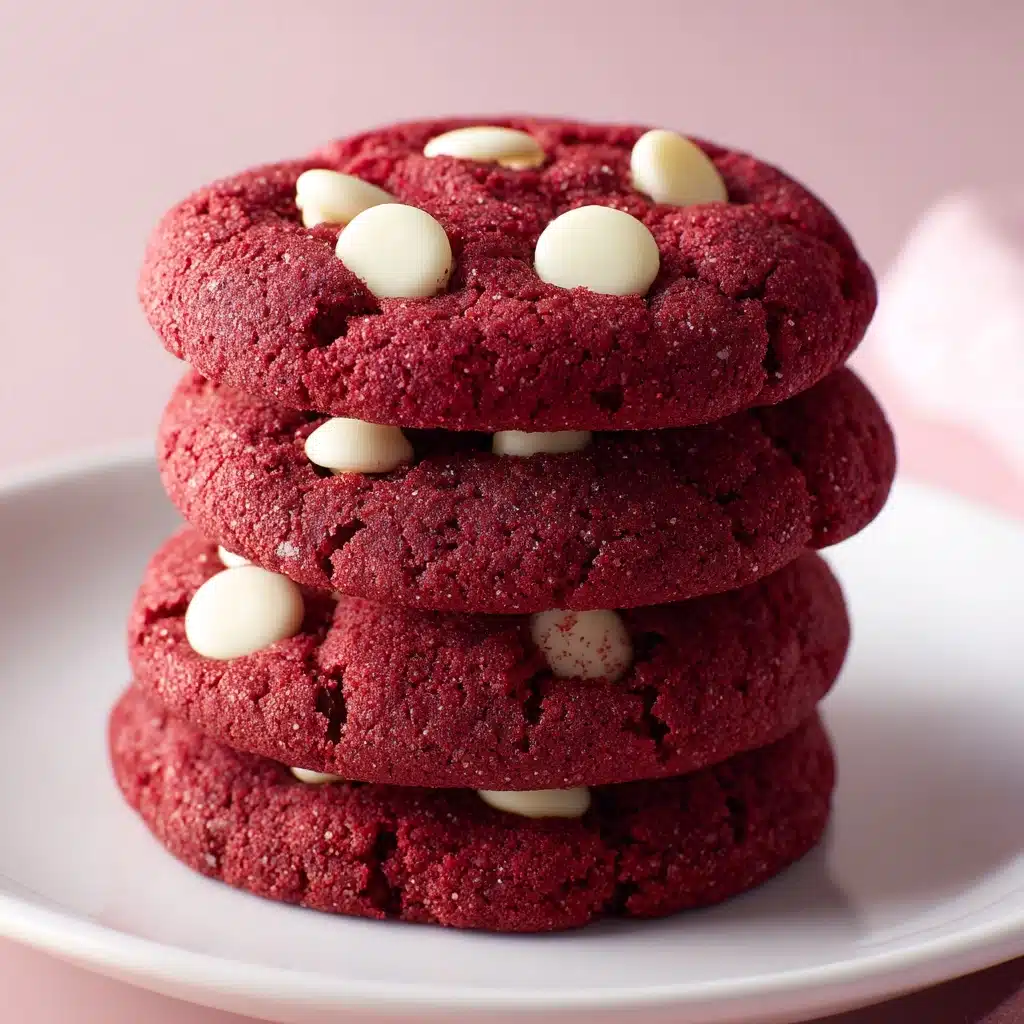
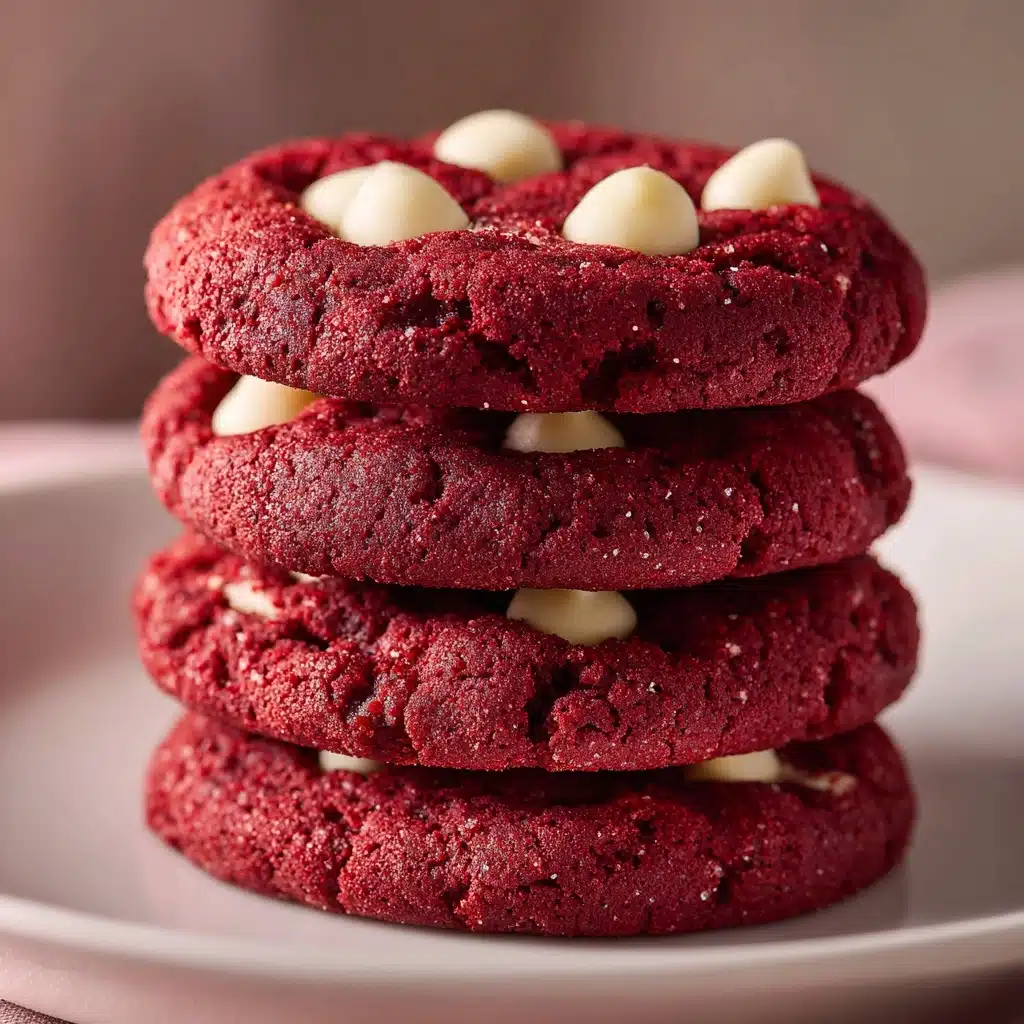
If you’re searching for a show-stopping treat that’s as gorgeous as it is delicious, these Red Velvet Cookies deserve a prime spot in your recipe repertoire. Imagine the classic flavors of red velvet cake — a touch of cocoa and a burst of vanilla — but transformed into soft, chewy cookies with delightful bites of creamy white chocolate. With their signature red hue, these cookies are conversation-starters and crowd-pleasers, perfect for holidays, gatherings, or anytime you crave something truly special.
Ingredients You’ll Need
The magic behind Red Velvet Cookies lies in a handful of simple ingredients. Each one plays an important role, from creating that tender crumb to delivering the vibrant color and rich, chocolatey undertones we all love. Gather these pantry staples, and let’s see what makes these cookies shine!
- Unsalted butter (1/2 cup, softened): This gives your cookies a melt-in-your-mouth richness and helps develop that crave-worthy chewy texture.
- Granulated sugar (3/4 cup): For sweetness and structure, ensuring the right balance of crisp edges and soft centers.
- Brown sugar (1/4 cup): Adds a hint of molasses, bringing extra moisture and depth to every bite.
- Large egg (1): Acts as your binder, giving the cookies lift and a soft, tender crumb.
- Vanilla extract (1 teaspoon): Boosts that classic cake-like flavor and aroma.
- Milk (1 tablespoon): Helps keep the cookies soft and enhances their cakey quality.
- Red food coloring (1 tablespoon): This is what delivers that irresistible, festive color — gel coloring gives the most vibrant results.
- All-purpose flour (1 1/2 cups): The backbone of every cookie, giving structure without making them dense.
- Unsweetened cocoa powder (1/4 cup): A subtle cocoa element, just enough for that iconic red velvet flavor.
- Baking soda (1/2 teaspoon): Ensures a gentle rise, so your cookies are puffed and soft, never flat.
- Salt (1/4 teaspoon): Provides balance, so the rich flavors really pop.
- White chocolate chips (1 cup, optional): For luscious pockets of creamy, sweet contrast in every bite — semi-sweet works great, too!
How to Make Red Velvet Cookies
Step 1: Prep Your Oven and Baking Sheet
Start strong by preheating your oven to 350°F — a crucial detail for consistent baking. Line a baking sheet with parchment paper to prevent sticking and encourage even browning. This simple step makes cleanup a breeze and sets your cookies up for picture-perfect success.
Step 2: Cream the Butter and Sugars
In your largest bowl, combine the softened butter, granulated sugar, and brown sugar. Beat these together until the mixture turns light and fluffy — a sign that air is incorporated, promising tender cookies. Take your time with this step, as it lays the foundation for great texture in your Red Velvet Cookies.
Step 3: Add the Wet Ingredients
Drop in the egg, vanilla extract, milk, and vibrant red food coloring. Mix until everything is wonderfully smooth and the color is evenly blended. This is where the cookies get that classic red velvet hue that everyone adores.
Step 4: Incorporate the Dry Ingredients
Whisk together the all-purpose flour, cocoa powder, baking soda, and salt in a separate bowl. Gradually add this dry mixture to your wet ingredients, combining gently until you have a thick, velvety dough. Don’t overmix — just enough so everything’s incorporated and the dough holds together.
Step 5: Add the Chocolate Chips
Now for the star add-in: fold in those creamy white chocolate chips (or go bold with semi-sweet). Each chip is like a hidden treasure in your Red Velvet Cookies, so make sure they’re evenly distributed for chocolaty goodness in every mouthful.
Step 6: Scoop and Bake
Scoop tablespoon-sized portions of dough onto your prepared baking sheet, leaving about 2 inches between each so they have space to spread. Bake for 10 to 12 minutes, until the edges are set and the centers look just a tad soft — they’ll continue to cook as they cool.
Step 7: Cool and Finish
Let the cookies cool on the baking sheet for about 5 minutes before transferring them to a wire rack. This rest time lets them set up perfectly without becoming dry. For that irresistible bakery-style finish, you can press a few extra chocolate chips onto the tops of the cookies while they’re still warm.
How to Serve Red Velvet Cookies
Garnishes
Give your Red Velvet Cookies an extra flourish by sprinkling a touch of powdered sugar or adding a light drizzle of melted white chocolate on top. For a playful nod to classic red velvet cake, add a dollop of cream cheese frosting or a few chocolate curls just before serving. These little touches make your cookies feel extra-special and ready to impress.
Side Dishes
Nothing pairs better with Red Velvet Cookies than a tall, cold glass of milk or a mug of rich hot chocolate. For an elevated dessert, serve them with fresh berries or a scoop of vanilla ice cream — the creamy, cool contrast is pure bliss. Around the holidays, a cup of eggnog or spiced chai tea adds a festive twist you’ll love.
Creative Ways to Present
These cookies have gorgeous color on their own, but you can make them the star of any dessert table by stacking them in a glass jar, boxing them up with festive ribbon, or arranging them on a beautiful platter with edible rose petals. For parties, sandwich a swirl of cream cheese frosting between two cookies for decadent Red Velvet Cookie Sandwiches everyone will remember.
Make Ahead and Storage
Storing Leftovers
Your freshly baked Red Velvet Cookies will keep beautifully in an airtight container at room temperature for up to five days. Place a piece of parchment or wax paper between layers to keep them looking and tasting their best. Their flavor actually deepens a bit after a day, making them perfect for baking ahead for gatherings.
Freezing
If you want to prep ahead or save some for later, freeze the baked cookies in a freezer-safe bag with the air squeezed out, or freeze the dough in individual scoops. The cookies (or dough) will keep for up to three months — just thaw at room temperature or bake dough balls straight from the freezer, adding a minute or two to the baking time.
Reheating
To refresh your Red Velvet Cookies, warm them in the microwave for about 10 seconds, or place them in a 300°F oven for a few minutes. This will revive their softness and make the chocolate chips wonderfully melty again, as if they just came out of the oven.
FAQs
Can I substitute the white chocolate chips?
Absolutely! Semi-sweet or dark chocolate chips are a fantastic swap, providing a deeper chocolate flavor. You could also try milk chocolate, peanut butter chips, or even no chips at all for a more classic version.
Why did my Red Velvet Cookies turn out flat?
If your cookies spread too much, your butter may have been too soft or melted. Chilling the dough for 30 minutes can help with thicker cookies, especially if your kitchen is warm or you prefer a bakery-style look.
Can I use natural food coloring?
Definitely! Gel-based natural food colorings work well and can give your cookies a lively color without artificial dyes, though the shade may be slightly less vivid than traditional food coloring.
Do I need to refrigerate the dough?
It’s not necessary, but chilling the dough does help create a thicker, chewier Red Velvet Cookie. If you have the time, pop the dough in the fridge for 30 minutes before baking — you’ll notice a subtle difference in texture.
How do I get that crinkle-top look?
To get those gorgeous bakery-style tops, gently press a few extra chocolate chips on top of each dough ball just before (or right after!) baking. Don’t overbake, and let the cookies cool on the sheet for those visually perfect, crackled tops.
Final Thoughts
If you’re ready to wow your friends, family, or just your own tastebuds, give these Red Velvet Cookies a try. They’re every bit as fun to make as they are to eat, and there’s nothing quite like that first soft, chocolatey, red-hued bite to brighten your day.
Print
Red Velvet Cookies Recipe
- Total Time: 27 minutes
- Yield: 20 cookies 1x
- Diet: Vegetarian
Description
Indulge in these soft and chewy Red Velvet Cookies studded with white chocolate chips. Perfect for holiday baking or a sweet Valentine’s Day treat!
Ingredients
Dry Ingredients:
- 1 1/2 cups all-purpose flour
- 1/4 cup unsweetened cocoa powder
- 1/2 teaspoon baking soda
- 1/4 teaspoon salt
Wet Ingredients:
- 1/2 cup unsalted butter (softened)
- 3/4 cup granulated sugar
- 1/4 cup brown sugar
- 1 large egg
- 1 teaspoon vanilla extract
- 1 tablespoon milk
- 1 tablespoon red food coloring
Additional:
- 1 cup white chocolate chips (or semi-sweet, optional)
Instructions
- Preheat the oven: Preheat the oven to 350°F and line a baking sheet with parchment paper.
- Cream the butter and sugars: In a large bowl, cream together the softened butter, granulated sugar, and brown sugar until light and fluffy.
- Add wet ingredients: Mix in the egg, vanilla extract, milk, and red food coloring until well combined.
- Combine dry ingredients: In a separate bowl, whisk together the flour, cocoa powder, baking soda, and salt. Gradually add to the wet mixture.
- Optional: Fold in white chocolate chips.
- Bake: Scoop dough onto the baking sheet and bake for 10–12 minutes.
- Cool: Let the cookies cool on the baking sheet for 5 minutes before transferring to a wire rack.
Notes
- For a bakery-style look, press a few extra chocolate chips on top of the cookies right after baking.
- Chill the dough for 30 minutes for a thicker cookie.
- Prep Time: 15 minutes
- Cook Time: 12 minutes
- Category: Dessert
- Method: Baking
- Cuisine: American
Nutrition
- Serving Size: 1 cookie
- Calories: 140
- Sugar: 11g
- Sodium: 90mg
- Fat: 7g
- Saturated Fat: 4g
- Unsaturated Fat: 2g
- Trans Fat: 0g
- Carbohydrates: 18g
- Fiber: 1g
- Protein: 2g
- Cholesterol: 25mg


