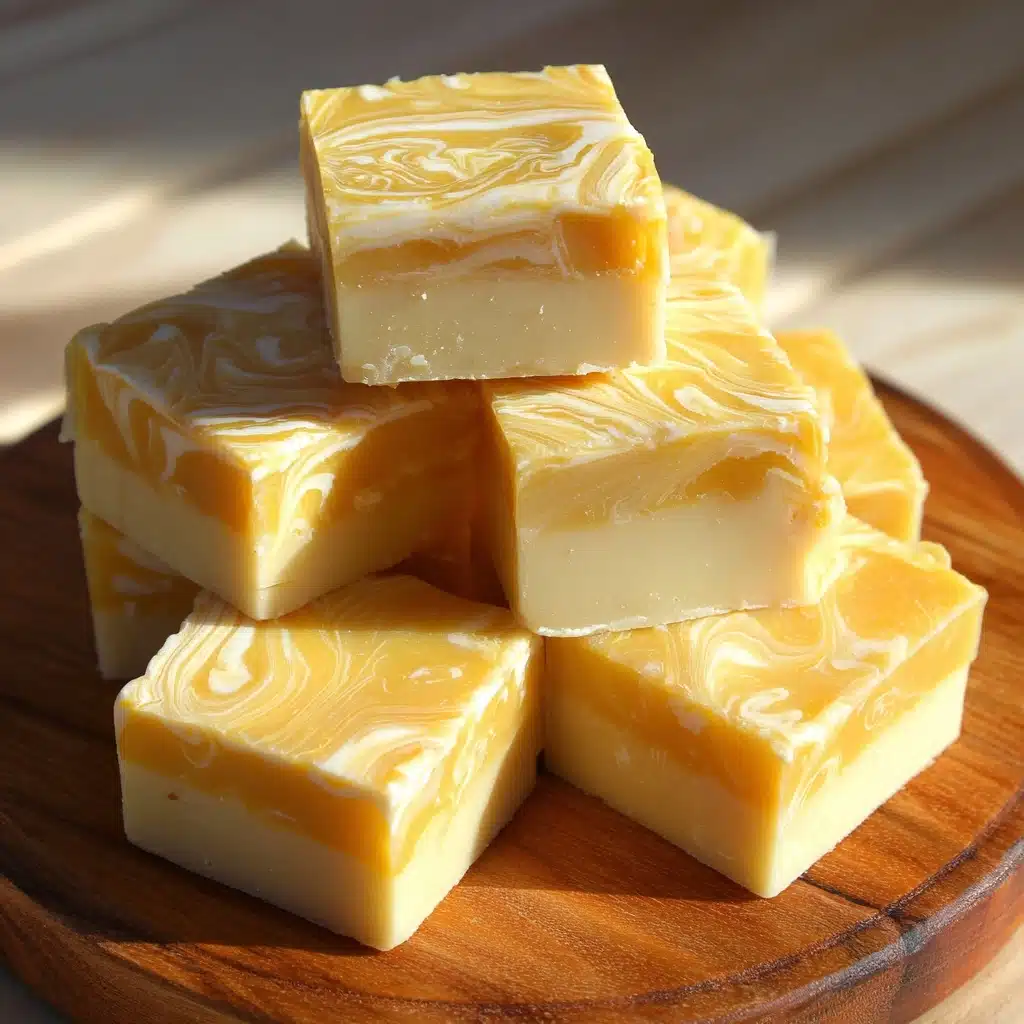
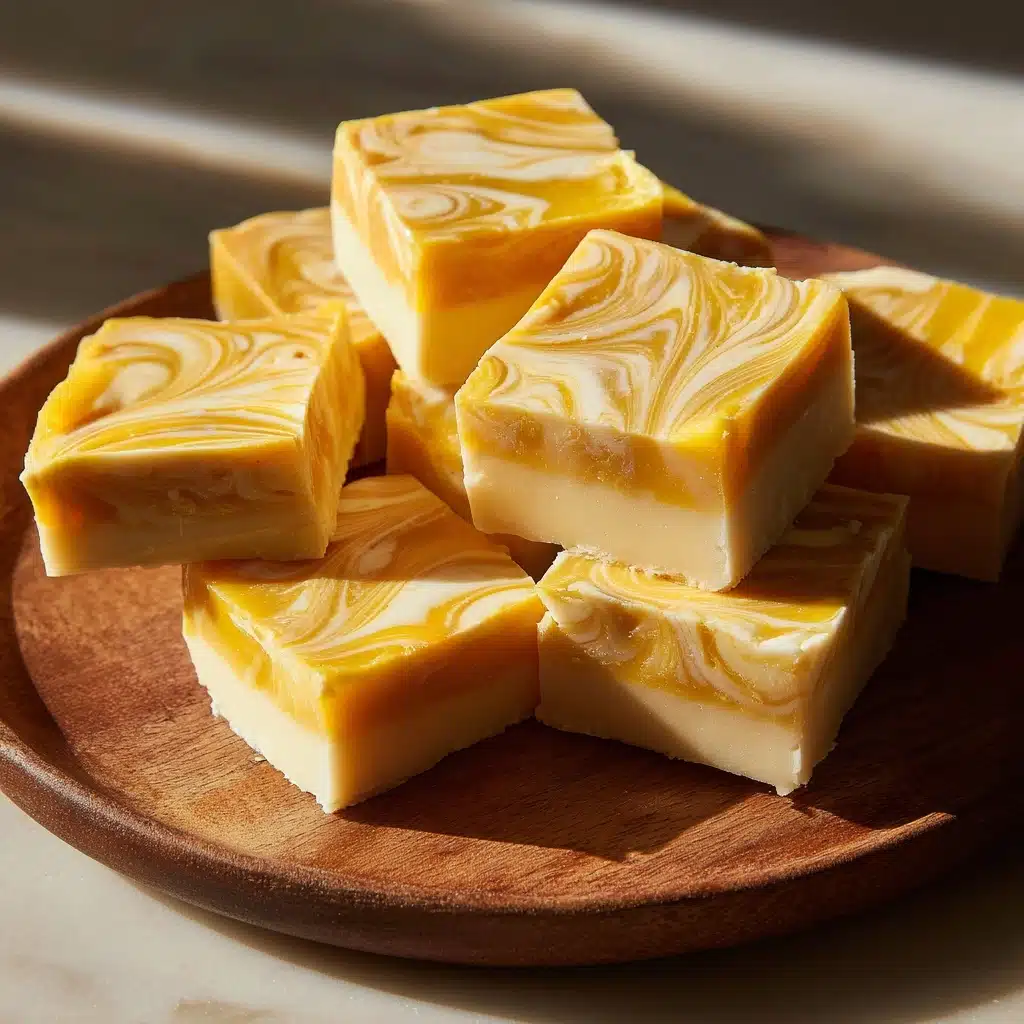
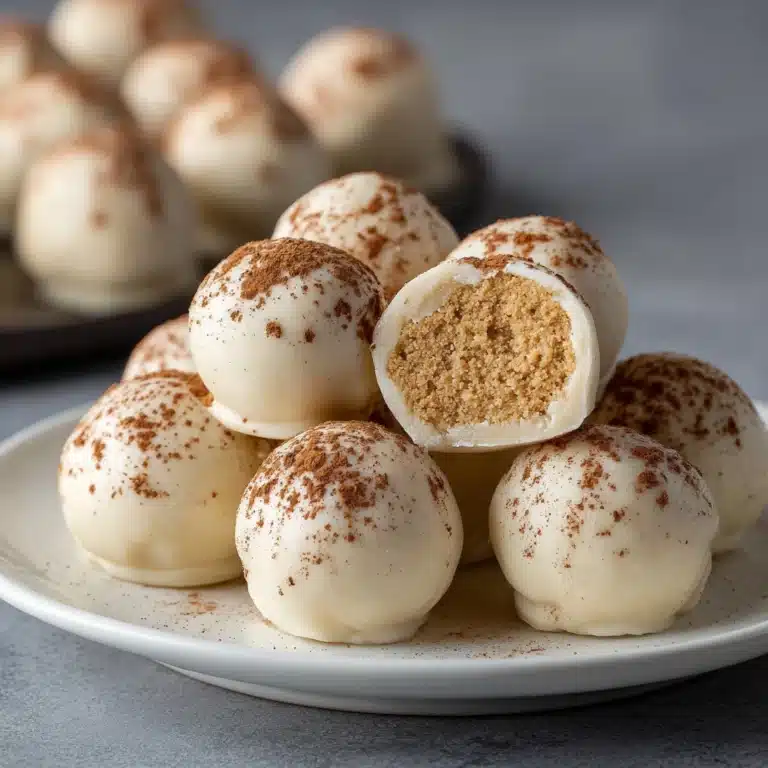
Get ready to brighten your day with this Orange Dreamsicle Fudge, a nostalgic, creamy treat that tastes like sunshine in every bite. If you’ve ever loved those frosty orange-and-vanilla pops from childhood, just imagine all that citrusy zing and creamy sweetness packed into a luscious, melt-in-your-mouth fudge. This recipe is a breeze to make, doesn’t require any fancy equipment, and the gorgeous swirled orange-and-white layers make it the showstopper of any dessert table. It’s every bit as dreamy as it sounds, and I promise you’ll be tempted to sneak a piece every time you pass the fridge!
Ingredients You’ll Need
Simplicity is at the heart of this recipe, and each ingredient really pulls its weight in flavor, texture, or that signature color. These pantry staples come together quickly, but each one has a specific role in helping Orange Dreamsicle Fudge achieve its irresistible taste and beautiful appearance.
- White chocolate chips: The creamy backbone of the fudge, giving it that velvety texture and rich taste.
- Sweetened condensed milk: Sweet, thick, and magical—it’s what makes the fudge extra smooth and just the right amount of sweet.
- Unsalted butter: Just a bit for glossy texture and indulgent mouthfeel.
- Orange-flavored gelatin (Jell-O): Infuses vibrant citrus flavor and brings that signature orange dreamsicle color.
- Orange extract (optional): Cranks up the orange essence for an even more nostalgic, juicy flavor.
- Vanilla extract: Rounds out the flavor, adding classic creaminess in every bite.
- Orange food coloring (optional): For a bolder pop of orange color that really dazzles on a dessert plate!
- Pinch of salt: Enhances all the flavors and balances the sweetness perfectly.
How to Make Orange Dreamsicle Fudge
Step 1: Prepare Your Pan
Start off by lining an 8×8-inch square baking pan with parchment paper or foil, making sure to leave a little extra hanging over the sides for easy lifting later. Lightly grease the lining with butter or cooking spray—this ensures that your Orange Dreamsicle Fudge pops out perfectly and looks as pretty as possible when you slice it up.
Step 2: Melt the Base
Set a medium saucepan over low heat and combine your white chocolate chips, sweetened condensed milk, and unsalted butter. Stir gently and constantly, watching the mixture turn velvety and smooth as the chocolate melts. This slow, gentle approach keeps everything glossy and prevents any scorching—a little patience here pays off in creamy fudge later!
Step 3: Add the Flavors and Colors
Remove your pan from the heat, then quickly stir in the orange gelatin powder. If you want a more intense flavor, drizzle in a bit of orange extract now, along with the vanilla extract for dreamy creaminess. Add a pinch of salt and, if you’d like an especially vibrant hue, a drop or two of orange food coloring. Stir until everything is well combined and smooth—this is the magic moment when your fudge transforms into luscious orange dreamsicle flavor!
Step 4: Pour and Swirl
Pour the fudge mixture straight into your prepared pan. If you’re after that classic swirled look, you can reserve a few spoonfuls of the mixture before adding the orange gelatin, then dot and swirl over the top using a toothpick or butter knife. Smooth out the surface with a spatula and gently tap the pan on the counter to remove air bubbles and settle it nicely.
Step 5: Chill and Set
Slide your pan into the fridge and let the Orange Dreamsicle Fudge set for at least three hours, or until completely firm. Once chilled, use those handy parchment paper edges to lift it out of the pan. Grab a sharp knife and cut the fudge into small squares—each piece is a little block of citrus-vanilla bliss!
How to Serve Orange Dreamsicle Fudge

Garnishes
Dress up your Orange Dreamsicle Fudge with a playful touch! Try a light dusting of powdered sugar, a scattering of orange zest, or a delicate white chocolate drizzle. If you’re feeling extra fancy, garnish each piece with a tiny candied orange peel curl for a burst of color and citrusy aroma.
Side Dishes
Balance out the sweet, creamy fudge with something light and fresh—think a platter of summer berries, juicy grapes, or a zippy fruit salad. If you’re entertaining, these little fudge squares pair beautifully with a cup of lightly brewed black tea or a simple vanilla latte for a grown-up nod to their nostalgic flavors.
Creative Ways to Present
Turn your Orange Dreamsicle Fudge into edible gifts by stacking squares in parchment-lined tins tied with bright ribbons, or display them on a tiered dessert tray for showers and birthday parties. For a whimsical touch, skewer cubes of fudge with toothpicks and serve as sweet “fudge pops” at your next picnic or potluck!
Make Ahead and Storage
Storing Leftovers
Keep your Orange Dreamsicle Fudge fresh by storing the cut pieces in a single layer (or layered with parchment paper) in an airtight container. Pop the container in the fridge and your fudge will stay creamy and delicious for up to one week—if you can resist it that long!
Freezing
Freezing is a fantastic option if you want to make a double batch or save some for later. Wrap individual fudge squares in plastic wrap and tuck them into a freezer-safe bag or container. They’ll be just as dreamy for up to two months. Let thaw in the fridge before serving for best texture.
Reheating
Fudge is best enjoyed chilled or at room temperature, so there’s really no need to reheat. If your fudge feels a bit too firm straight from the fridge, just set it on the counter for 10 minutes and let it soften slightly before indulging. It’ll taste just as velvety and fresh as the day you made it!
FAQs
Can I use regular chocolate chips instead of white chocolate?
White chocolate chips are essential for the classic sweet creaminess and light color of Orange Dreamsicle Fudge. While you could experiment with milk or dark chocolate, it will change both the flavor and appearance, so white chocolate is definitely the best choice here.
Do I have to use orange extract?
The orange extract is totally optional! It adds a little extra punch of citrus, but the orange-flavored gelatin already gives you plenty of zing. If you’re a real orange lover, add it in; otherwise, you’ll still get a delicious burst of flavor without it.
Can I make this fudge without gelatin or use a different flavor?
To get that signature dreamsicle flavor, the orange-flavored gelatin is key. If you’re feeling adventurous, you can swap in other gelatin flavors, but you’ll end up with a different kind of fudge (lemon, lime, or raspberry are fun, too!).
Why didn’t my fudge set properly?
If your Orange Dreamsicle Fudge is too soft, it may have needed more time to chill or the measurements could have been off—make sure you use the full amounts of white chocolate chips and gelatin, and really let the fudge chill for at least three hours. Always double-check your fridge is nice and cold!
Can I double the recipe?
Absolutely! Just use a 9×13-inch pan and double all the ingredients. Your fudge may need a bit longer in the fridge to fully set, but the results are just as wonderful, and you’ll have plenty to share—or hoard for yourself!
Final Thoughts
If you’re searching for a treat that’s as cheerful and uplifting as a sunny afternoon, Orange Dreamsicle Fudge is the answer. It’s a little slice of nostalgic joy, easy enough for beginners but special enough for any celebration. Give it a try—you deserve a dessert that’s this dreamy!
Print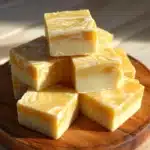
Orange Dreamsicle Fudge Recipe
- Total Time: 3 hours 15 minutes
- Yield: 36 small pieces 1x
- Diet: Non-Vegetarian
Description
Indulge in the creamy, citrusy goodness of Orange Dreamsicle Fudge! This no-bake treat combines the sweetness of white chocolate with zesty orange flavors for a delightful dessert.
Ingredients
For the Fudge:
- 2½ cups white chocolate chips
- 1 (14 oz) can sweetened condensed milk
- 2 tablespoons unsalted butter
- 1 (3 oz) package orange-flavored gelatin (Jell-O)
- ½ teaspoon orange extract (optional)
- ½ teaspoon vanilla extract
- orange food coloring (optional)
- pinch of salt
Instructions
- Prepare the Pan: Line an 8×8-inch square baking pan with parchment paper or foil and lightly grease it.
- Melt Ingredients: In a saucepan over low heat, melt white chocolate chips, sweetened condensed milk, and butter until smooth.
- Add Flavors: Remove from heat, stir in orange gelatin, extracts, food coloring, and salt until well combined.
- Set Fudge: Pour mixture into pan, spread evenly, tap to remove air bubbles, and chill for at least 3 hours.
- Serve: Cut into squares and enjoy!
Notes
- Store fudge in the fridge for up to 1 week.
- For a creamier swirl effect, reserve some mixture before adding gelatin to swirl on top.
- Prep Time: 10 minutes
- Cook Time: 5 minutes
- Category: Dessert
- Method: No-Bake
- Cuisine: American
Nutrition
- Serving Size: 1 piece
- Calories: 110
- Sugar: 13g
- Sodium: 30mg
- Fat: 5g
- Saturated Fat: 3g
- Unsaturated Fat: 2g
- Trans Fat: 0g
- Carbohydrates: 15g
- Fiber: 0g
- Protein: 1g
- Cholesterol: 5mg


