
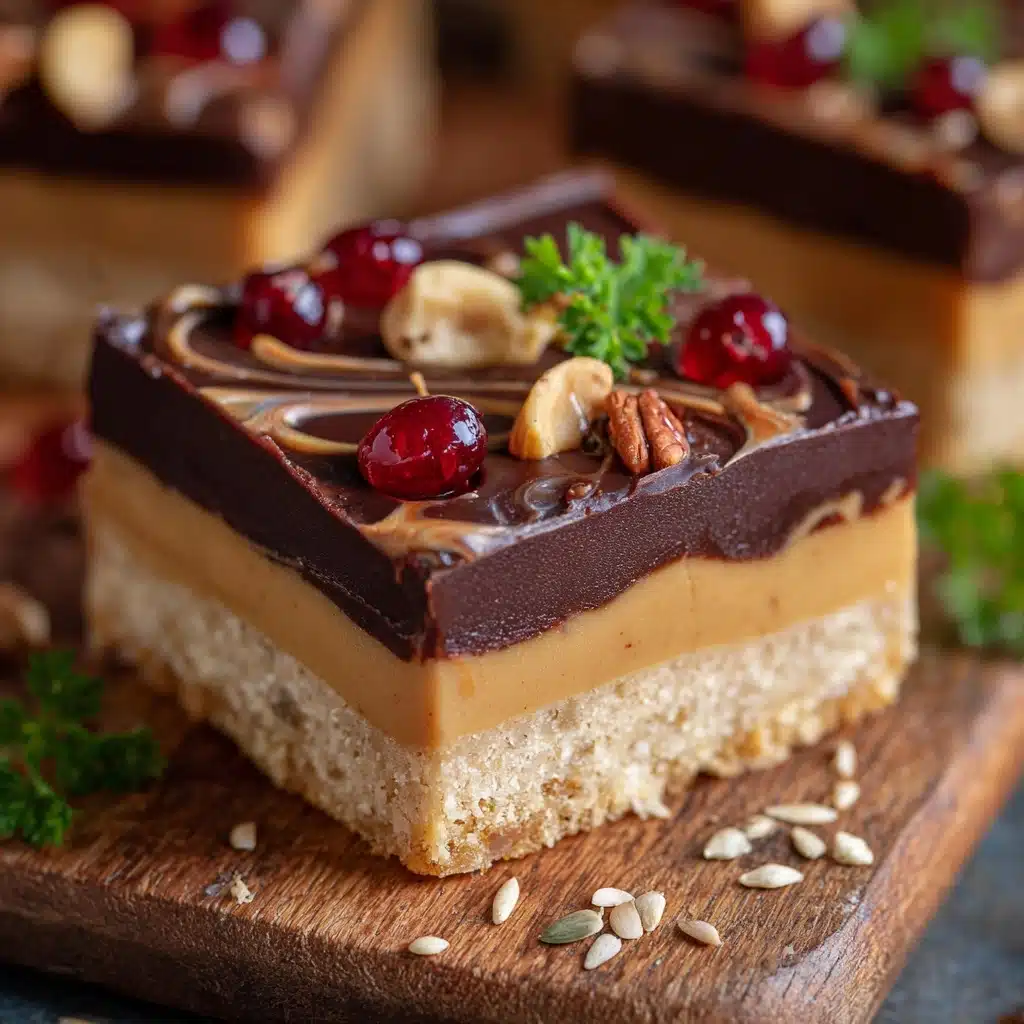
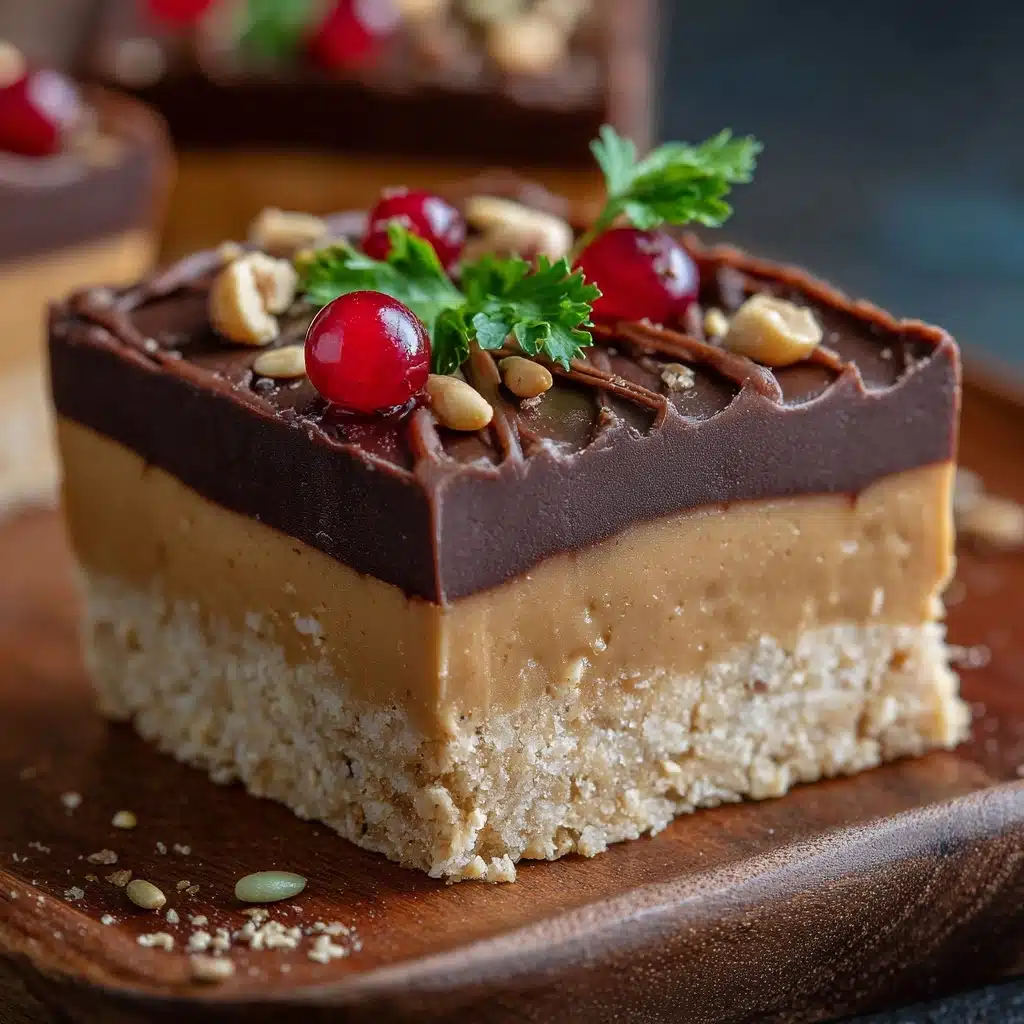
If you’re searching for a dessert that’s both ridiculously easy and absolutely irresistible, No-Bake Peanut Butter Bars are about to become your new obsession. Imagine a dreamy marriage of creamy peanut butter and buttery graham crackers, all topped with a thick, glossy layer of chocolate. You don’t even need to turn on the oven! Whether you’re prepping a quick treat for family, planning a party, or just looking to satisfy a late-night craving, these bars deliver pure joy in every bite. If you love peanut butter and chocolate as much as I do, prepare to be smitten.
Ingredients You’ll Need
With just a handful of pantry staples, you can whip up a batch of No-Bake Peanut Butter Bars in no time. Each ingredient pulls its weight, creating the perfect balance of creamy, crunchy, sweet, and salty. Here’s what you’ll need and why it matters:
- Creamy peanut butter: The star of the show, giving the bars their signature rich, nutty flavor and smooth texture.
- Unsalted butter (melted): Adds lusciousness and helps bind everything together for that perfect, sliceable consistency.
- Powdered sugar: Sweetens the base and blends seamlessly, keeping the bars velvety and free of gritty texture.
- Graham cracker crumbs: Bring a subtle crunch and a hint of toasty flavor that pairs so well with peanut butter.
- Vanilla extract: Just a splash rounds out the flavors and adds a whisper of warmth.
- Semi-sweet chocolate chips: Melt into a glossy, decadent topping that balances the sweetness of the base.
- Peanut butter (for topping): Stirred into the chocolate, this keeps the topping smooth and enhances that peanutty punch.
How to Make No-Bake Peanut Butter Bars
Step 1: Make the Peanut Butter Base
Start by grabbing a large mixing bowl and combining the melted butter, 1 cup of peanut butter, powdered sugar, graham cracker crumbs, and vanilla extract. Stir everything together until you have a uniform, thick mixture. This forms the irresistibly creamy and slightly crumbly base of your No-Bake Peanut Butter Bars.
Step 2: Press Into the Pan
Take your peanut butter mixture and press it evenly into the bottom of a greased or parchment-lined 9×9-inch pan. Use the back of a spoon or your hands to get a smooth, even layer—this will help the bars hold together and look beautiful when sliced.
Step 3: Make the Chocolate Topping
In a microwave-safe bowl, combine the chocolate chips with the remaining 2 tablespoons of peanut butter. Microwave in 30-second bursts, stirring after each, until completely smooth and glossy. The extra peanut butter ensures the topping is soft enough to slice but still decadently rich.
Step 4: Spread the Chocolate Layer
Pour the melted chocolate-peanut butter mixture over the peanut butter base. Use a spatula to spread it evenly all the way to the edges, creating that iconic, shiny chocolate layer that makes these bars so eye-catching.
Step 5: Chill and Set
Pop the pan into the refrigerator and let it chill for at least 2 hours. This step is key—cooling allows both layers to firm up, making the bars easy to cut and giving them their signature bite. Once set, slice into squares and get ready to fall in love.
How to Serve No-Bake Peanut Butter Bars
Garnishes
These bars are fantastic on their own, but you can take them over the top with a sprinkle of flaky sea salt, a scattering of chopped roasted peanuts, or even a dusting of cocoa powder for a sophisticated finish. Don’t be afraid to get creative—each little extra adds flavor and flair!
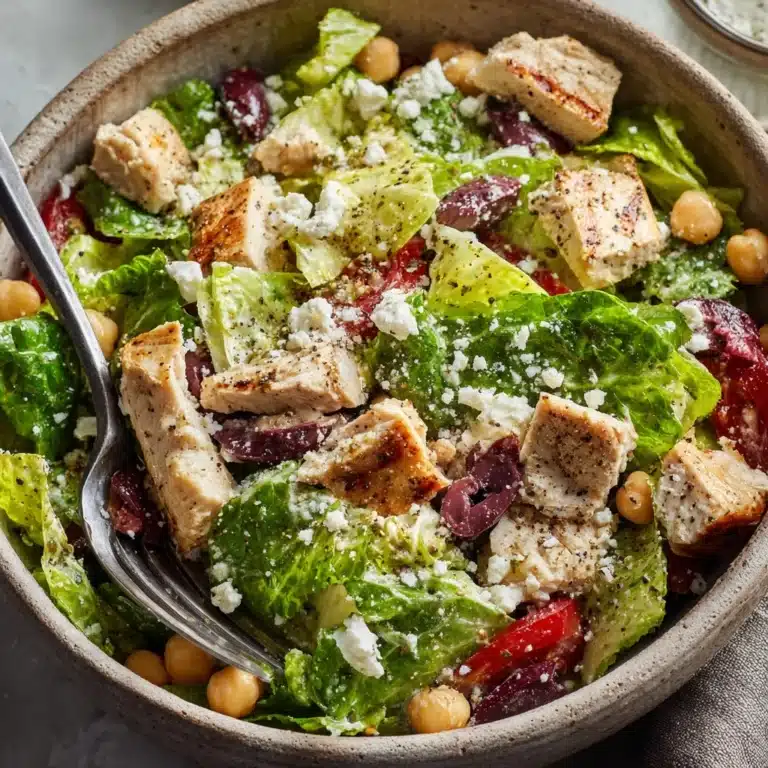
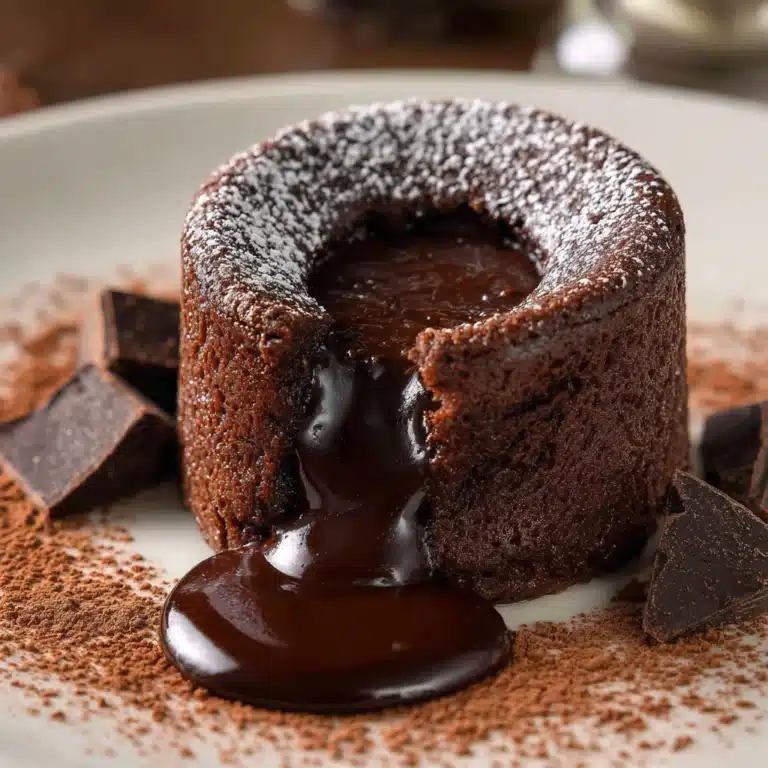
Side Dishes
No-Bake Peanut Butter Bars are rich, so pairing them with something light helps balance the sweetness. Fresh berries, sliced bananas, or a simple fruit salad are lovely contrasts. For a decadent dessert spread, offer them alongside vanilla ice cream or a tall glass of cold milk.
Creative Ways to Present
For parties, cut the bars into bite-sized squares and arrange them on a colorful platter. You can layer them in mini cupcake liners for easy serving, or wrap individual bars in parchment for an adorable grab-and-go treat. Stack them high for a dramatic dessert centerpiece that’s guaranteed to disappear quickly.
Make Ahead and Storage
Storing Leftovers
To keep your No-Bake Peanut Butter Bars fresh, store them in an airtight container in the fridge. They’ll stay delicious for up to a week, and the chilled texture is especially satisfying on hot days. Just be sure to separate layers with parchment if you’re stacking them, to prevent sticking.
Freezing
These bars freeze beautifully! Arrange them in a single layer on a baking sheet to freeze solid, then transfer to a zip-top bag or sealed container. They can be frozen for up to 2 months. Let them thaw in the fridge or at room temperature before digging in.
Reheating
While you won’t actually need to reheat these, if you prefer a softer texture, let the bars sit at room temperature for 10 to 15 minutes before serving. The chocolate topping will become silkier, and the peanut butter base will be extra creamy—utterly irresistible!
FAQs
Can I use crunchy peanut butter instead of creamy?
Absolutely! Crunchy peanut butter will add delightful texture and extra nutty flavor to your No-Bake Peanut Butter Bars. If you love a bit of bite, it’s a fantastic swap.
Are there any nut-free alternatives for this recipe?
If you have a nut allergy, sunflower seed butter or soy nut butter can be used as a substitute for peanut butter. The taste is a bit different, but you’ll still get that creamy, satisfying result.
What’s the best way to cut the bars cleanly?
For sharp, tidy squares, use a large knife warmed under hot water and wiped dry between cuts. This helps glide through the chocolate layer without cracking and keeps the bars looking bakery-perfect.
Can I double the recipe for a crowd?
Yes! Just use a 9×13-inch pan and double all the ingredients. The bars will be just as delicious and are perfect for potlucks, bake sales, or any time you need to feed a hungry group.
Do No-Bake Peanut Butter Bars need to be refrigerated?
Yes, refrigeration helps the bars set properly and keeps them firm. If you’re transporting them, keep them cool for best results, especially on warm days.
Final Thoughts
If you’re craving a treat that’s as effortless as it is delicious, you can’t go wrong with No-Bake Peanut Butter Bars. They’re a crowd-pleaser, a lunchbox hero, and a midnight snack all rolled into one delightfully decadent bite. Don’t wait—gather your ingredients and give them a try. I promise, they’ll become a go-to favorite in your recipe box!
Print
No-Bake Peanut Butter Bars Recipe
- Total Time: 2 hours 10 minutes
- Yield: 16 bars 1x
- Diet: Non-Vegetarian
Description
These No-Bake Peanut Butter Bars combine a creamy peanut butter base with a rich chocolate topping, perfect for an easy and delicious dessert without the need for an oven. With a crunchy graham cracker crust and smooth chocolate layer, they make a delightful sweet snack that’s ready in just a few hours.
Ingredients
Base Ingredients
- 1 cup creamy peanut butter
- 1/2 cup unsalted butter, melted
- 1 1/2 cups powdered sugar
- 1 1/2 cups graham cracker crumbs
- 1/2 teaspoon vanilla extract
Topping Ingredients
- 1 1/2 cups semi-sweet chocolate chips
- 2 tablespoons peanut butter (for topping)
Instructions
- Prepare the Base: In a large bowl, mix together the melted butter, 1 cup peanut butter, powdered sugar, graham cracker crumbs, and vanilla extract until the mixture is well combined and forms a smooth consistency.
- Press Base into Pan: Evenly press the peanut butter mixture into the bottom of a greased or parchment-lined 9×9-inch pan to form the base layer.
- Melt Chocolate Topping: In a microwave-safe bowl, melt the semi-sweet chocolate chips combined with the remaining 2 tablespoons of peanut butter in 30-second intervals, stirring between each until smooth and fully melted.
- Spread Chocolate Layer: Pour the melted chocolate mixture over the peanut butter base and spread it evenly with a spatula to cover the entire surface.
- Chill the Bars: Refrigerate the assembled bars for at least 2 hours, or until the chocolate topping is firm and set.
- Serve: Once firm, cut the bars into 16 squares and serve chilled or at room temperature.
Notes
- For a crunchier texture, stir in 1/4 cup chopped peanuts into the base mixture before pressing into the pan.
- Almond butter can be used as a substitute for peanut butter for a different flavor profile.
- Store the bars in an airtight container in the refrigerator for up to 1 week to maintain freshness.
- Prep Time: 10 minutes
- Cook Time: 0 minutes
- Category: Dessert
- Method: No-Bake
- Cuisine: American
Nutrition
- Serving Size: 1 bar
- Calories: 240
- Sugar: 16g
- Sodium: 90mg
- Fat: 16g
- Saturated Fat: 6g
- Unsaturated Fat: 9g
- Trans Fat: 0g
- Carbohydrates: 22g
- Fiber: 2g
- Protein: 4g
- Cholesterol: 10mg


