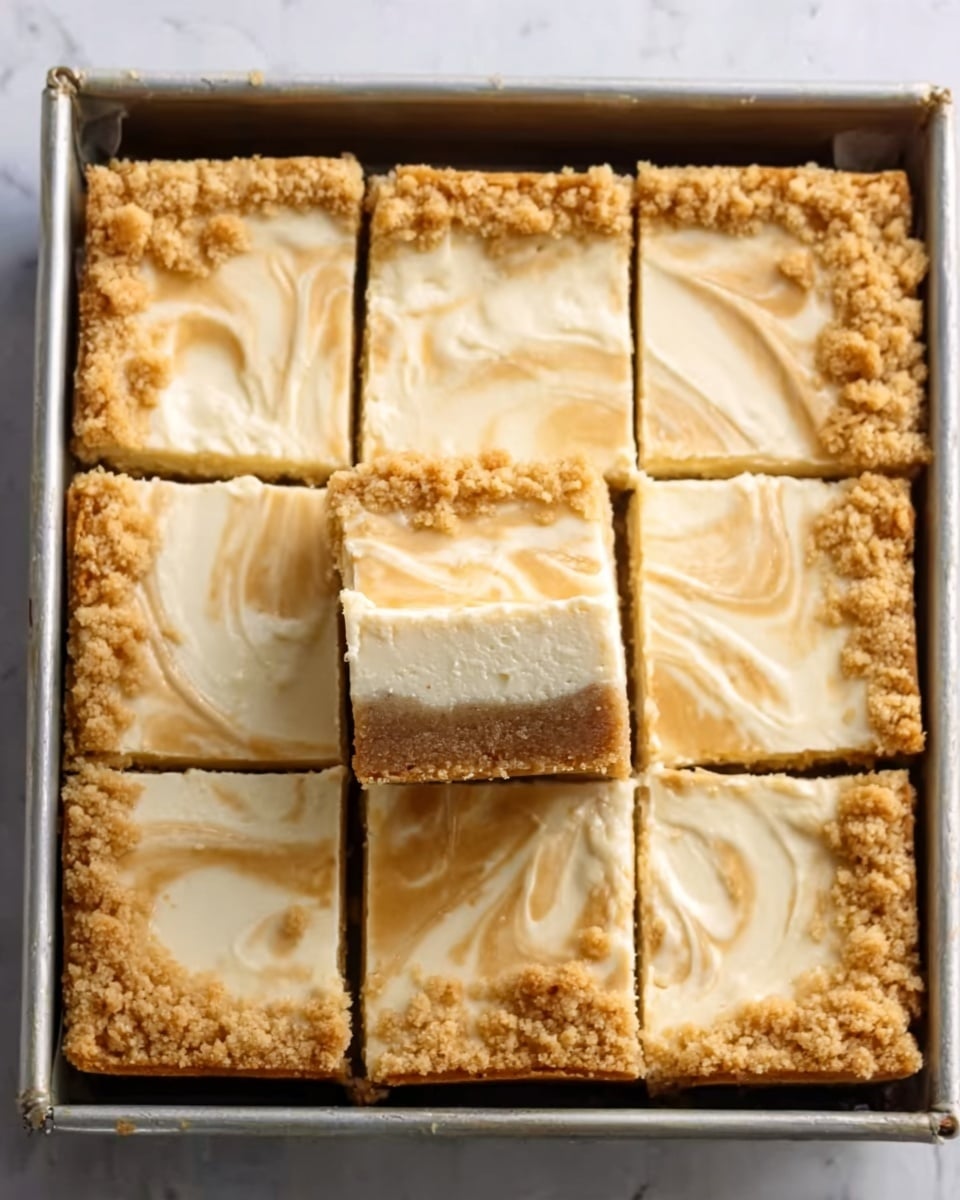
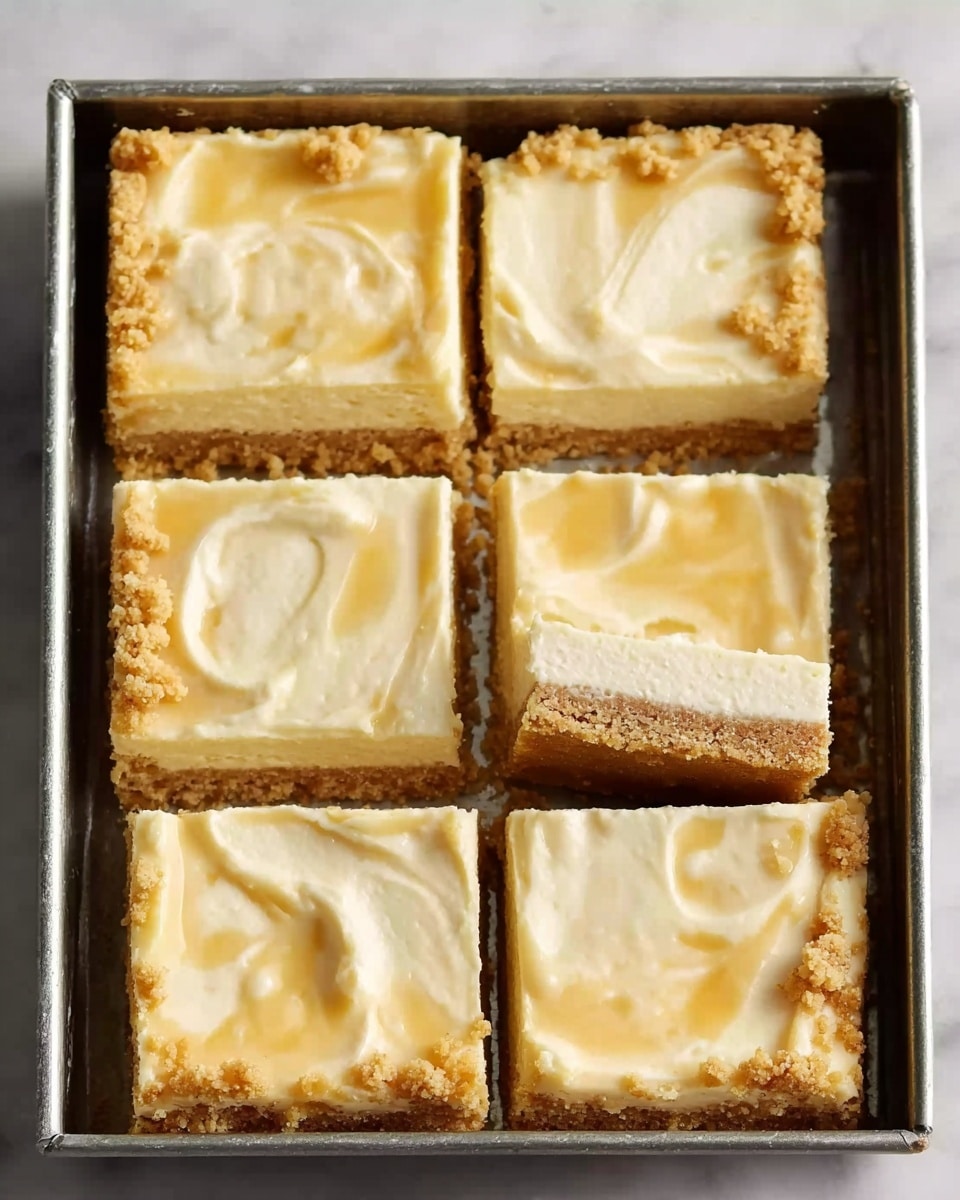
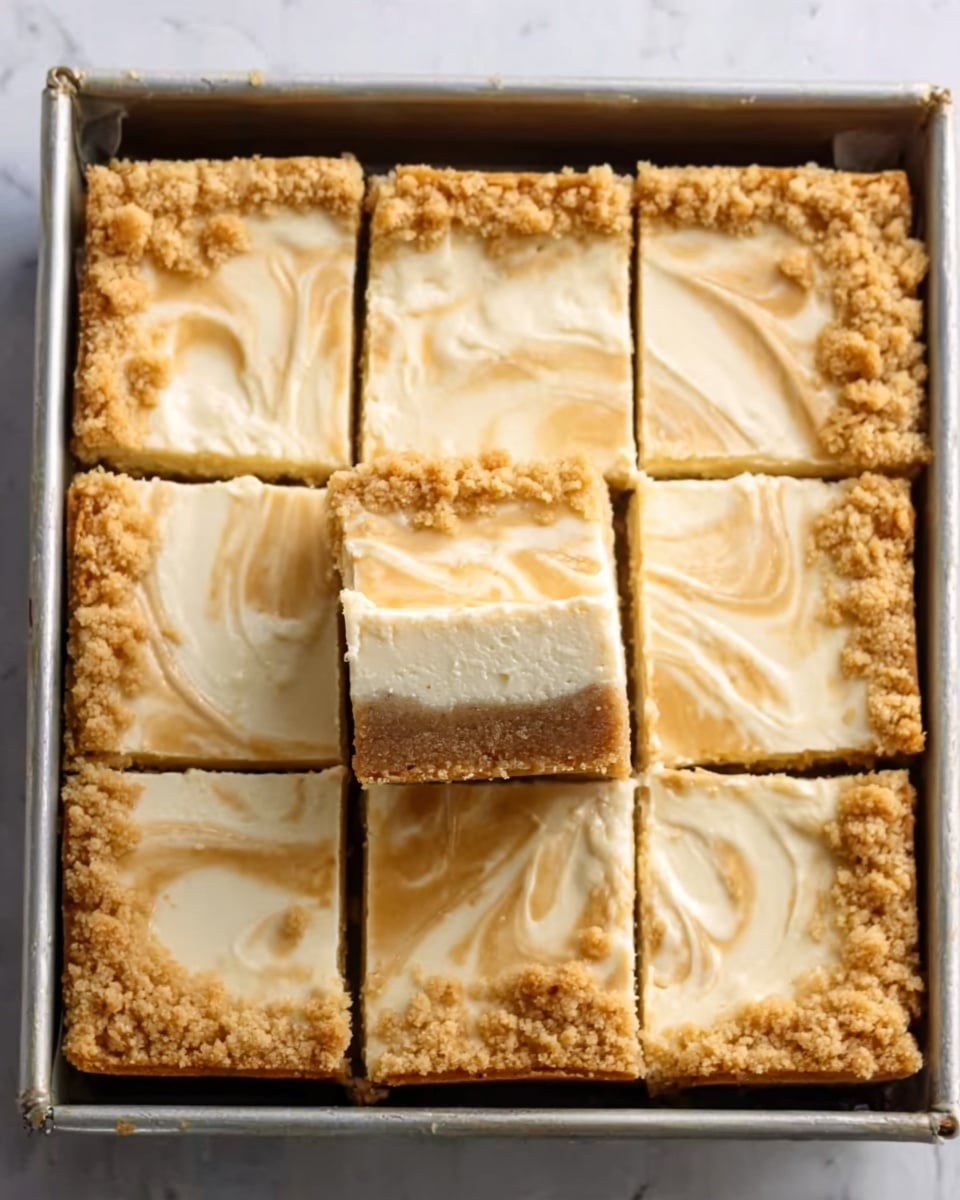
If you’re on the lookout for a dessert that’s both delightfully creamy and wonderfully easy to prepare, this No Bake Cheesecake Bars Recipe is exactly what you need. It perfectly combines a buttery graham cracker crust with a luscious, tangy cream cheese filling that sets beautifully in the fridge without any oven time. Whether it’s for a casual family gathering or an impressive sweet treat for friends, these bars offer the perfect balance of richness and freshness, all wrapped up in a simple, sliceable form that’s as inviting as it is delicious.
Ingredients You’ll Need
The beauty of this recipe lies in its simplicity. Each ingredient plays a vital role in building the texture and flavor profile that makes these cheesecake bars irresistible. From the crunchy crust to the fluffy filling, you’ll appreciate how these familiar pantry staples come together to create something truly special.
- Graham cracker crumbs: Provides a crunchy and slightly sweet base that holds the crust together perfectly.
- Melted butter: Binds the crumbs into a firm but tender crust with a rich, buttery flavor.
- Cream cheese, softened: The star ingredient that offers the creamy, smooth texture essential to cheesecake.
- Powdered sugar: Sweetens the filling evenly and blends effortlessly without any grittiness.
- Vanilla extract: Enhances the flavor with its warm, inviting aroma and depth.
- Heavy cream: Whipped to add lightness and airiness, creating that melt-in-your-mouth sensation.
- Lemon juice: Adds a bright, refreshing tang that balances the richness of the cream cheese.
- Fresh fruit compote (optional): A vibrant topping to add color, flavor, and a fruity contrast to the creamy bars.
How to Make No Bake Cheesecake Bars Recipe
Step 1: Prepare the Crust
Start by mixing the graham cracker crumbs with the melted butter until the mixture resembles wet sand. This texture is key for a crust that holds together without crumbling apart. Press it firmly and evenly into an 8×8-inch pan lined with parchment paper, which will make removing the bars much easier later. Chill this crust in the refrigerator to let it set and firm up, forming a sturdy base for the cheesecake filling.
Step 2: Make the Cream Cheese Filling
In a large bowl, beat the softened cream cheese until it becomes smooth and lump-free. This step ensures a silky filling without any unwanted chunks. Then, add powdered sugar and vanilla extract, mixing well to infuse the mixture with sweetness and aromatic warmth. Taking the time to beat thoroughly makes a big difference in texture and consistency.
Step 3: Whip the Heavy Cream
In a separate bowl, whip the heavy cream until stiff peaks form. This whipped cream is what transforms the dense cream cheese mixture into something light and airy. Folding the whipped cream gently into the cream cheese mixture helps maintain that fluffy texture, so be patient and careful not to deflate it.
Step 4: Add the Lemon Juice
Next, stir in the lemon juice fully. This subtle splash of acidity cuts through the richness and brightens the flavor, making every bite fresh and irresistible. The lemon isn’t overpowering, just enough to keep the filling balanced and lively.
Step 5: Assemble and Chill
Pour the creamy cheesecake filling over the chilled crust, spreading it out evenly with a spatula for a smooth top. Cover the pan and refrigerate for at least 4 hours or, even better, overnight. This resting time allows the bars to set beautifully so they slice cleanly and hold their shape, ready for that satisfying first bite.
How to Serve No Bake Cheesecake Bars Recipe
Garnishes
Fresh fruit compote is a natural partner to these bars, adding jewel-like color and fruity bursts that complement the creamy filling. You can also sprinkle crushed nuts or drizzle a bit of chocolate or caramel sauce for extra decadence. Whipped cream dollops and a sprig of mint are great finishing touches to elevate the presentation and flavor.
Side Dishes
Pair your cheesecake bars with simple sides like fresh berries or a cup of strong brewed coffee or tea for a delightful afternoon treat. They also work well alongside a light salad or fruit platter when serving as part of a larger dessert table. Their creamy texture beautifully contrasts with crisp, fresh accompaniments.
Creative Ways to Present
For a fun twist, try layering these bars with alternating layers of fruit puree or jam in clear glasses for individual portions. You can also cut the bars into smaller bite-sized squares for a party platter or arrange them on a skewer with fresh fruit for a playful take on dessert. Presentation is your playground with this versatile recipe.
Make Ahead and Storage
Storing Leftovers
Once prepared, store your cheesecake bars covered tightly in the refrigerator for up to 3-4 days. Keeping them chilled is crucial to maintain the creamy texture and prevent the crust from becoming soggy. Use an airtight container or wrap the pan tightly with plastic wrap for best results.
Freezing
You can freeze these bars if you want to enjoy them later. Wrap each bar individually or cover the entire pan securely, then freeze for up to 2 months. When you’re ready to enjoy, thaw them overnight in the fridge rather than at room temperature to preserve their creamy consistency.
Reheating
This dessert is best served chilled, so reheating is not recommended. However, if you prefer it slightly softened, let the bars sit at room temperature for about 10-15 minutes before serving. This gentle warming enhances softness without melting the structure.
FAQs
Can I use a different type of crust?
Absolutely! While graham cracker crust is classic, you can use crushed digestive biscuits, Oreo crumbs, or even nut-based crusts. Just ensure you mix with butter enough to hold together well for a perfect base.
Is it possible to make this recipe vegan?
Yes, by swapping the cream cheese and heavy cream with vegan alternatives like cashew-based cream cheese and coconut cream. Keep in mind the flavor and texture may differ slightly but still delicious.
What can I use instead of powdered sugar?
Caster sugar can work if you’re okay with a slightly grainier texture, but powdered sugar is preferred for its smoothness. Alternatively, a little honey or maple syrup can be used to sweeten, adjusting the amounts carefully.
Can I add flavors to the filling?
Definitely! You can fold in zest from lemons or oranges, a splash of coffee, or even a bit of melted chocolate to customize your No Bake Cheesecake Bars Recipe and create a unique twist.
How do I cut the bars cleanly?
Use a sharp knife and wipe it clean between cuts. Chilling the bars thoroughly before slicing helps keep the edges neat and prevents the filling from sticking to the knife.
Final Thoughts
There’s something truly special about a dessert that is so simple to make yet tastes like it belongs in a fancy bakery. I hope this No Bake Cheesecake Bars Recipe inspires you to whip up a batch soon because it’s guaranteed to delight anyone lucky enough to have a slice. Enjoy every creamy, crunchy, and tangy bite — you’ve earned it!
Print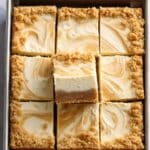
No Bake Cheesecake Bars Recipe
- Total Time: 4 hours 15 minutes
- Yield: 9 servings 1x
Description
These No Bake Cheesecake Bars are a creamy, luscious dessert perfect for any occasion. Featuring a buttery graham cracker crust and a smooth, tangy cream cheese filling whipped with heavy cream and a hint of lemon, they require no oven time and can be prepared ahead with minimal effort. Serve chilled and topped with fresh fruit compote for a refreshing finish.
Ingredients
Crust
- 1 ½ cups graham cracker crumbs
- ⅓ cup melted butter
Filling
- 2 cups cream cheese, softened
- 1 cup powdered sugar
- 1 teaspoon vanilla extract
- 1 ½ cups heavy cream
- 1 tablespoon lemon juice
Topping (Optional)
- Fresh fruit compote
Instructions
- Prepare the crust: In a medium bowl, combine the graham cracker crumbs with the melted butter. Stir until the mixture resembles wet sand, ensuring all crumbs are evenly coated.
- Set the crust: Press the graham cracker mixture firmly into the bottom of an 8×8-inch baking pan lined with parchment paper. Refrigerate to allow the crust to set firmly while you prepare the filling.
- Beat the cream cheese: In a large bowl, beat the softened cream cheese until smooth and creamy, eliminating any lumps.
- Add sweeteners and flavor: Mix in the powdered sugar and vanilla extract with the cream cheese, blending well until combined.
- Whip the cream: In a separate bowl, whip the heavy cream until stiff peaks form, making sure it holds shape and is airy.
- Combine filling ingredients: Gently fold the whipped cream into the cream cheese mixture to maintain a light texture. Stir in the lemon juice until the filling is fully combined and smooth.
- Assemble the cheesecake: Pour the cream cheese filling evenly over the chilled crust, spreading it out smoothly.
- Chill to set: Refrigerate the cheesecake bars for at least 4 hours or overnight to allow the filling to firm up and the flavors to meld.
- Serve: Before serving, top the cheesecake bars with fresh fruit compote or any preferred toppings for added flavor and presentation.
Notes
- For best results, soften the cream cheese to room temperature before mixing to avoid lumps.
- Use cold heavy cream for easier whipping to stiff peaks.
- The lemon juice adds a subtle tang that balances the sweetness but can be adjusted or omitted based on preference.
- These bars should be stored covered in the refrigerator and consumed within 3-4 days for optimal freshness.
- You can substitute graham cracker crumbs with digestive biscuits or similar cookies for crust variation.
- Prep Time: 15 minutes
- Cook Time: 0 minutes
- Category: Dessert
- Method: No-Cook
- Cuisine: American
