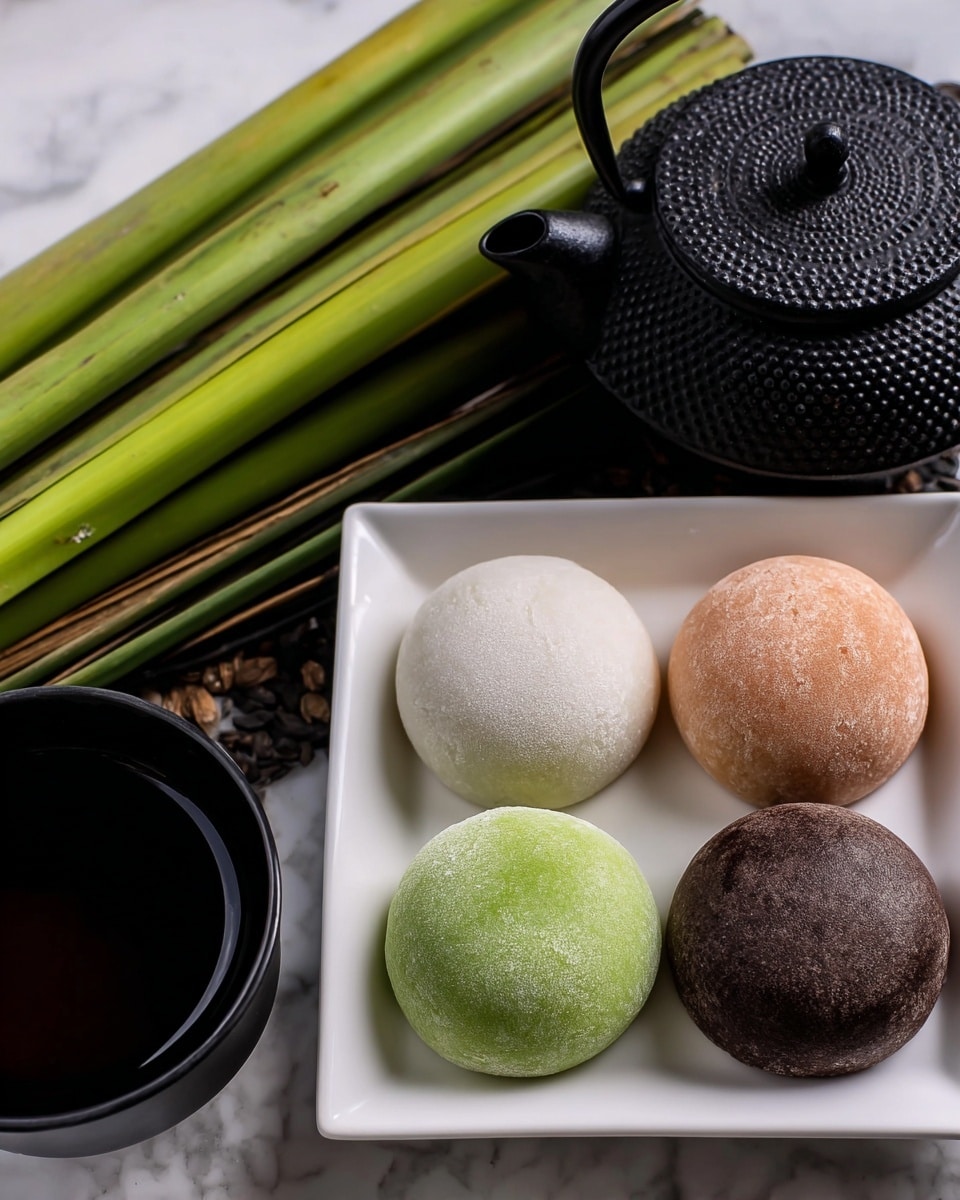
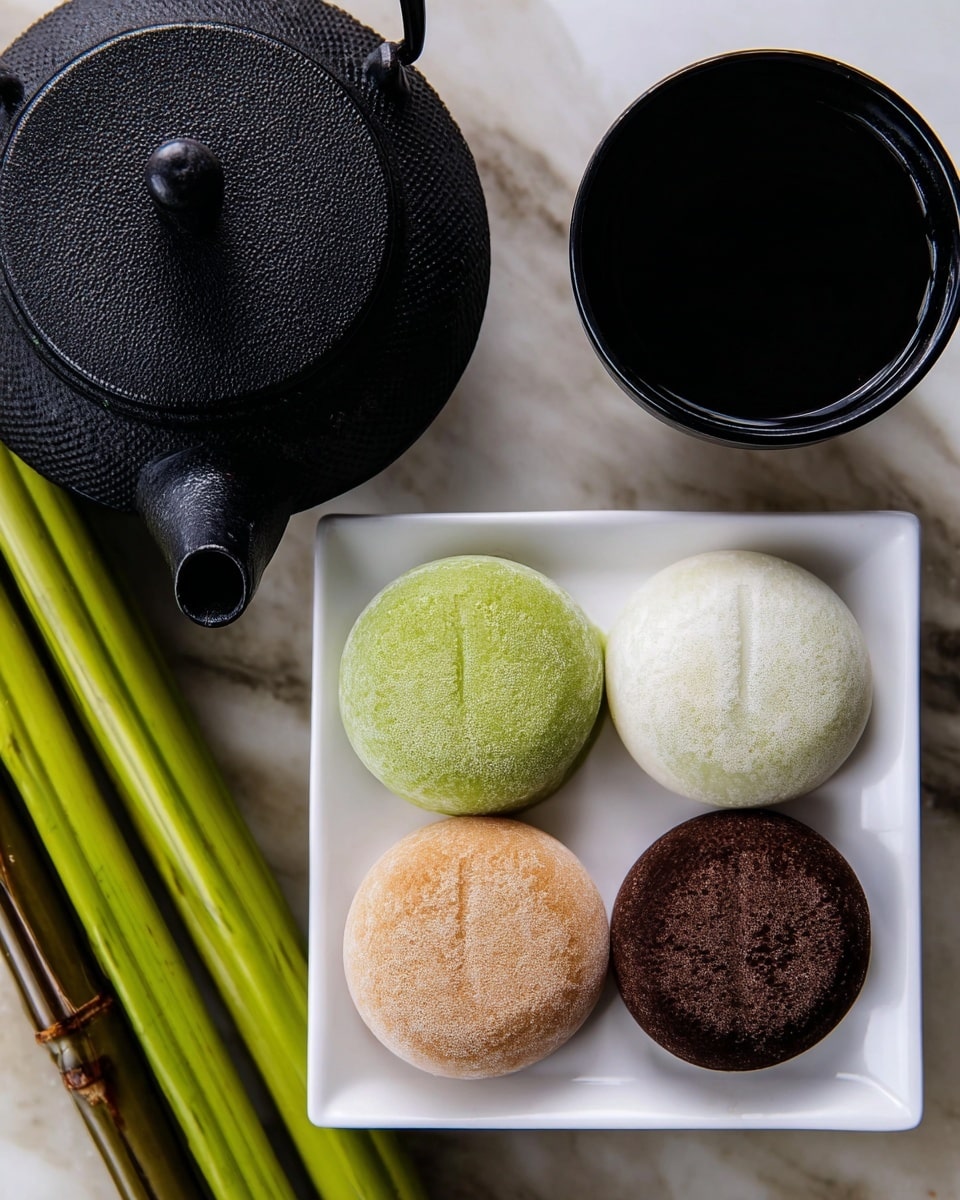
There is something irresistibly charming about making your own sweet treats at home, especially when they come together in just minutes. This Microwave Mochi: Quick and Easy Japanese Sweet Rice Cake Recipe is a delightful introduction to the chewy, tender world of mochi, proving that authentic Japanese desserts don’t need hours of preparation or fancy equipment. If you’ve ever been curious about mochi’s unique texture and subtly sweet flavor, this recipe will make you a believer. Ready in under ten minutes, it’s perfect for those spontaneous dessert cravings or when you want to impress guests with something culturally delicious yet simple.

Ingredients You’ll Need
Keeping this recipe straightforward is part of its magic. With just a few basic ingredients, each adding its own special touch, you’ll be amazed at how rich and satisfying your homemade mochi can be.
- Mochiko (sweet rice flour): The star ingredient that gives mochi its signature chewy and tender texture, essential for an authentic bite.
- Granulated sugar: Sweetens the mochi perfectly, balancing the mild flour flavor without overpowering it.
- Water: Hydrates the mochiko, helping create the smooth, sticky dough that cooks quickly in the microwave.
- Vanilla extract (optional): Adds a gentle aromatic note that enhances the dessert’s flavor and makes each bite even more comforting.
- Cornstarch or potato starch: Vital for dusting, it keeps the mochi from sticking to your hands or surfaces while shaping.
How to Make Microwave Mochi: Quick and Easy Japanese Sweet Rice Cake Recipe
Step 1: Mix the Dry Ingredients
Start by combining mochiko and sugar in a microwave-safe bowl. This simple mix forms the base for your mochi dough, ensuring an even distribution of sweetness throughout for every chewy bite.
Step 2: Add Water and Optional Vanilla
Pour in the water and stir until the mixture is completely smooth and uniform—no lumps here! If you’re adding vanilla extract, mix it in now to infuse the mochi with a gentle warmth.
Step 3: Microwave and Stir
Cover the bowl loosely with plastic wrap or a microwave-safe lid, then zap it on high for one minute. After each minute, take the time to stir well; this step ensures even cooking and helps the mixture thicken gradually. Repeat this process for a total of three to four minutes, until your mochi turns thick and slightly translucent—a sign that it’s perfectly cooked.
Step 4: Dust and Shape Your Mochi
Sprinkle a clean surface or a piece of parchment paper with cornstarch or potato starch to prevent sticking. Transfer your hot mochi onto this surface and let it cool just enough to handle. Dust your hands with starch, then flatten the mochi into about half an inch thickness. From here, you can cut it into classic squares or get creative with shapes—either way, you’re just moments away from enjoying your homemade mochi.
How to Serve Microwave Mochi: Quick and Easy Japanese Sweet Rice Cake Recipe

Garnishes
A little extra flair goes a long way. Light dustings of kinako (roasted soybean flour) or a drizzle of sweetened condensed milk complement the chewy mochi beautifully, adding depth without overshadowing the delicate sweetness. Toasted sesame seeds or a sprinkle of matcha powder also make lovely, colorful accents that highlight the dish’s Japanese roots.
Side Dishes
Mochi shines best when paired thoughtfully. Serve it alongside a steaming cup of green tea or matcha latte for a soothing balance, or with fresh fruit slices like strawberries or mango to add vibrancy and a refreshing contrast. These pairings elevate the experience and make your homemade mochi feel like a complete celebration.
Creative Ways to Present
For a playful twist, try filling your mochi pieces with sweet red bean paste, ice cream, or even diced fruit before sealing them into little pillows. Present them on a bamboo leaf or in a small wooden box for an authentic touch that delights both the eyes and the palate. Whether plated elegantly or packed as a portable snack, your mochi will be a conversation starter.
Make Ahead and Storage
Storing Leftovers
If you happen to have leftovers, store them in an airtight container at room temperature for no more than one day. Mochi tends to harden as it cools and sits, so enjoying it fresh or within the day ensures the best chewy texture.
Freezing
Freezing homemade mochi is possible but tricky because the texture can change. If you do freeze them, wrap each piece individually in plastic wrap and store in an airtight container or freezer bag. Thaw at room temperature and consume promptly to retain as much of that iconic softness as possible.
Reheating
To revive slightly hardened mochi, a quick warm-up in the microwave for about 10 to 15 seconds with a damp paper towel covering works wonders. This steams the mochi gently, restoring softness without drying it out.
FAQs
Can I reduce the sugar in this recipe?
Absolutely! If you prefer less sweetness, try halving the sugar to 1/2 cup. It will still create delicious mochi, just a bit milder and letting the natural flavor of the rice flour shine through.
Is mochiko flour gluten-free?
Yes, mochiko is made from glutinous rice, which is naturally gluten-free. This makes microwave mochi a great dessert option for those with gluten sensitivities or celiac disease.
What can I use instead of vanilla extract?
If you don’t have vanilla extract on hand or want to switch things up, try subbing with a little matcha powder for an earthy flavor or a touch of citrus zest to brighten the mochi.
How do I prevent mochi from sticking to my hands?
Dusting your hands generously with cornstarch or potato starch before handling the mochi dough will keep it from sticking. You can also keep the dough covered when not shaping to maintain moisture and avoid drying out.
Can I make filled mochi with this recipe?
Yes! After flattening each piece, place a small spoonful of sweet red bean paste, ice cream, or fruit in the center, then wrap the mochi dough around it and pinch closed. This adds a delicious surprise inside your sweet rice cakes.
Final Thoughts
There you have it, an incredibly approachable, fun, and quick way to bring a little Japanese dessert magic into your kitchen with this Microwave Mochi: Quick and Easy Japanese Sweet Rice Cake Recipe. It’s perfect for sharing, experimenting, or simply enjoying as a chewy, sweet snack anytime. Give this recipe a try—you might just find yourself falling in love with mochi’s unique charm all over again.
Print
Microwave Mochi: Quick and Easy Japanese Sweet Rice Cake Recipe
- Total Time: 9 minutes
- Yield: 8 pieces 1x
- Diet: Gluten Free, Vegetarian
Description
This traditional Japanese mochi recipe uses mochiko (sweet rice flour) combined with sugar and water, quickly cooked in the microwave to create a chewy and sweet rice cake. With an optional touch of vanilla for extra flavor, this gluten-free dessert is simple to prepare and perfect for a quick treat or snack.
Ingredients
Ingredients
- 1 cup mochiko (sweet rice flour)
- 3/4 cup granulated sugar
- 1 cup water
- 1/2 teaspoon vanilla extract (optional)
- Cornstarch or potato starch for dusting
Instructions
- Combine Dry Ingredients: In a microwave-safe bowl, mix the mochiko and granulated sugar thoroughly to evenly distribute the sugar throughout the flour.
- Add Liquids and Mix: Stir in the water until the mixture is smooth and homogenous. If using, add the vanilla extract and mix well.
- Initial Microwave Cooking: Cover the bowl loosely with plastic wrap or a microwave-safe lid to allow steam to escape. Microwave on high for 1 minute.
- Stir the Mixture: Carefully remove the bowl and stir the mochi mixture well to prevent lumps from forming and allow even cooking.
- Continue Cooking in Intervals: Repeat microwaving in 1-minute intervals, stirring each time, for a total of 3 to 4 minutes until the mixture thickens and becomes slightly translucent.
- Prepare Surface: Dust a clean surface or parchment paper liberally with cornstarch or potato starch to prevent sticking.
- Shape the Mochi: Transfer the hot mochi onto the dusted surface and let it cool slightly until it’s manageable. Dust your hands with starch, then flatten the mochi to about 1/2 inch thickness.
- Cut or Shape: Cut the flattened mochi into pieces or shape as desired. Serve fresh for the best texture and flavor.
- Storage: If not serving immediately, store the mochi in an airtight container at room temperature for up to 1 day to maintain freshness.
Notes
- This traditional mochi is high in sugar and best enjoyed in moderation.
- For a less sweet version, reduce the sugar to 1/2 cup.
- To make filled mochi, flatten the pieces and wrap around sweet red bean paste, ice cream, or fresh fruit for added flavor and texture.
- Use cornstarch or potato starch liberally to prevent sticking during shaping.
- Mochi is best eaten fresh, as it hardens over time.
- Prep Time: 5 minutes
- Cook Time: 4 minutes
- Category: Dessert
- Method: Microwave
- Cuisine: Japanese


