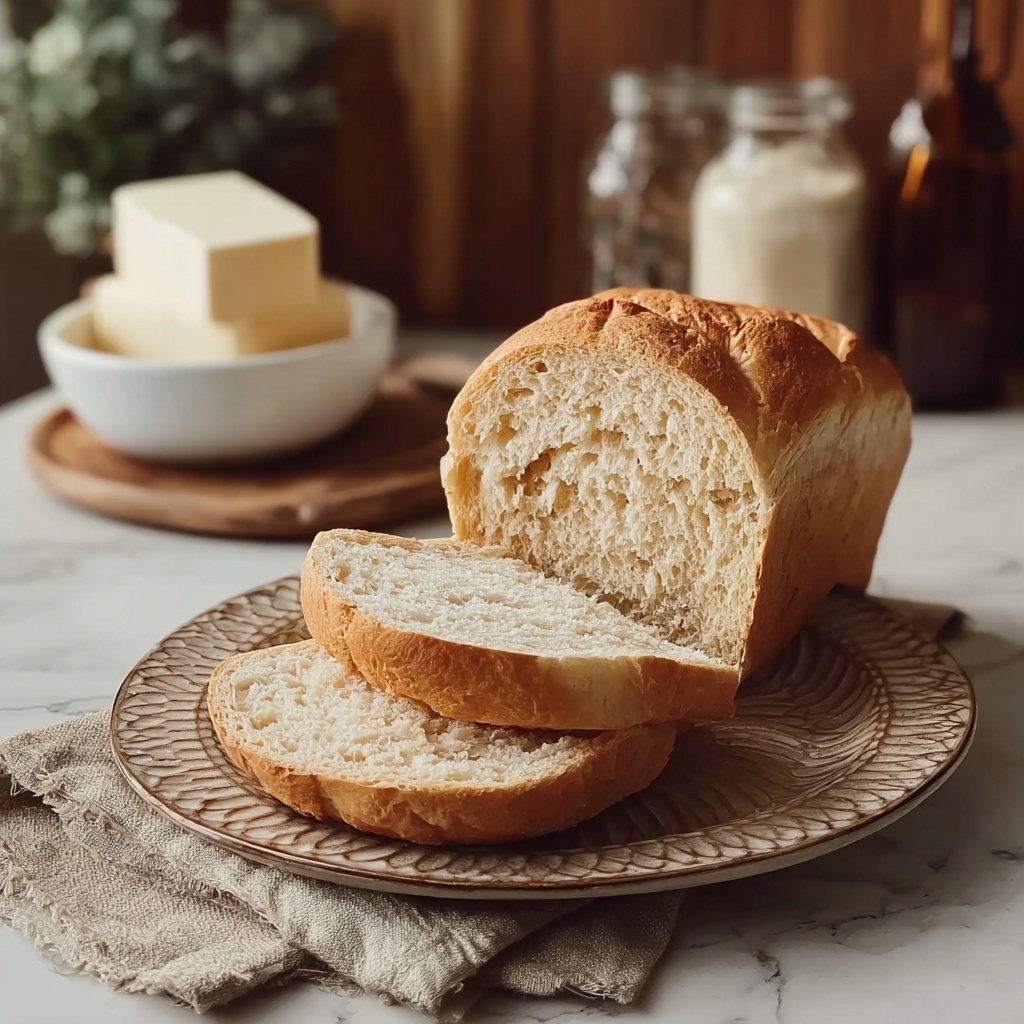
If you have been searching for a delicious, wholesome alternative to traditional bread, then this Low Carb Yeast Bread for Bread Machine Recipe will absolutely win your heart. It beautifully balances the magic of yeast fermentation with nourishing low-carb ingredients like almond flour and psyllium husk, giving you a soft, fluffy loaf without the high carb impact. Perfectly tailored for your bread machine, this recipe makes healthy breadmaking effortless, delivering fresh, fragrant slices ideal for sandwiches, toast, or simply enjoying with butter.
Ingredients You’ll Need
This recipe brings together a handful of simple yet vital ingredients that each play a critical role in creating the perfect texture and flavor of the bread. From the richness of eggs and butter to the fibrous boost of flaxseed, every component contributes to a harmonious, satisfying loaf.
- Warm water: Activates the yeast and helps to create the perfect dough consistency.
- Large eggs: Provide structure, moisture, and richness to the bread.
- Melted butter: Adds tenderness and a buttery depth of flavor.
- Almond flour: A low-carb flour that adds a nutty taste and moist texture.
- Coconut flour: Absorbs moisture and helps the bread hold its shape.
- Ground flaxseed meal: Boosts fiber content and adds a subtle nuttiness.
- Psyllium husk powder: Gives the bread structure similar to traditional wheat bread.
- Erythritol or preferred keto sweetener: Adds a touch of sweetness that complements the yeast.
- Salt: Enhances all the flavors in the bread.
- Active dry yeast: Responsible for the fermentation to rise the bread wonderfully.
- Baking powder: Helps with the bread’s lift and fluffiness.
How to Make Low Carb Yeast Bread for Bread Machine Recipe
Step 1: Prepare the Wet Ingredients
Start by adding warm water, eggs, and melted butter directly into the bread machine pan. The warmth of the water is critical to activate your yeast properly, but be sure it’s not too hot or it could kill the yeast. This mix will provide the moisture and fat needed for a tender crumb.
Step 2: Combine the Dry Ingredients
In a separate bowl, thoroughly mix almond flour, coconut flour, ground flaxseed meal, psyllium husk powder, erythritol (or your chosen keto sweetener), salt, active dry yeast, and baking powder. This combination of flours and fiber powders is what makes this Low Carb Yeast Bread for Bread Machine Recipe so unique and healthy.
Step 3: Assemble and Start the Bread Machine
Next, add the dry ingredients gently on top of the wet ingredients in the bread machine pan. This layering technique helps the yeast activate properly. Select the gluten-free or basic bread setting on your machine, choose a medium crust if that option is available, and start the machine. The entire cycle will take approximately 2 hours and 30 minutes.
Step 4: Cool and Slice the Bread
Once the baking is complete, carefully remove the bread from the pan and let it cool completely on a wire rack before slicing. This cooling step is crucial; it allows the bread to finish setting, which helps avoid crumbling when you slice with a serrated knife.
How to Serve Low Carb Yeast Bread for Bread Machine Recipe
Garnishes
This bread is wonderfully versatile and can be elevated with simple garnishes such as a spread of grass-fed butter, cream cheese, or your favorite sugar-free jam. Fresh herbs or garlic butter make delightful toppings for a savory twist.
Side Dishes
Serve this hearty, low-carb bread alongside soups, stews, or fresh salads. Its nutty flavor and satisfying texture pair perfectly with vegetable-based dishes, hearty chili, or a cozy bowl of bone broth, making it a fantastic companion for any meal.
Creative Ways to Present
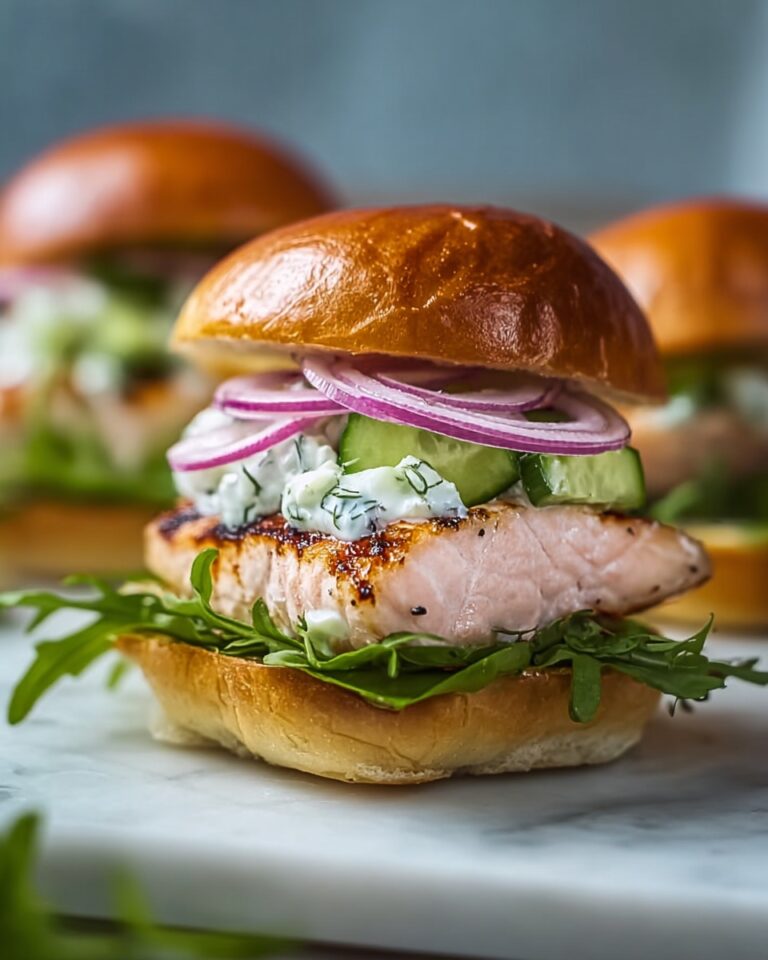
Try toasting thick slices and topping them with avocado and a sprinkle of sea salt for a simple yet gourmet snack. You can also use this bread as the base for open-faced sandwiches layered with smoked salmon, cream cheese, and capers for an elegant appetizer.
Make Ahead and Storage
Storing Leftovers
To keep your Low Carb Yeast Bread for Bread Machine Recipe fresh, store it wrapped tightly in plastic wrap or in an airtight container in the refrigerator. This helps maintain moisture and prevents it from drying out, guaranteeing you fresh slices for days.
Freezing
If you want to enjoy your bread longer, slice it first and freeze the pieces individually wrapped in parchment paper then stored in a freezer bag. Thaw slices as needed for quick breakfasts or snacks without any loss of flavor or texture.
Reheating
Reheat your bread slices in a toaster or oven for a few minutes to regain that freshly baked crispness. Avoid microwaving as it tends to make bread rubbery. Toasting brings out the beautiful aroma and revives the wonderful crumb structure.
FAQs
Can I use instant yeast instead of active dry yeast?
Yes, you can substitute instant yeast for active dry yeast in this recipe. Since instant yeast acts faster, skip the proofing step normally required for active dry yeast and add it directly to your dry ingredients.
Why does the bread sometimes crumble when I slice it?
Crumbling usually happens if the bread is sliced too soon or too aggressively. Make sure the bread is fully cooled before slicing, and always use a serrated knife for clean cuts without squishing or tearing the loaf.
Is psyllium husk powder necessary in the recipe?
Absolutely. Psyllium husk powder is essential because it mimics the binding and elasticity that gluten provides in traditional bread. Without it, the bread may turn out dense or crumbly rather than soft and chewy.
Can I replace erythritol with another sweetener?
Yes, feel free to swap erythritol for your preferred keto-friendly sweetener, such as monk fruit or stevia blends. Just be mindful to adjust quantities to match sweetness levels and to maintain yeast activity.
Will this recipe work without a bread machine?
While specifically designed for bread machines, you can try adapting the recipe for oven baking or using a stand mixer for kneading. Keep in mind the timing and texture might vary, so more experimentation with baking times and temperatures may be needed.
Final Thoughts
Embracing this Low Carb Yeast Bread for Bread Machine Recipe is like welcoming a slice of homemade goodness into your low-carb lifestyle. It’s an accessible, comforting recipe that makes enjoying fresh bread worry-free and delicious. So preheat your bread machine and give this nourishing loaf a try—you’ll soon have a new favorite bread you can savor guilt-free!
Print
Low Carb Yeast Bread for Bread Machine Recipe
- Prep Time: 10 minutes
- Cook Time: 2 hours 30 minutes
- Total Time: 2 hours 40 minutes
- Yield: 10 slices
- Category: Bread
- Method: Bread Machine
- Cuisine: American
- Diet: Low Carb
Description
This Low Carb Yeast Bread recipe is designed for bread machine use, offering a keto-friendly and gluten-free alternative to traditional bread. Made with almond and coconut flours, ground flaxseed, and psyllium husk powder, it delivers a satisfying texture and flavor without the high carbs. Perfect for low-carb and keto diets, this bread provides a hearty base for sandwiches or toast while keeping glycemic impact minimal.
Ingredients
Wet Ingredients
- 1 cup warm water
- 2 large eggs
- 1/4 cup melted butter
Dry Ingredients
- 1 1/2 cups almond flour
- 1/2 cup coconut flour
- 1/4 cup ground flaxseed meal
- 1/4 cup psyllium husk powder
- 2 tablespoons erythritol or preferred keto sweetener
- 1 teaspoon salt
- 1 tablespoon active dry yeast
- 1 teaspoon baking powder
Instructions
- Prepare Wet Ingredients: Add warm water, eggs, and melted butter to the bread machine pan, ensuring the ingredients are well combined but not mixed thoroughly yet.
- Mix Dry Ingredients: In a separate bowl, combine almond flour, coconut flour, ground flaxseed meal, psyllium husk powder, erythritol, salt, active dry yeast, and baking powder. Stir to distribute all components evenly.
- Add Dry to Wet: Carefully add the dry ingredient mixture on top of the wet ingredients in the bread machine pan without stirring them together manually. This layering helps the yeast activate correctly during the cycle.
- Set Bread Machine: Choose the gluten-free or basic bread setting on your bread machine, and select a medium crust option for balanced browning.
- Start and Bake: Start the bread machine and allow it to run the complete cycle, which includes kneading, rising, and baking phases to achieve optimal bread texture.
- Cool Bread: Once the baking cycle finishes, remove the bread from the pan and allow it to cool completely on a wire rack. Cooling ensures the bread sets firmly and slices without crumbling.
- Slice and Serve: Use a serrated knife to slice the bread after cooling. Serve as desired or store in the refrigerator to maintain freshness.
Notes
- Psyllium husk powder is crucial for mimicking the texture and structure of gluten-containing bread.
- Slicing bread while warm can cause crumbling; always wait until fully cooled.
- Store the bread refrigerated to extend freshness and prevent spoilage.
- Adjust sweetener quantities based on preference to keep the bread keto-compliant.


