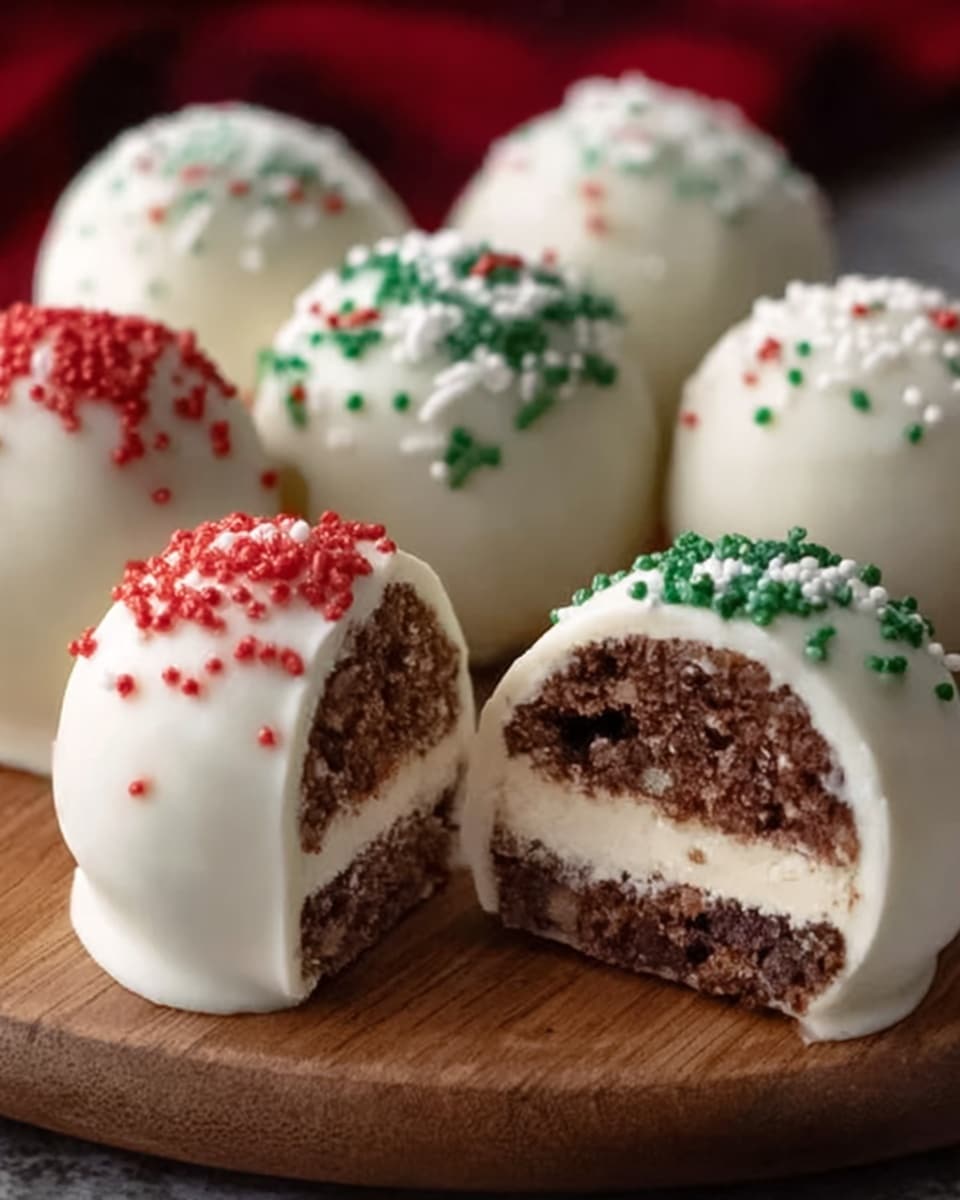
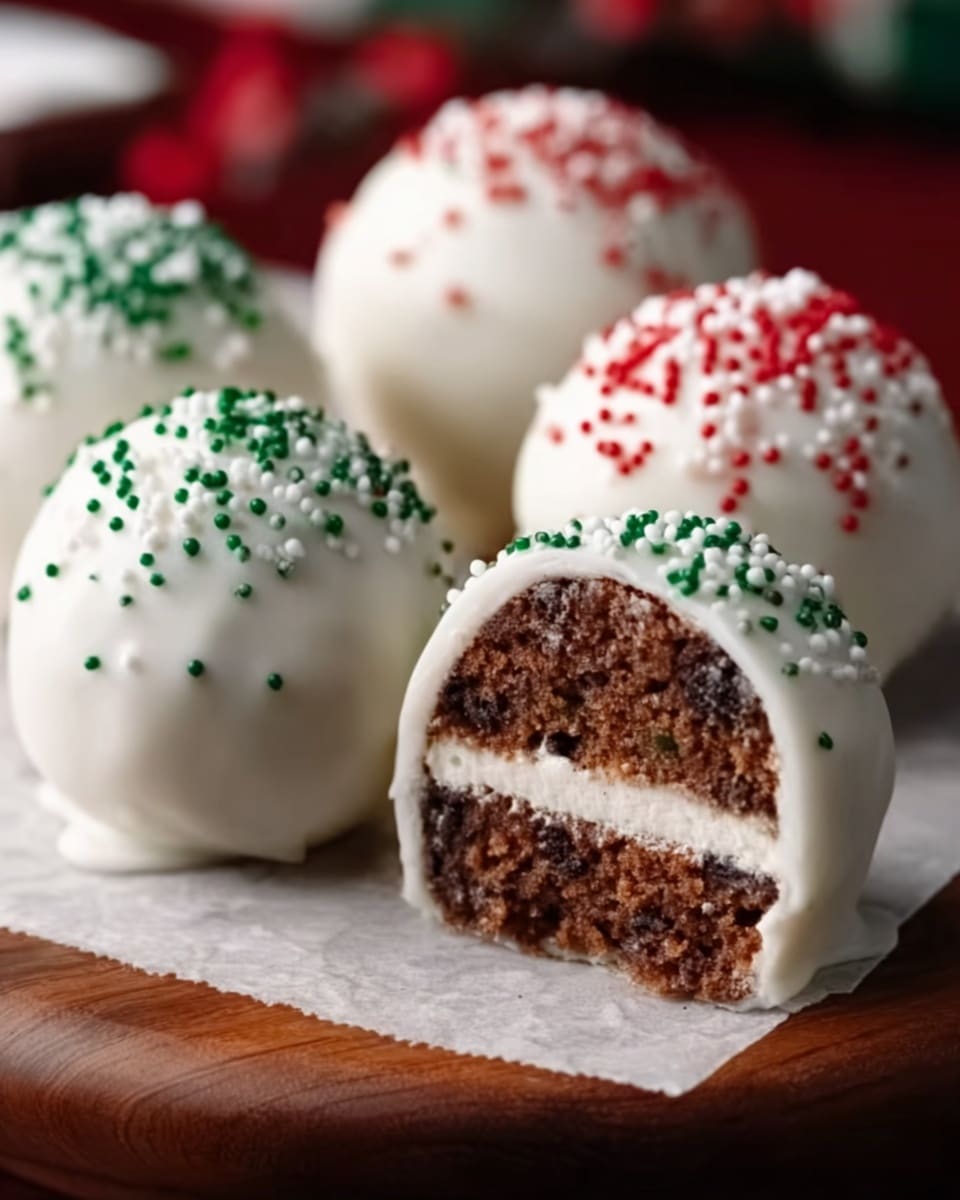
If you’re dreaming of an easy yet irresistibly festive treat to share this holiday season, look no further than the delightful Little Debbie Christmas Cake Balls Recipe! These bite-sized goodies capture all the joys of Little Debbie Christmas Tree Cakes but transform them into adorable, creamy, and candy-coated balls that practically melt in your mouth. Whether you’re hosting a party or just craving a sweet holiday indulgence, this recipe brings together simple ingredients in a fun, hands-on way that will have everyone asking for seconds.
Ingredients You’ll Need
Getting the ingredients for this recipe is a breeze, and each one plays an essential role in balancing flavor, texture, and that festive look. From the moist cake base to the smooth cream cheese and the crisp candy coating, every element comes together to make these cake balls truly special.
- Two 5-count boxes of vanilla Little Debbie Christmas Tree Cakes: These wonderfully moist, festive cakes act as the flavorful foundation, bringing their classic taste and subtle sweetness.
- 1 (8 oz) package cream cheese, room temperature: Cream cheese adds the perfect creaminess and helps bind the crumbled cake into a luscious dough-like mix.
- 1 (16 oz) package white candy melts: These melts provide a smooth, sweet shell that gives the cake balls an irresistible crisp outer layer.
- ¼ cup red candy melts, melted (optional): A splash of color and extra festive flair to drizzle over for a holiday look.
- Red and green colored sanding sugar: Adds sparkle and a playful holiday crunch when sprinkled on top.
How to Make Little Debbie Christmas Cake Balls Recipe
Step 1: Crumble the Cakes
Start by opening your boxes of vanilla Little Debbie Christmas Tree Cakes, and crumble them into fine pieces inside a large mixing bowl. The key is to break them down enough to blend easily with the cream cheese but not into a powder. This creates the perfect base texture.
Step 2: Mix with Cream Cheese
Bring the magic in by adding your room temperature cream cheese to the crumbled cakes. Use a spatula or your hands to mix everything until it comes together into a uniform, dough-like consistency. This step ensures that the cake balls hold their shape and get that luscious creamy flavor.
Step 3: Form the Balls
Next, scoop out portions of the mixture—about one inch in diameter is ideal—and roll them gently between your palms into smooth balls. Line a baking sheet with parchment paper and place the formed balls on it with a bit of space between each.
Step 4: Chill
Pop the cake balls into the refrigerator for at least 30 minutes. This chilling time is essential—it helps the balls firm up, making them easier to dip in the next step without losing their shape.
Step 5: Melt the Candy Coating
While they chill, melt the white candy melts according to the package instructions, stirring until you achieve a smooth, silky finish. Having the coating perfectly melted ensures each cake ball gets an even, glossy shell.
Step 6: Dip the Cake Balls
Once chilled, remove the balls from the fridge and gently dip each one into the melted white candy coating. Use a fork or dipping tool to turn them completely, then lift and shake off the excess coating. This step is where these cake balls start looking like a beautiful holiday treat!
Step 7: Decorate
Place the coated cake balls back on the parchment-lined baking sheet. For an extra punch of festive cheer, drizzle the optional melted red candy melts over the tops in thin ribbons and immediately sprinkle with red and green sanding sugar. The colors sparkle and add a lovely textural contrast.
Step 8: Set and Serve
Allow the candy coating to fully set at room temperature or pop the tray into the fridge briefly to speed things up. Once set, your Little Debbie Christmas Cake Balls are ready to wow family and friends with their delicious flavors and charming holiday appearance.
How to Serve Little Debbie Christmas Cake Balls Recipe
Garnishes
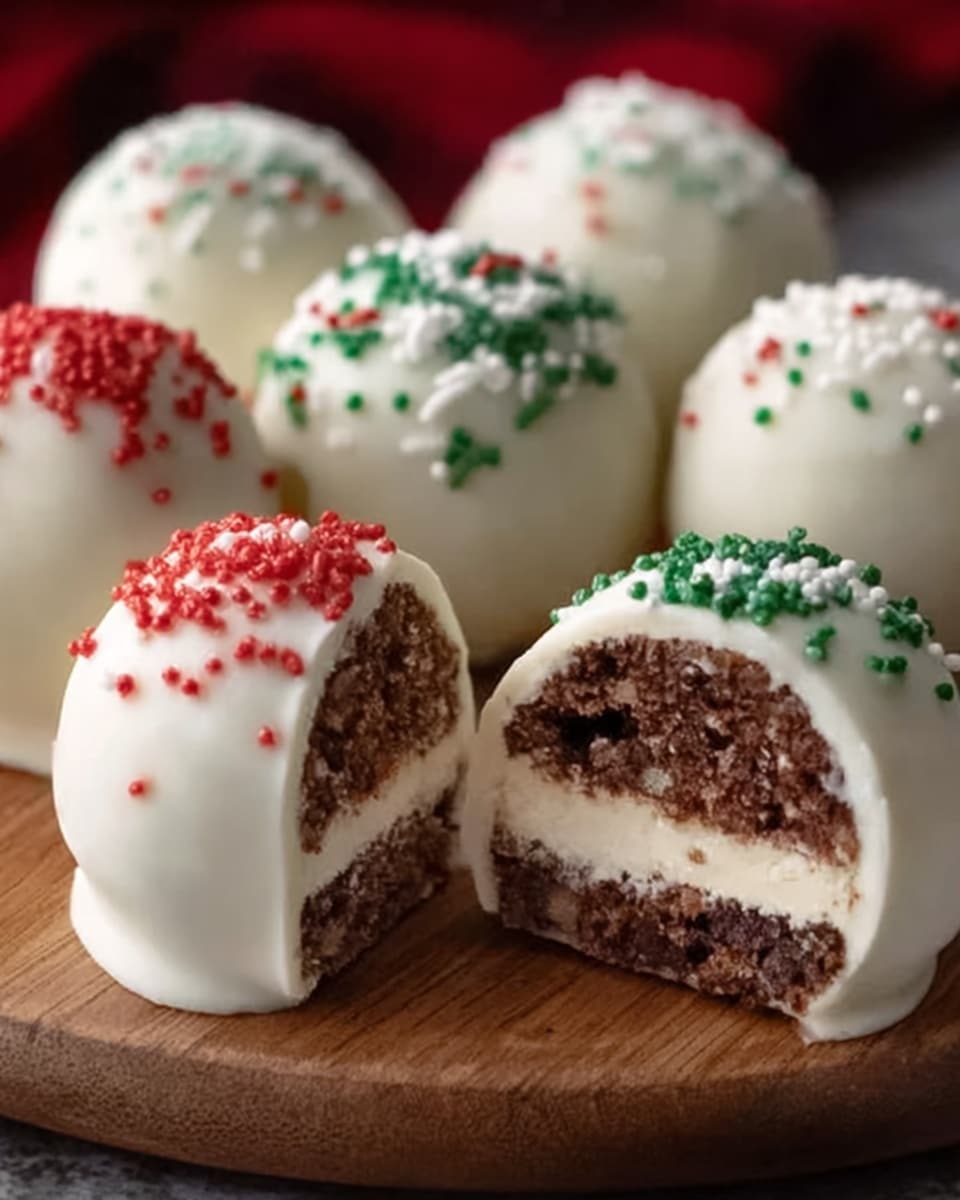
You can elevate these cake balls even further by adding a few playful garnishes. Think tiny edible glitter stars, mini crushed peppermint pieces, or even a small dusting of powdered sugar to evoke a snowy look. These little touches make serving them feel even more special and unique to your holiday table.
Side Dishes
Pair your Little Debbie Christmas Cake Balls with a warm cup of hot cocoa or peppermint-flavored coffee for a cozy holiday vibe. They also go wonderfully alongside a fresh fruit platter or nuts to balance the sweetness when serving at a party or family gathering.
Creative Ways to Present
Presentation really makes these cake balls pop. Arrange them on a festive platter lined with holiday napkins, or stack them in a clear glass jar as a gift. You could even skewer them on decorative sticks to create a fun “cake pop” display that doubles as a centerpiece.
Make Ahead and Storage
Storing Leftovers
If you have any leftovers (which would be surprising), keep them in an airtight container in the refrigerator. Stored this way, the cake balls will stay moist and fresh for up to 5 days, perfect for snacking later or sharing with friends.
Freezing
These Little Debbie Christmas Cake Balls freeze beautifully. Place them in a single layer on a tray until frozen solid, then transfer to a freezer-safe bag or container. They can be stored for up to 3 months—just thaw in the refrigerator before serving.
Reheating
Since these are best enjoyed cold or at room temperature, reheating isn’t usually necessary. However, if you prefer them slightly softer, leave them on the counter for 20 minutes after removing from the fridge. Avoid microwaving to keep the candy coating intact.
FAQs
Can I use other flavors of Little Debbie Cakes?
Absolutely! While this recipe shines with the vanilla Christmas Tree Cakes, you can experiment with other Little Debbie flavors. Just keep in mind the flavor combinations and how they pair with cream cheese and candy coating.
Do I have to use cream cheese?
Cream cheese is key for that creamy texture and binding, but if you’re in a pinch, you could try using a frosting-like spread or marshmallow fluff, though the texture and flavor will be a little different.
What if I don’t have candy melts?
White chocolate chips can work as a substitute for candy melts. Melt them carefully with a bit of vegetable oil to achieve a smooth coating, but candy melts are preferred for consistent results and that perfect thin shell.
Can I make these vegan or dairy-free?
To make a dairy-free version, look for plant-based cream cheese alternatives and vegan-friendly candy melts. The preparation is the same, but flavor and texture might vary slightly.
How do I prevent cracking in the candy coating?
Be sure to chill the cake balls well before dipping and use a smooth, properly melted candy coating. Dipping quickly and letting excess drip off gently helps prevent cracks or breaks in the shell.
Final Thoughts
Making these Little Debbie Christmas Cake Balls Recipe is such a rewarding experience, not only because they taste amazing but because they bring out that playful holiday spirit in the kitchen. They’re easy to whip up, fun to decorate, and guaranteed to bring smiles wherever they’re served. Trust me, once you try this recipe, it will become a sweet holiday tradition you’ll make again and again!
Print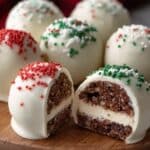
Little Debbie Christmas Cake Balls Recipe
- Total Time: 20 minutes
- Yield: 24 servings 1x
Description
These Little Debbie Christmas Cake Balls are a festive and delightful treat perfect for holiday gatherings. Made by combining crumbled vanilla Christmas Tree Cakes with cream cheese, then dipped in smooth white candy melts and decorated with colorful sanding sugar, they offer a rich, creamy texture and a sweet, celebratory flavor that’s easy to prepare in under an hour.
Ingredients
Base
- Two 5-count boxes of vanilla Little Debbie Christmas Tree Cakes, crumbled
- 1 (8 oz) package cream cheese, room temperature
Coating & Decoration
- 1 (16 oz) package white candy melts
- ¼ cup red candy melts, melted (optional)
- Red and green colored sanding sugar
Instructions
- Crumble the Cakes: In a large bowl, crumble the Little Debbie Christmas Tree Cakes into fine pieces to create a textured base.
- Mix with Cream Cheese: Add the room temperature cream cheese to the crumbled cakes and mix thoroughly until the mixture forms a smooth, dough-like consistency.
- Form the Balls: Scoop out portions of the mixture and roll them into small balls, about 1 inch in diameter. Place each ball on a baking sheet lined with parchment paper.
- Chill: Refrigerate the cake balls for 30 minutes to allow them to firm up, making them easier to coat.
- Melt the Candy Coating: While the balls chill, melt the white candy melts according to package instructions until smooth and ready for dipping.
- Dip the Cake Balls: Remove the chilled balls from the refrigerator and dip each one into the melted white candy, making sure they are fully coated for a smooth, glossy finish.
- Decorate: Place the coated balls back on the parchment-lined baking sheet. Drizzle melted red candy melts over the top as desired and sprinkle with red and green sanding sugar for a festive look.
- Set and Serve: Allow the candy coating to fully set at room temperature before serving. Enjoy your delicious and festive Little Debbie Christmas Cake Balls!
Notes
- Make sure the cream cheese is at room temperature for easy mixing and smooth consistency.
- You can substitute white candy melts with white chocolate chips if preferred.
- The red candy melts drizzle is optional but adds a festive pop of color.
- Store finished cake balls in the refrigerator in an airtight container for up to 5 days.
- For a firmer coating, refrigerate the cake balls briefly after dipping them in candy melts before decorating.
- Prep Time: 15 minutes
- Cook Time: 5 minutes
- Category: Dessert
- Method: No-Cook
- Cuisine: American
