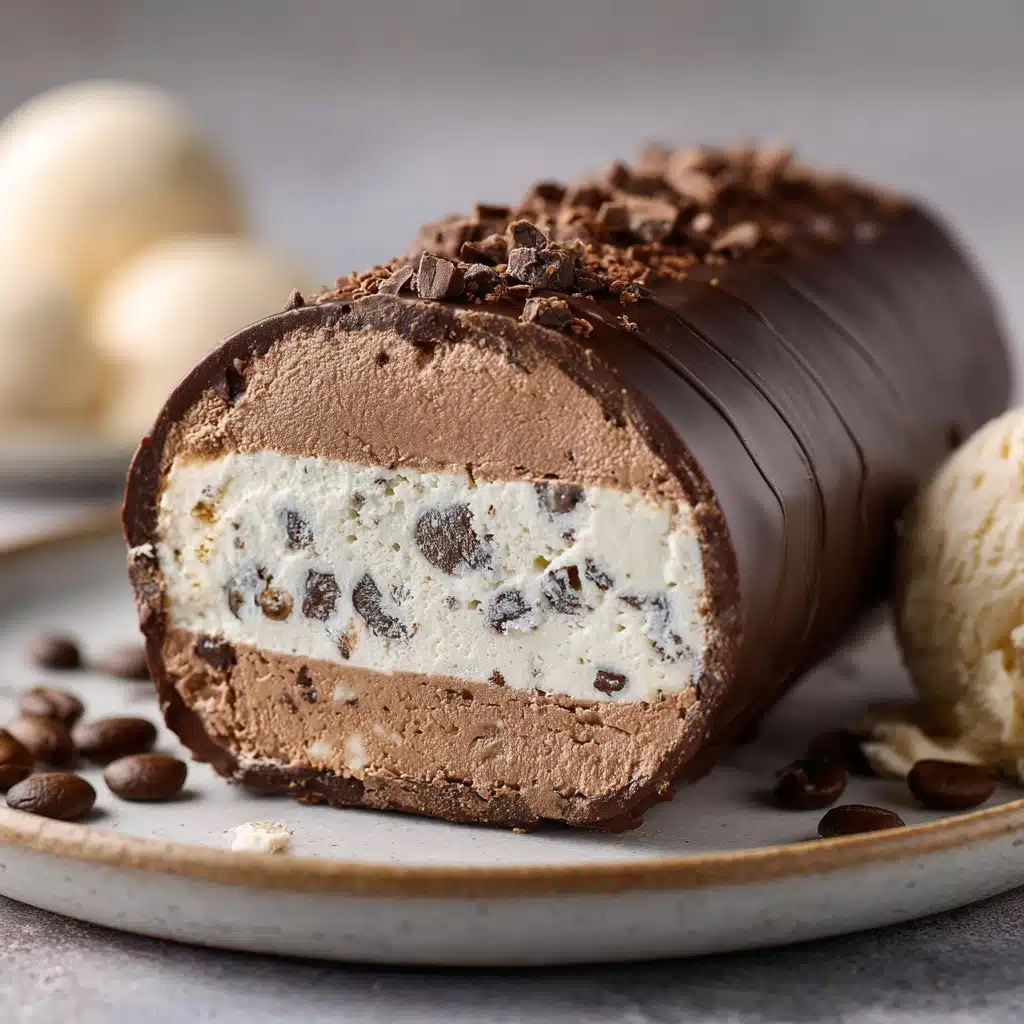
If you’re a true coffee devotee or simply someone who can never say no to a rich and delicious frozen treat, you’re going to fall head over heels for this Homemade Coffee Ice Cream Recipe. Imagine a creamy, dreamy scoop that captures everything you love about your favorite cup of coffee, but in a perfectly chilled, sweetly satisfying form. With the irresistible aroma of espresso and a smooth-as-silk texture, this dessert is a summer showstopper or an anytime pick-me-up. Plus, with its simple, no-cook process, you’re just a few steps away from having the ultimate coffeehouse indulgence right in your own kitchen.
Ingredients You’ll Need
Part of the magic of this Homemade Coffee Ice Cream Recipe is how a short list of essential ingredients can create something so luxurious. Each one works in perfect harmony, playing a crucial role in taste, texture, and that velvety finish we all adore in a classic ice cream. Don’t skip a thing—these touches make this dessert truly memorable!
- Heavy Cream: Gives the ice cream its signature creamy, luscious body so every scoop is pure decadence.
- Whole Milk: Balances richness with a touch of lightness, keeping the ice cream from being too dense.
- Granulated Sugar: Sweetens the mix and helps ensure that wonderfully smooth, scoopable texture.
- Instant Espresso Powder or Instant Coffee Granules: Packs that deep, bold coffee flavor into every bite—choose espresso for an extra punch!
- Vanilla Extract: Adds warmth and rounds out the coffee notes beautifully, making the flavor even more inviting.
- Pinch of Salt: Just a tiny bit brightens all the flavors and keeps the sweetness in check.
How to Make Homemade Coffee Ice Cream Recipe
Step 1: Whisk the Dry Ingredients
Start by grabbing a medium mixing bowl and whisking together the granulated sugar, instant espresso powder (or instant coffee granules), and a pinch of salt. This step ensures that the coffee flavor is evenly distributed and the sugar is ready to dissolve seamlessly, setting the stage for the most consistent taste and smooth texture possible.
Step 2: Add the Milk
Pour in the whole milk and give everything a good, thorough whisk. You’ll want to make sure that the sugar and coffee are completely dissolved at this point; this is the secret to avoiding any gritty bits in your finished ice cream. Take your time and watch as the mixture transforms into a rich, coffee-scented base.
Step 3: Stir in the Cream and Vanilla
Now, it’s time to bring in the heavy cream and vanilla extract. Stir until fully combined—this is where the magic starts to happen! The cream creates that silky, smooth texture every great Homemade Coffee Ice Cream Recipe is known for, while the vanilla adds a rounded depth to the overall flavor.
Step 4: Chill the Mixture
Cover the bowl and pop the mixture into the fridge for at least 2 hours, or until it’s thoroughly cold. Chilling the base is crucial for getting that dreamy, churned texture once you move on to the ice cream maker. If you have the time, chilling it overnight makes the coffee flavor even more pronounced!
Step 5: Churn the Ice Cream
Once chilled, pour the mixture into your ice cream maker and churn according to the manufacturer’s instructions, which usually takes about 20 to 25 minutes. You’re looking for a soft-serve consistency at this stage—that’s when you’ll know it’s just right.
Step 6: Freeze Until Firm
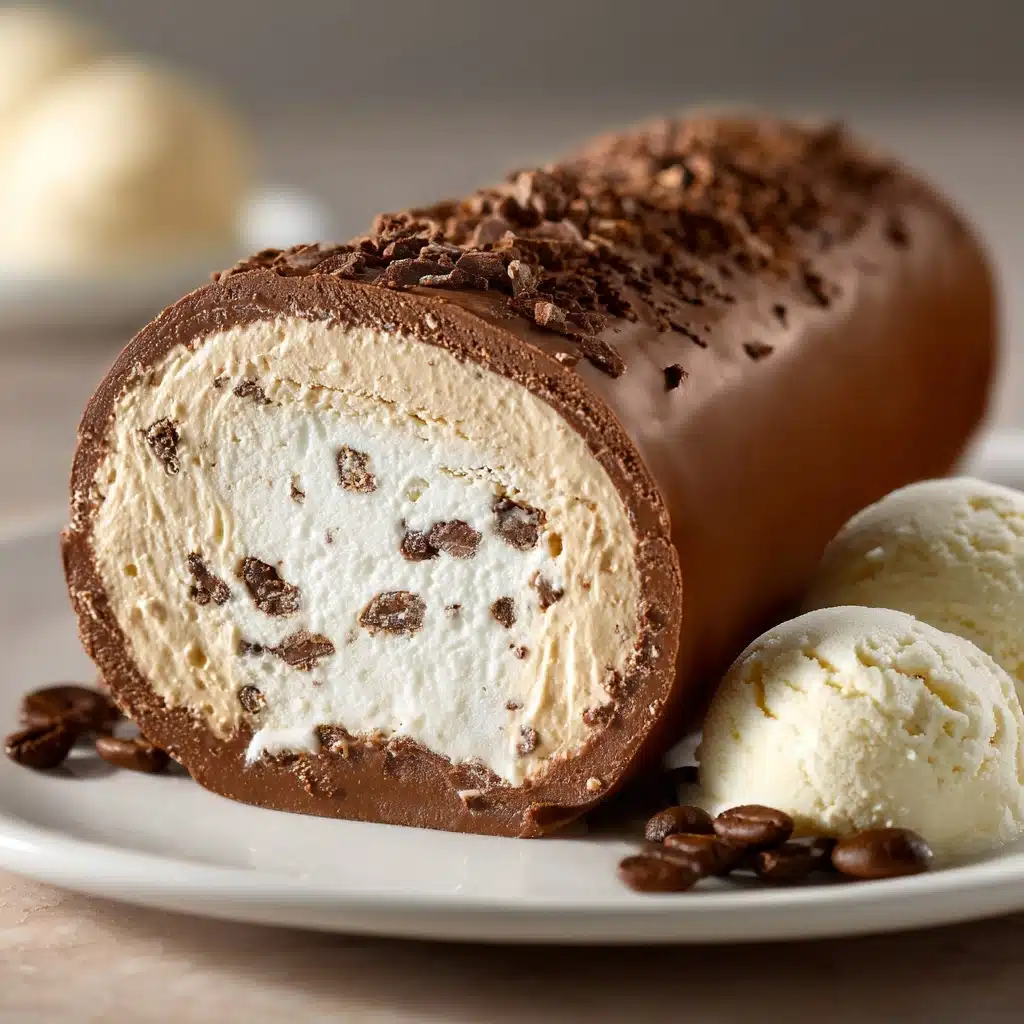
Transfer your soft, freshly churned ice cream into a freezer-safe container. Smooth the top, cover, and freeze for at least 4 hours, or until it’s perfectly firm and scoopable. If you like, this is the moment to fold in extras like chocolate chips or bits of chocolate-covered espresso beans for even more coffeehouse flair!
How to Serve Homemade Coffee Ice Cream Recipe

Garnishes
When serving Homemade Coffee Ice Cream Recipe, let your creativity shine with toppings! A sprinkling of chocolate shavings, a dusting of cocoa powder, or a few whole espresso beans give each scoop an elegant finish. For a truly decadent twist, a drizzle of caramel or a swirl of whipped cream turns every bowl into café-worthy dessert art.
Side Dishes
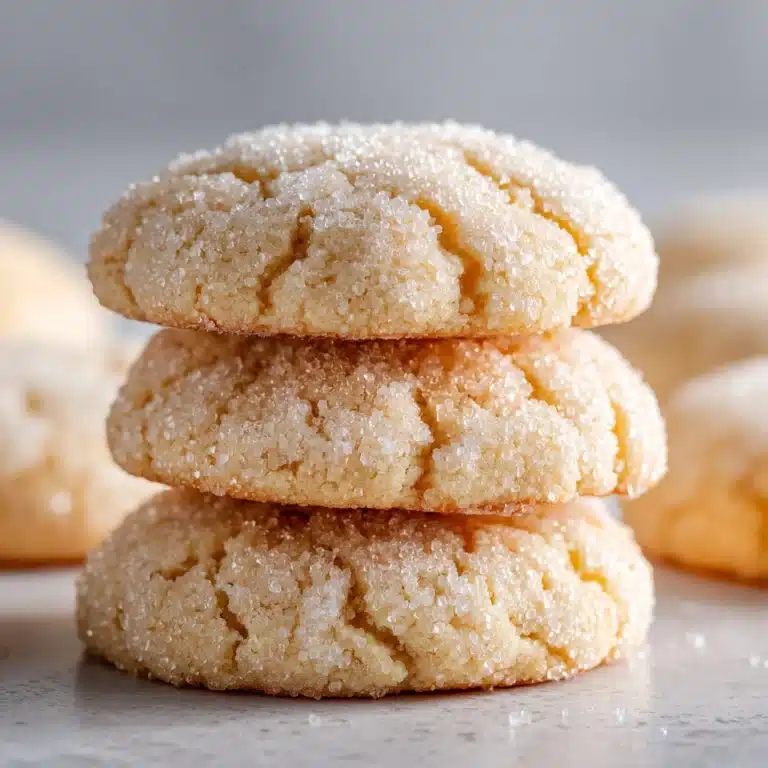
Pair your ice cream with freshly baked biscotti, buttery shortbread cookies, or even warm brownies for an irresistible contrast of textures and temperatures. The deep coffee notes also make this dessert the ultimate companion for a simple piece of dark chocolate or a crunchy almond tuile.
Creative Ways to Present
Think beyond the bowl! Serve this Homemade Coffee Ice Cream Recipe sandwiched between chocolate chip cookies for a grown-up ice cream sandwich, or scoop it into shot glasses and top with a splash of coffee liqueur for a playful, adults-only treat. Affogato-style (a scoop drowned in hot espresso) is pure bliss for true coffee purists.
Make Ahead and Storage
Storing Leftovers
After churning and freezing, keep any leftover ice cream in an airtight, freezer-safe container. Press a layer of plastic wrap directly onto the surface before sealing the lid to prevent iciness and maintain that ultra-creamy texture.
Freezing
Homemade Coffee Ice Cream Recipe stores beautifully in the freezer for up to two weeks, although it’s usually gobbled up much sooner! For best flavor and consistency, let the ice cream sit at room temperature for about 5 minutes before scooping.
Reheating
Ice cream doesn’t quite need “reheating” but if your batch becomes too firm, just place it on the counter for a few minutes. This little rest will return that perfect, easy-to-scoop softness without melting away any of the deliciousness.
FAQs
Can I make Homemade Coffee Ice Cream Recipe without an ice cream maker?
Absolutely! While an ice cream maker gives the smoothest result, you can pour the chilled mixture into a shallow dish, freeze it, and stir vigorously every 30 minutes for about 3 hours. This breaks up ice crystals for a creamy texture, though it may be a little less silky than machine-churned.
What type Dessert
Use a high-quality instant espresso powder for rich, bold flavor, but instant coffee granules also work if you prefer a milder taste. Feel free to experiment until you find your signature blend!
Can I make this dairy-free?
Yes! Substitute full-fat coconut milk and a plant-based cream for the dairy ingredients, and use a non-dairy coffee creamer if desired. The result won’t be quite as rich, but it’ll still have that fabulous flavor punch.
How do I boost the coffee flavor even more?
For an intense coffee hit, increase the espresso powder up to 2 tablespoons, or add some crushed chocolate-covered coffee beans in the final minutes of churning for extra crunch and aroma.
Is Homemade Coffee Ice Cream Recipe gluten-free?
It is! Every ingredient in this recipe is naturally gluten-free, making it a wonderful frozen treat for anyone avoiding gluten without sacrificing taste or texture.
Final Thoughts
I promise, once you taste this Homemade Coffee Ice Cream Recipe, you’ll wonder why you ever bought store-bought pints again! It’s rich, invigorating, and just the thing for sharing with friends, family, or savoring all by yourself. Go ahead—treat yourself and make this dreamy dessert part of your own kitchen traditions!
Print
Homemade Coffee Ice Cream Recipe
- Total Time: 6 hours 30 minutes
- Yield: 8 servings 1x
- Diet: Vegetarian, Gluten-Free
Description
Indulge in the rich and creamy goodness of homemade coffee ice cream with this easy-to-follow recipe. Perfect for coffee lovers and dessert enthusiasts alike, this frozen treat is a delightful way to cool down on a warm day.
Ingredients
For the coffee ice cream:
- 2 cups heavy cream
- 1 cup whole milk
- ¾ cup granulated sugar
- 1½ tablespoons instant espresso powder or instant coffee granules
- 1 tablespoon vanilla extract
- pinch of salt
Instructions
- Mix the sugar and coffee: In a medium mixing bowl, whisk together the sugar, instant espresso powder, and salt.
- Combine with milk: Add the whole milk and whisk until the sugar and coffee are fully dissolved.
- Add cream and vanilla: Stir in the heavy cream and vanilla extract until well combined.
- Chill the mixture: Cover and refrigerate for at least 2 hours or until cold.
- Churn the ice cream: Pour the chilled mixture into an ice cream maker and churn according to the manufacturer’s instructions.
- Freeze: Transfer the churned ice cream to a container, freeze for at least 4 hours until firm.
Notes
- For a stronger coffee flavor, increase the espresso powder to 2 tablespoons.
- You can add chocolate chips or crushed chocolate-covered espresso beans before freezing for extra indulgence.
- Prep Time: 10 minutes
- Cook Time: 0 minutes
- Category: Dessert
- Method: Freezing
- Cuisine: American
Nutrition
- Serving Size: ½ cup
- Calories: 240
- Sugar: 20g
- Sodium: 45mg
- Fat: 16g
- Saturated Fat: 10g
- Unsaturated Fat: 5g
- Trans Fat: 0g
- Carbohydrates: 22g
- Fiber: 0g
- Protein: 3g
- Cholesterol: 60mg


