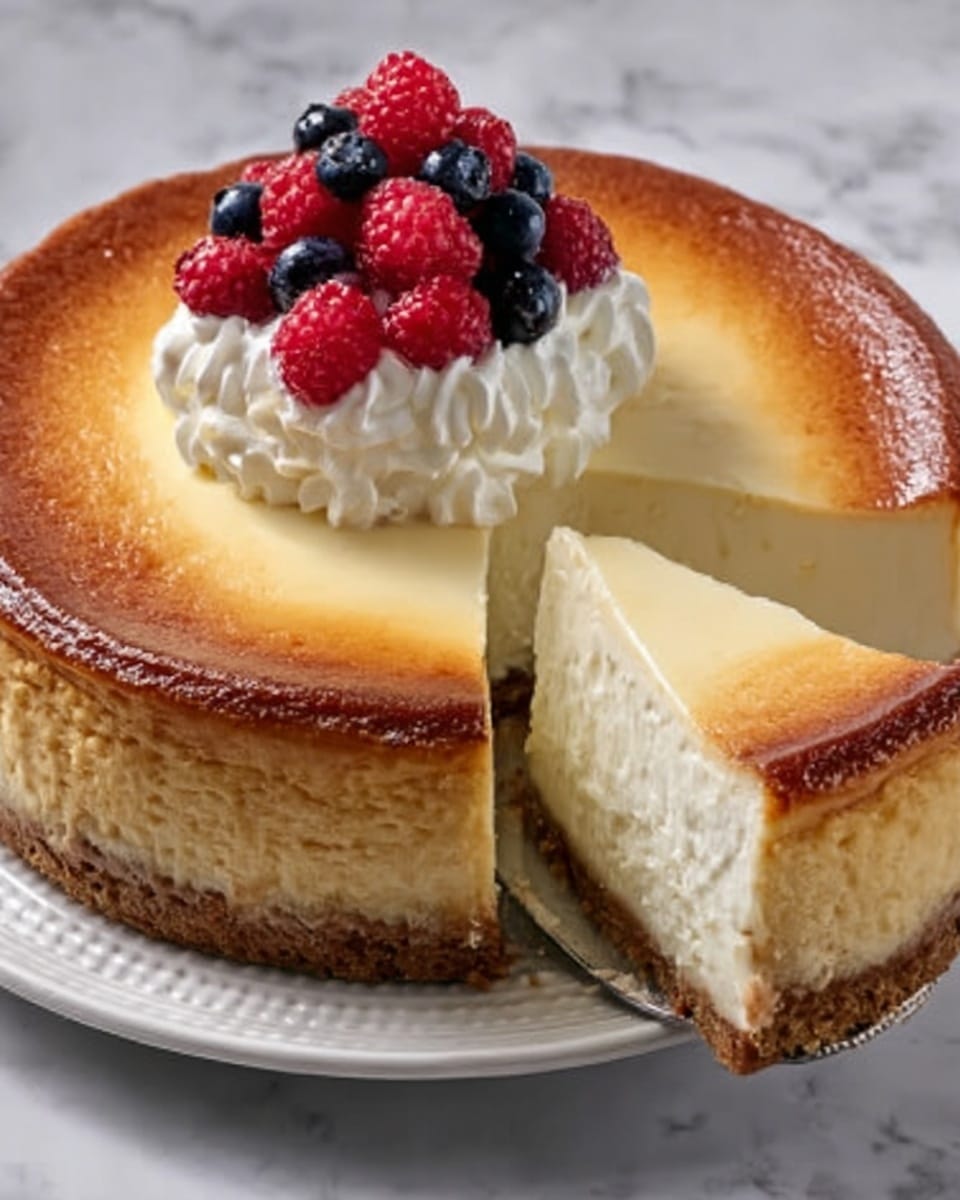
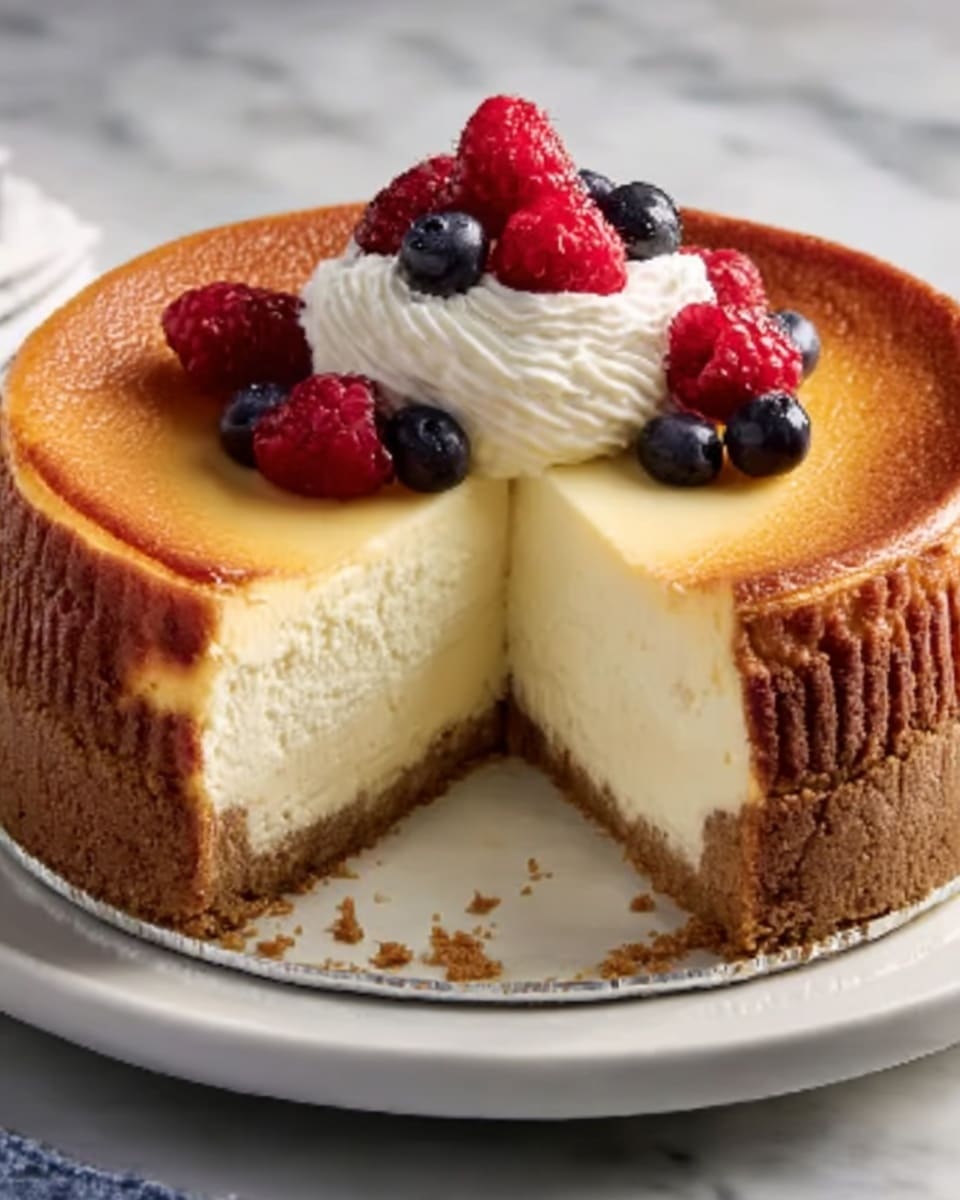
If you have ever dreamed of a dessert that combines velvety smoothness with a subtly sweet and tangy flavor, this Classic Creamy Cheesecake Recipe is your perfect match. It’s a timeless crowd-pleaser that brings together a rich cream cheese filling atop a buttery, slightly crunchy graham cracker crust. The balance of textures and flavors is simply irresistible, creating a dessert that feels luxuriously decadent yet wonderfully homey. Whether you’re celebrating a special occasion or just craving something delicious, this cheesecake makes an unforgettable centerpiece that everyone will adore.
Ingredients You’ll Need
This Classic Creamy Cheesecake Recipe shines because of its simple, high-quality ingredients. Each one plays an essential role, from the aromatic crust to the luscious, creamy filling that melts in your mouth.
- Graham cracker crumbs (1 ½ cups): Provide a perfectly sweet and crunchy base that complements the creamy filling.
- Granulated sugar (¼ cup and 1 cup): Adds just the right amount of sweetness to both the crust and the filling.
- Unsalted butter, melted (6 tablespoons): Binds the crust crumbs together for a firm, golden foundation.
- Cream cheese (4 packages, 8 oz each, softened): The star ingredient delivering that signature creamy texture.
- Pure vanilla extract (1 teaspoon): Infuses warmth and depth of flavor into the cheesecake.
- Large eggs (4, room temperature): Create structure while keeping the cheesecake silky smooth.
- Sour cream (⅔ cup): Adds a mild tanginess and enhances moistness in the filling.
- Heavy cream (⅔ cup): Brings richness and a luscious mouthfeel to the final dessert.
How to Make Classic Creamy Cheesecake Recipe
Step 1: Prepare the Crust
First things first, preheat your oven to 325°F (160°C) and wrap the bottom of a 9-inch springform pan with foil to prevent leaks during baking. In a medium bowl, mix the graham cracker crumbs, ¼ cup granulated sugar, and melted butter until the texture resembles wet sand. Press this mixture firmly and evenly into the bottom of the springform pan. Bake for 10 minutes to set the crust, then let it cool while you prepare the filling. This step ensures your crust holds together and adds a delightful crisp texture that contrasts beautifully with the creamy filling.
Step 2: Make the Cheesecake Filling
Using a hand mixer, beat the softened cream cheese on medium speed until luxuriously smooth—about 2 to 3 minutes. Then, add the 1 cup of sugar and vanilla extract, mixing until fully combined. Now, one at a time, add the eggs, mixing on low speed after each addition to avoid incorporating too much air, which can cause cracking. Finally, mix in the sour cream and heavy cream gently until the mixture is silky and uniform. This careful blending creates the signature creamy, dense texture that makes this Classic Creamy Cheesecake Recipe so irresistible.
Step 3: Assemble and Bake
Pour the velvety cheesecake filling over your cooled crust, smoothing the top with a spatula. Place your springform pan inside a larger roasting pan to create a water bath by pouring hot water halfway up the sides of the springform pan. This technique ensures even baking and prevents cracking by maintaining moisture in the oven. Bake for 1 hour and 10 minutes, or until the edges are set but the center still gently jiggles. This gentle baking process is the secret to that silky texture that will keep everyone coming back for seconds.
Step 4: Cool and Chill
Turn off the oven, crack the door, and let the cheesecake cool inside for about an hour. This gradual cooling helps prevent cracks and lets the cheesecake set perfectly. Carefully remove the springform pan from the water bath and run a knife around the edges to loosen it. Let the cheesecake cool to room temperature before refrigerating it for at least 4 hours or ideally overnight. The chilling time is crucial to develop that dense, creamy texture that defines this Classic Creamy Cheesecake Recipe.
Step 5: Serve
When you’re ready to enjoy, carefully remove the cheesecake from the springform pan and slice it into generous servings. Feel free to top it with fresh berries, dollops of whipped cream, or a drizzle of decadent chocolate sauce to add extra flair and flavor. Each bite will feel like a little slice of heaven, perfect for sharing with friends and family.
How to Serve Classic Creamy Cheesecake Recipe
Garnishes
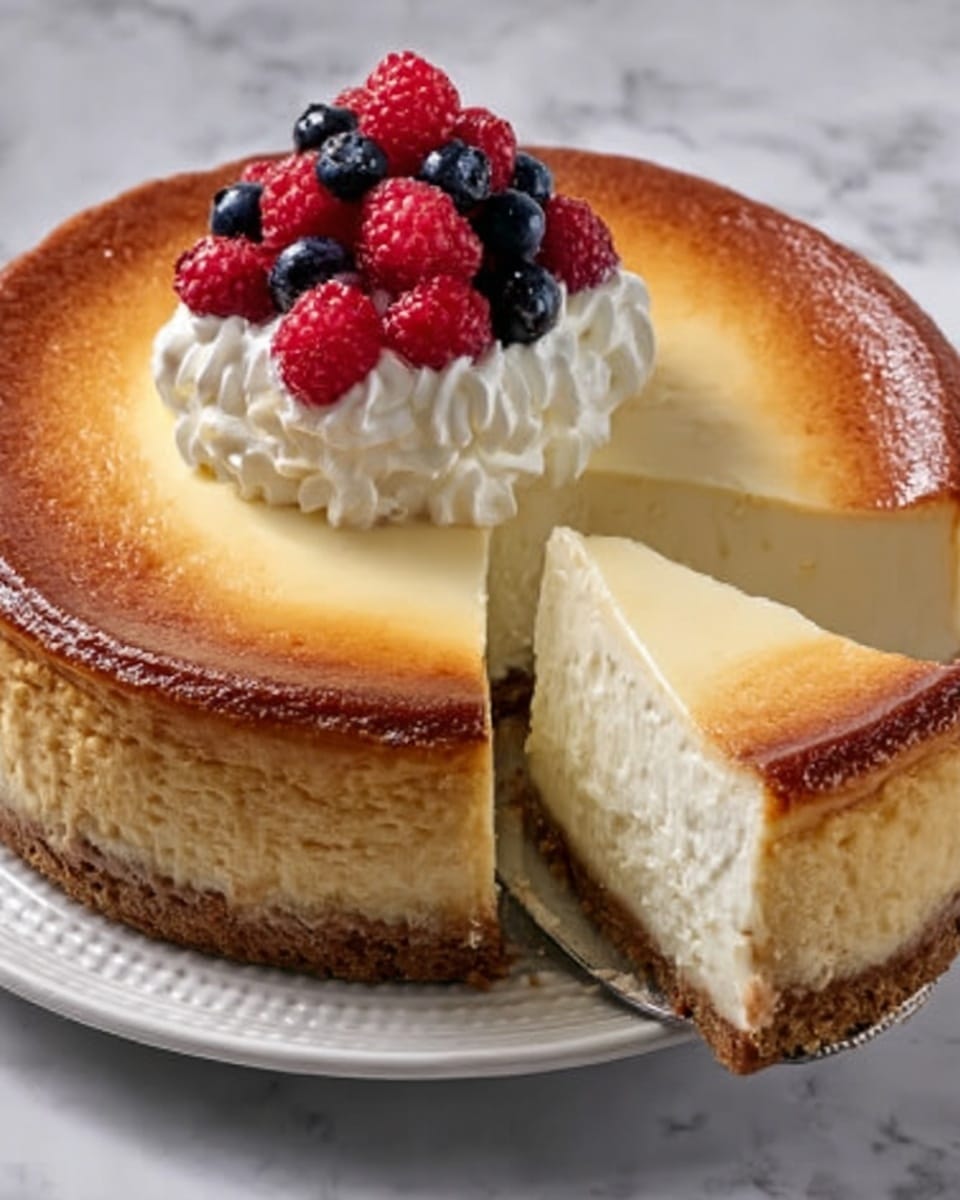
Adding garnishes elevates your cheesecake from delicious to unforgettable. Fresh berries like strawberries, blueberries, or raspberries add a pop of bright color and a natural tartness that contrasts beautifully with the creamy sweetness. Whipped cream adds cloud-like softness, while a drizzle of caramel or chocolate sauce brings indulgent richness. Toasted nuts like pecans or almonds add a satisfying crunch that enhances the texture even more.
Side Dishes
Classic Creamy Cheesecake Recipe pairs wonderfully with simple sides that won’t overwhelm the palate. Fresh fruit salad or lightly sweetened compote can keep the experience refreshing. A cold cup of coffee or tea complements the richness of the cheesecake, balancing each bite. For a more festive occasion, consider serving it alongside a glass of dessert wine or champagne for an elegant pairing.
Creative Ways to Present
Presentation is part of the joy in serving this cheesecake. Try slicing it into mini portions and topping each with a different garnish for variety. Serve it on a rustic wooden board with an assortment of fresh fruits and edible flowers for a visual feast. For a modern twist, layer cheesecake filling, crushed graham crackers, and fruit in clear parfait glasses, creating an eye-catching trifle-like dessert inspired by the Classic Creamy Cheesecake Recipe.
Make Ahead and Storage
Storing Leftovers
Store any leftover cheesecake tightly wrapped in plastic wrap or an airtight container in the refrigerator. Properly stored, it stays fresh for up to 5 days. This gives you plenty of time to savor every bite without worrying about it drying out or absorbing other fridge odors.
Freezing
If you want to prepare ahead, cheesecake freezes wonderfully. Wrap it well in plastic wrap and then in aluminum foil to prevent freezer burn. When stored like this, it can last up to 2 months. Thaw it overnight in the refrigerator before serving for the best texture and flavor that matches the original Classic Creamy Cheesecake Recipe.
Reheating
Generally, cheesecake is best served chilled, but if you prefer it slightly warmed, let the slice sit at room temperature for about 30 minutes. Avoid using a microwave, which can alter the texture. You want to preserve the creamy consistency that makes the Classic Creamy Cheesecake Recipe so special.
FAQs
Can I use a different type of crust for this cheesecake?
Absolutely! While graham cracker crust is traditional and delicious, you can swap it with crushed cookies like Oreo or digestive biscuits. Just keep the butter proportion the same to ensure the crust sets properly and provides that satisfying texture contrast.
Why does my cheesecake crack sometimes?
Cracking usually happens due to overmixing, baking at too high a temperature, or rapid cooling. This recipe prevents these issues by mixing gently, baking in a water bath, and cooling gradually, so you end up with a flawlessly smooth surface every time.
Can I make this cheesecake gluten-free?
Yes! Substitute the graham cracker crumbs with gluten-free graham crackers or gluten-free cookies. Be sure to check all other ingredients for gluten to keep the cheesecake safe for gluten-sensitive guests.
Is it necessary to use room temperature eggs?
Using eggs at room temperature helps them blend more smoothly into the filling, preventing lumps and ensuring an even texture. For best results, take the eggs out of the fridge about 30 minutes before starting the recipe.
How long should I chill the cheesecake before serving?
Chilling for at least 4 hours is important, but overnight refrigeration is ideal. This gives the flavors time to meld and the texture to set perfectly, so each bite embodies the classic creaminess you expect from this Classic Creamy Cheesecake Recipe.
Final Thoughts
There is something truly special about a cheesecake that’s both creamy and classic, and this Classic Creamy Cheesecake Recipe hits every mark beautifully. It’s approachable enough for any baker to make but impressive enough to wow your guests. Give it a try, and you might just find yourself with a new favorite dessert that’s destined to become a tradition in your home.
Print
Classic Creamy Cheesecake Recipe
- Total Time: 5 hours 20 minutes
- Yield: 12 servings 1x
Description
This classic creamy cheesecake recipe features a rich and smooth cream cheese filling on a buttery graham cracker crust, baked in a water bath to achieve the perfect silky texture. Ideal for dessert lovers, it offers a luscious treat that’s easy to make and delicious to serve with your favorite toppings.
Ingredients
Crust
- 1 ½ cups graham cracker crumbs (about 10 crackers)
- ¼ cup granulated sugar
- 6 tablespoons unsalted butter, melted
Filling
- 4 (8 oz) packages cream cheese, softened
- 1 cup granulated sugar
- 1 teaspoon pure vanilla extract
- 4 large eggs, room temperature
- ⅔ cup sour cream
- ⅔ cup heavy cream
Instructions
- Prepare the Crust: Preheat your oven to 325°F (160°C) and wrap the bottom of a 9-inch springform pan with foil to prevent leaks. In a medium bowl, mix the graham cracker crumbs, sugar, and melted butter until evenly combined. Press the mixture firmly into the bottom of the pan to form an even crust. Bake the crust for 10 minutes, then set it aside to cool.
- Make the Cheesecake Filling: Using a hand mixer, beat the softened cream cheese until smooth and creamy, about 2 to 3 minutes. Gradually add the sugar and vanilla extract, mixing well after each addition. Incorporate the eggs one at a time, mixing on low speed to keep the batter smooth. Finally, add the sour cream and heavy cream, and beat until the filling is completely smooth and lump-free.
- Assemble and Bake: Pour the prepared cheesecake filling over the cooled crust in the springform pan. Place this pan inside a larger roasting pan to prepare a water bath. Carefully pour hot water into the roasting pan until it reaches halfway up the sides of the springform pan, which helps the cheesecake bake evenly and prevents cracking. Bake for 1 hour and 10 minutes, or until the cheesecake edges are set but the center still has a slight jiggle.
- Cool and Chill: Once baking is complete, turn off the oven and crack the oven door open, allowing the cheesecake to cool gradually for 1 hour. Remove the springform pan from the water bath and run a thin knife around the edges to loosen the cheesecake from the pan. Allow the cheesecake to cool completely to room temperature, then refrigerate for at least 4 hours, preferably overnight, to fully set and develop flavors.
- Serve: Remove the sides of the springform pan and slice the cheesecake into 12 servings. Enhance your dessert by adding toppings such as fresh berries, whipped cream, or a drizzle of chocolate sauce for extra indulgence.
Notes
- Using room temperature eggs and cream cheese helps create a smooth filling without lumps.
- Wrapping the springform pan bottom with foil prevents water from leaking into the cheesecake during the water bath bake.
- Baking in a water bath helps avoid cracks and ensures even cooking.
- Allow the cheesecake to chill for at least 4 hours to achieve the best texture.
- Feel free to customize with your favorite toppings to add flavor and presentation appeal.
- Prep Time: 30 minutes
- Cook Time: 1 hour 20 minutes
- Category: Dessert
- Method: Baking
- Cuisine: American
