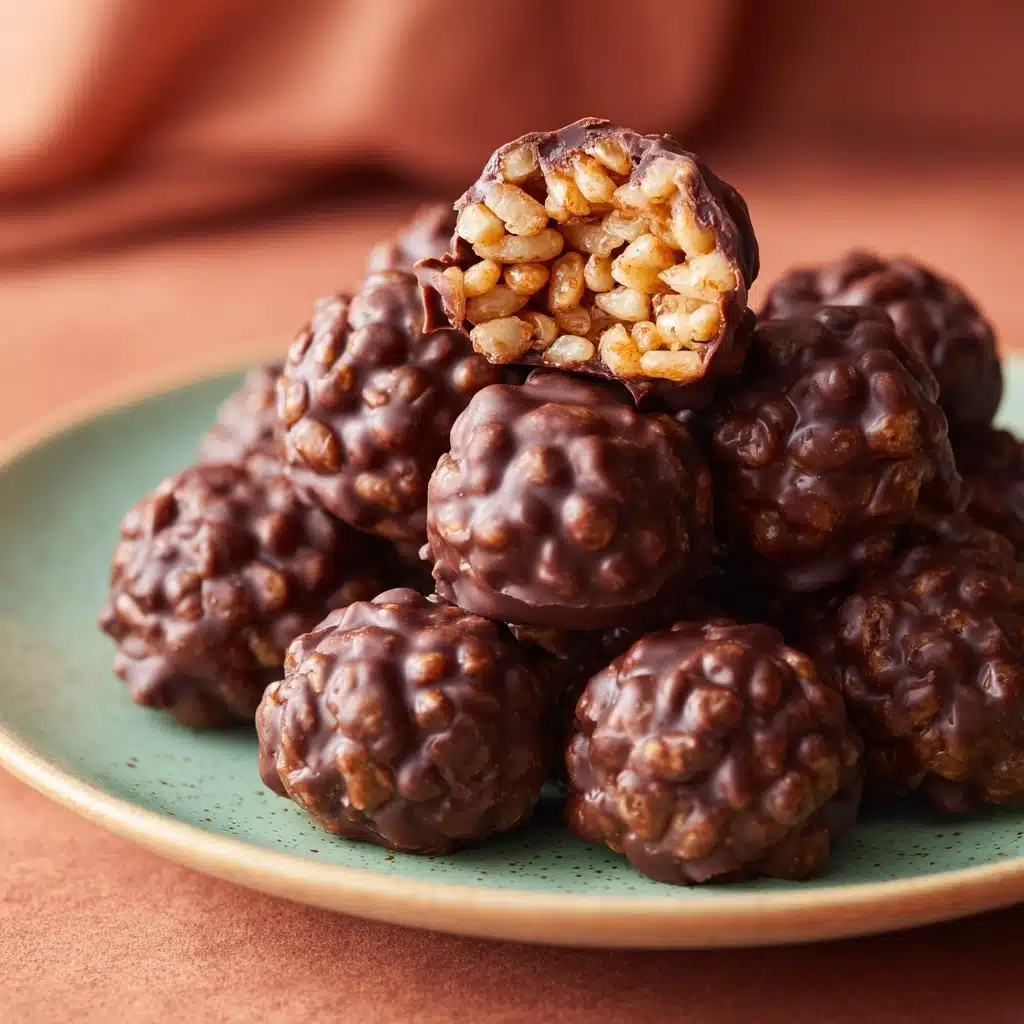
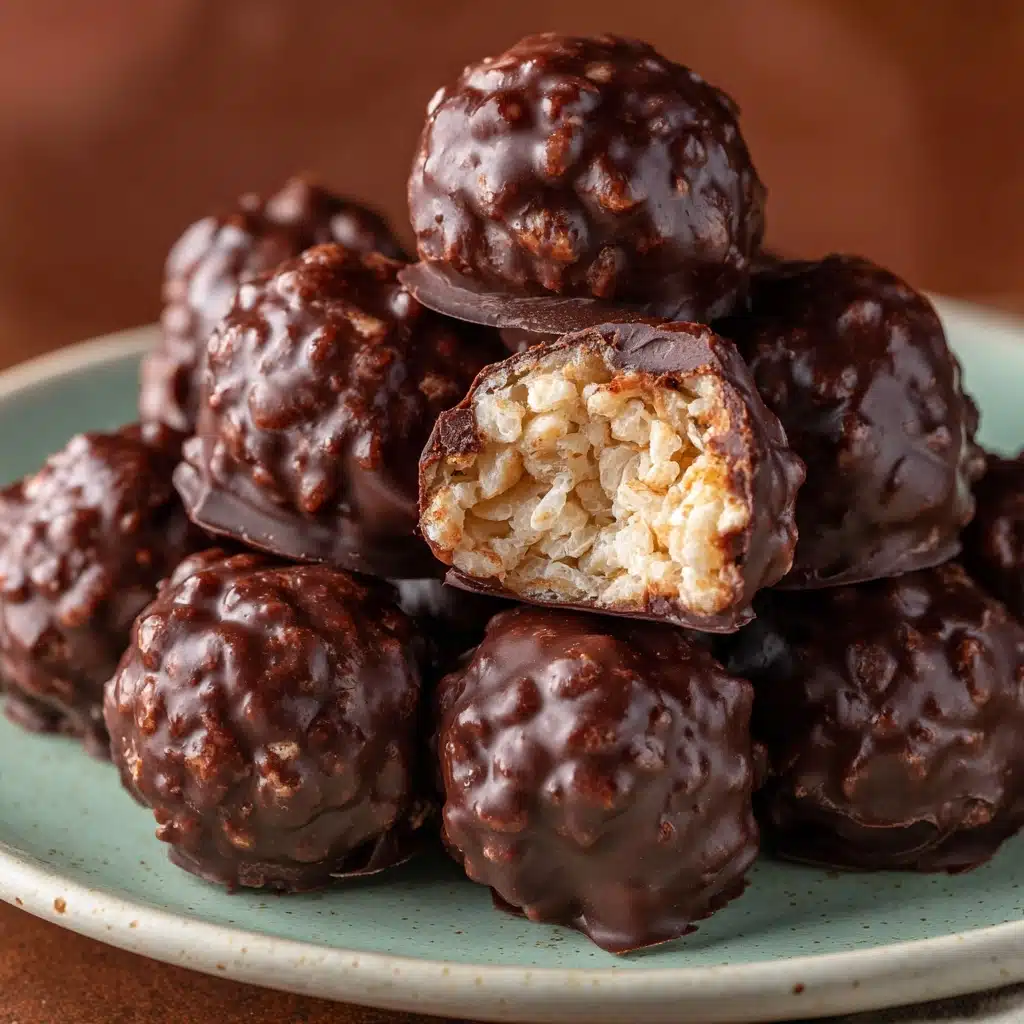
If you’re searching for a treat that’s fun, easy, and guaranteed to disappear in a flash, Chocolate Rice Krispie Balls are about to become your new obsession. These bite-sized delights combine irresistibly crispy cereal, the nutty richness of peanut butter, and a blanket of smooth chocolate for a snack that’s as satisfying as it is simple. Whether you’re feeding a hungry crowd, prepping lunchbox surprises, or just craving something sweet with your afternoon coffee, Chocolate Rice Krispie Balls deliver a perfect balance of crunch, creaminess, and chocolatey bliss in every single bite.
Ingredients You’ll Need
The magic of Chocolate Rice Krispie Balls is all about using everyday ingredients in just the right way. Each element brings its own special something, from texture to flavor to that glossy finishing touch. Here’s what you’ll need, plus a tip for each!
- Rice Krispies cereal: The secret to that satisfying crunch! Use fresh cereal for the best texture.
- Creamy peanut butter: Opt for the classic creamy kind so the mixture holds together smoothly—natural varieties work too, just stir well.
- Powdered sugar: Adds sweetness and helps everything stick together for easy rolling.
- Honey or maple syrup: Both will bind the mixture and add a subtle, natural sweetness—choose your favorite!
- Vanilla extract: Just a splash brings all the flavors together with a warm, cozy aroma.
- Semi-sweet or dark chocolate chips: The chocolate coating is where the magic happens; choose your preferred intensity.
- Coconut oil (optional): Stir in a bit if you want an extra-silky, shiny chocolate shell.
How to Make Chocolate Rice Krispie Balls
Step 1: Make the Peanut Butter Base
Start by grabbing a large mixing bowl—this will make combining everything a breeze! Add the creamy peanut butter, powdered sugar, honey (or maple syrup), and vanilla extract. Stir together until the mixture is smooth and uniform. This luscious base is what gives Chocolate Rice Krispie Balls their signature chewy texture and rich, nutty flavor.
Step 2: Stir in the Cereal
Pour the Rice Krispies cereal right into your peanut butter mixture. Gently fold everything together, taking care not to crush the cereal—those airy puffs are what make each bite so satisfyingly crispy. Mix just until every bit of cereal is coated in that sweet, sticky goodness.
Step 3: Roll Into Balls
Scoop out tablespoon-sized portions of the mixture and roll them between your palms to form balls. Place each one on a parchment-lined baking sheet as you go. If the mixture gets a little sticky, lightly greasing your hands can help. Once all the balls are formed, pop the tray into the fridge for 20 to 30 minutes so they firm up.
Step 4: Melt the Chocolate
While your Rice Krispie balls chill, it’s time for the best part: chocolate! Place the chocolate chips (and coconut oil, if using) in a microwave-safe bowl. Heat in 30-second bursts, stirring after each round, until everything is silky smooth. The coconut oil isn’t required, but it makes dipping even easier and gives a gorgeous finish.
Step 5: Dip and Set
Grab your chilled Rice Krispie balls and, one by one, dip them into the melted chocolate until fully coated. Use a fork to lift each ball out, letting the excess drip off before returning it to the parchment. Once all are coated, slide the tray back into the fridge for another 15 to 20 minutes, or until the chocolate shell is perfectly set. Your Chocolate Rice Krispie Balls are officially ready to enjoy!
How to Serve Chocolate Rice Krispie Balls
Garnishes
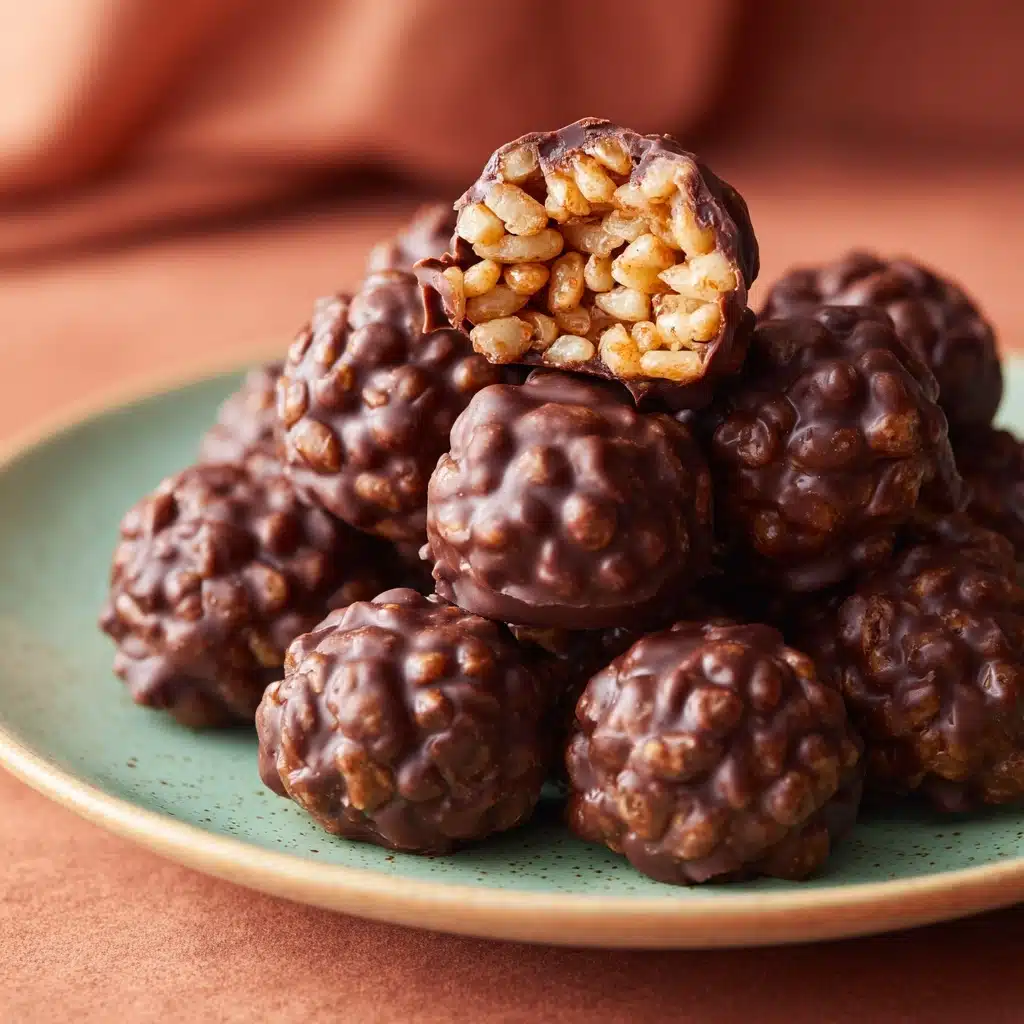
Dress up your Chocolate Rice Krispie Balls with a little extra flair! Try drizzling with melted white chocolate for an elegant touch, or sprinkle a pinch of flaky sea salt on top before the chocolate sets for a sweet-and-salty twist. You can also roll the freshly dipped balls in crushed nuts, sprinkles, or even toasted coconut for a pop of color and flavor.
Side Dishes
These treats are wonderful on their own, but they pair beautifully with fresh fruit like sliced strawberries or bananas for a snack platter. If you’re serving them at a party, set out a plate alongside coffee, hot chocolate, or even a scoop of vanilla ice cream for a dessert spread that’s sure to impress.
Creative Ways to Present
Chocolate Rice Krispie Balls are perfect for gifting or parties! Nestle them in mini cupcake liners and arrange on a pretty platter, pack them in a decorative tin for a homemade gift, or stack them on a tiered dessert stand for a festive centerpiece. For a playful twist, skewer a few on lollipop sticks to create adorable chocolate pops that both kids and adults will love.
Make Ahead and Storage
Storing Leftovers
Keep any uneaten Chocolate Rice Krispie Balls in an airtight container in the fridge. They stay fresh, crisp, and delicious for up to a week—although chances are they’ll get gobbled up long before then! The chilled chocolate shell also helps keep them perfectly intact and easy to grab for a quick treat.
Freezing
Chocolate Rice Krispie Balls freeze beautifully, making them a fantastic make-ahead option. Arrange in a single layer on a baking sheet to freeze until solid, then transfer to a freezer bag or container. They’ll keep for up to two months; just let them thaw for a few minutes at room temperature before serving for the best texture.
Reheating
No need to reheat these no-bake wonders! Simply enjoy them straight from the fridge or let them sit out for a few minutes if you prefer a slightly softer bite. If you want to refresh the chocolate coating, you can microwave a ball for just 5 seconds—but be careful, as the chocolate can melt quickly.
FAQs
Can I make Chocolate Rice Krispie Balls without peanut butter?
Absolutely! Swap in almond butter or sunflower seed butter for a peanut-free option that’s just as delicious. Adjust the sweetness to taste, as some nut butters can be a bit saltier or less sweet than peanut butter.
How do I keep the mixture from sticking to my hands when rolling?
A quick trick: lightly grease your hands with a little coconut oil or nonstick spray before rolling. This keeps the mixture from sticking and makes shaping the balls a breeze.
Do I have to use coconut oil in the chocolate coating?
No, coconut oil is optional! It simply helps the chocolate melt more smoothly and gives the finished coating a glossy look. If you prefer, you can skip it and just use the chocolate chips on their own.
Are Chocolate Rice Krispie Balls gluten-free?
Yes, as long as you use certified gluten-free Rice Krispies cereal, this recipe is naturally gluten-free and perfect for sharing with friends who have dietary restrictions. Always double-check your cereal label to be sure!
Can I double the recipe for a bigger batch?
Definitely! Just scale up the ingredients and use a large mixing bowl. These treats are wonderful for parties, bake sales, or making sure you have plenty on hand for snacking throughout the week.
Final Thoughts
If you’re looking for a no-fuss, crowd-pleasing dessert, look no further than Chocolate Rice Krispie Balls. They’re as fun to make as they are to eat, and every bite is pure nostalgia with a grown-up chocolate twist. Gather your ingredients and give them a try—you might just find yourself making extra batches for friends and family!
Print
Chocolate Rice Krispie Balls Recipe
- Total Time: 50 minutes (including chilling)
- Yield: 24 balls 1x
- Diet: Vegetarian
Description
Delicious no-bake Chocolate Rice Krispie Balls made with crispy cereal, creamy peanut butter, a touch of sweetness, and coated in rich melted chocolate. These easy-to-make treats are perfect for satisfying your sweet tooth and are great for gluten-free snacking when using certified ingredients.
Ingredients
Main Ingredients
- 3 cups Rice Krispies cereal
- 1 cup creamy peanut butter
- 1/2 cup powdered sugar
- 1/4 cup honey or maple syrup
- 1 teaspoon vanilla extract
Chocolate Coating
- 1 1/2 cups semi-sweet or dark chocolate chips
- 1 tablespoon coconut oil (optional, for smoother melting)
Instructions
- Mix Wet Ingredients: In a large mixing bowl, combine the peanut butter, powdered sugar, honey, and vanilla extract. Stir until smooth and well combined, creating a creamy base for the cereal.
- Add Cereal: Gently fold in the Rice Krispies cereal until all the pieces are evenly coated with the peanut butter mixture, ensuring a sticky but manageable texture.
- Form Balls: Scoop out tablespoon-sized portions of the mixture and roll them between your palms to form compact balls. Place each ball on a parchment-lined baking sheet.
- Chill the Balls: Refrigerate the formed balls for 20 to 30 minutes until they become firm and easier to dip in chocolate.
- Melt Chocolate: While the balls chill, melt the chocolate chips with the coconut oil (if using) in a microwave-safe bowl. Heat in 30-second intervals, stirring between each until the chocolate is smooth and glossy.
- Dip in Chocolate: Remove the chilled Rice Krispie balls from the fridge and dip each one into the melted chocolate, coating them completely. Allow any excess chocolate to drip off before placing them back on the parchment-lined sheet.
- Set the Coating: Refrigerate the chocolate-coated balls for an additional 15 to 20 minutes, or until the chocolate is fully set and firm to the touch.
- Store and Serve: Keep the finished treats in an airtight container in the refrigerator to maintain freshness. Serve chilled and enjoy your easy, delightful dessert!
Notes
- Use almond butter or sunflower seed butter for a peanut-free version.
- Drizzle with white chocolate for an attractive decoration.
- Add a pinch of sea salt on top before the chocolate sets to enhance flavor.
- Ensure Rice Krispies cereal is certified gluten-free if dietary restrictions apply.
- Prep Time: 20 minutes
- Cook Time: 0 minutes
- Category: Dessert
- Method: No-Bake
- Cuisine: American
Nutrition
- Serving Size: 1 ball
- Calories: 120
- Sugar: 8g
- Sodium: 60mg
- Fat: 7g
- Saturated Fat: 3g
- Unsaturated Fat: 3g
- Trans Fat: 0g
- Carbohydrates: 12g
- Fiber: 1g
- Protein: 2g
- Cholesterol: 0mg
