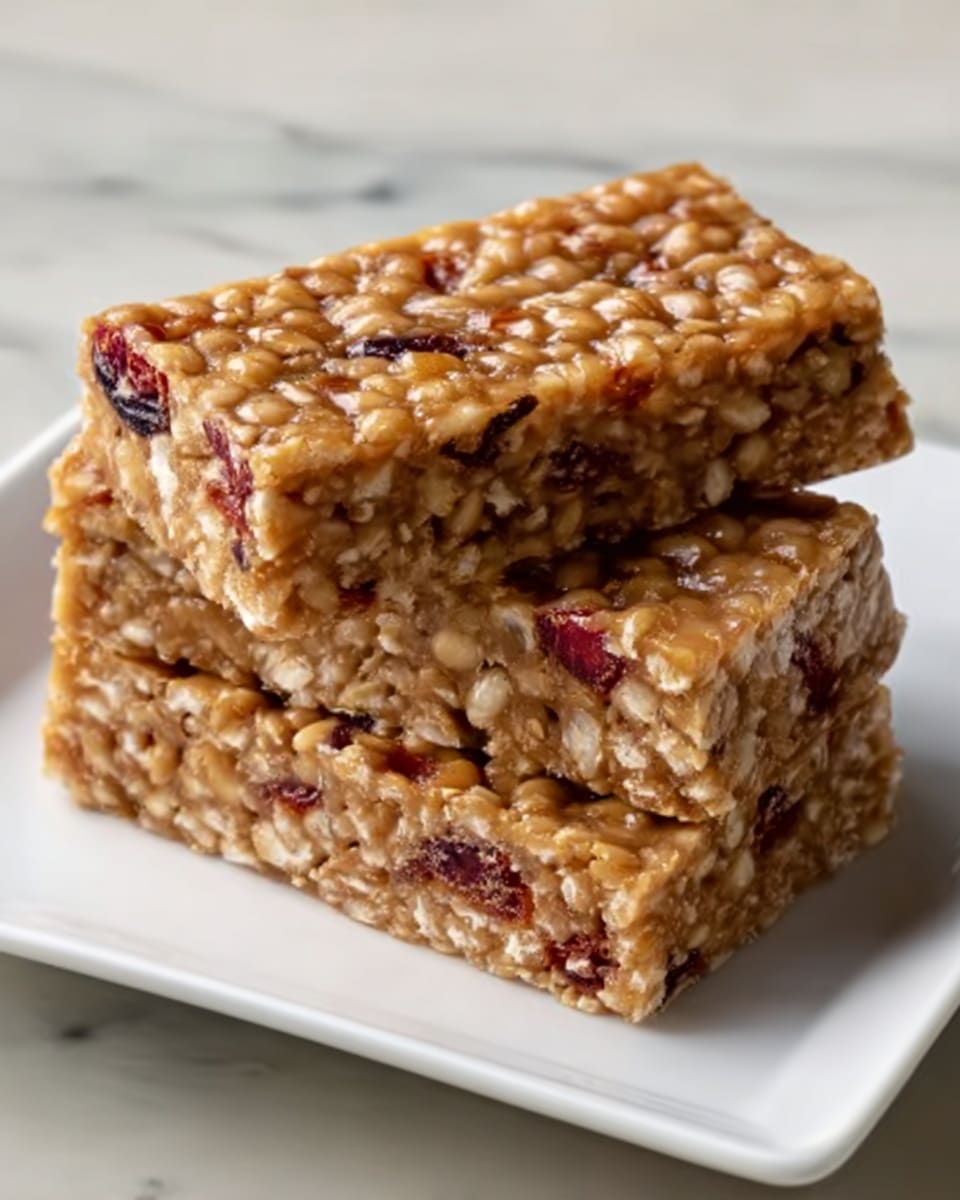
If you’re on the hunt for a delightful, wholesome snack that’s both energizing and incredibly tasty, this Cereal Bars Recipe is an absolute game-changer. Perfect for busy mornings, midday boosts, or a sweet treat anytime, these bars combine the satisfying crunch of crispy cereal, the hearty chew of oats, and the rich embrace of peanut butter or almond butter. Each bite delivers a beautiful balance of flavors and textures that will quickly become your new favorite go-to homemade snack.
Ingredients You’ll Need
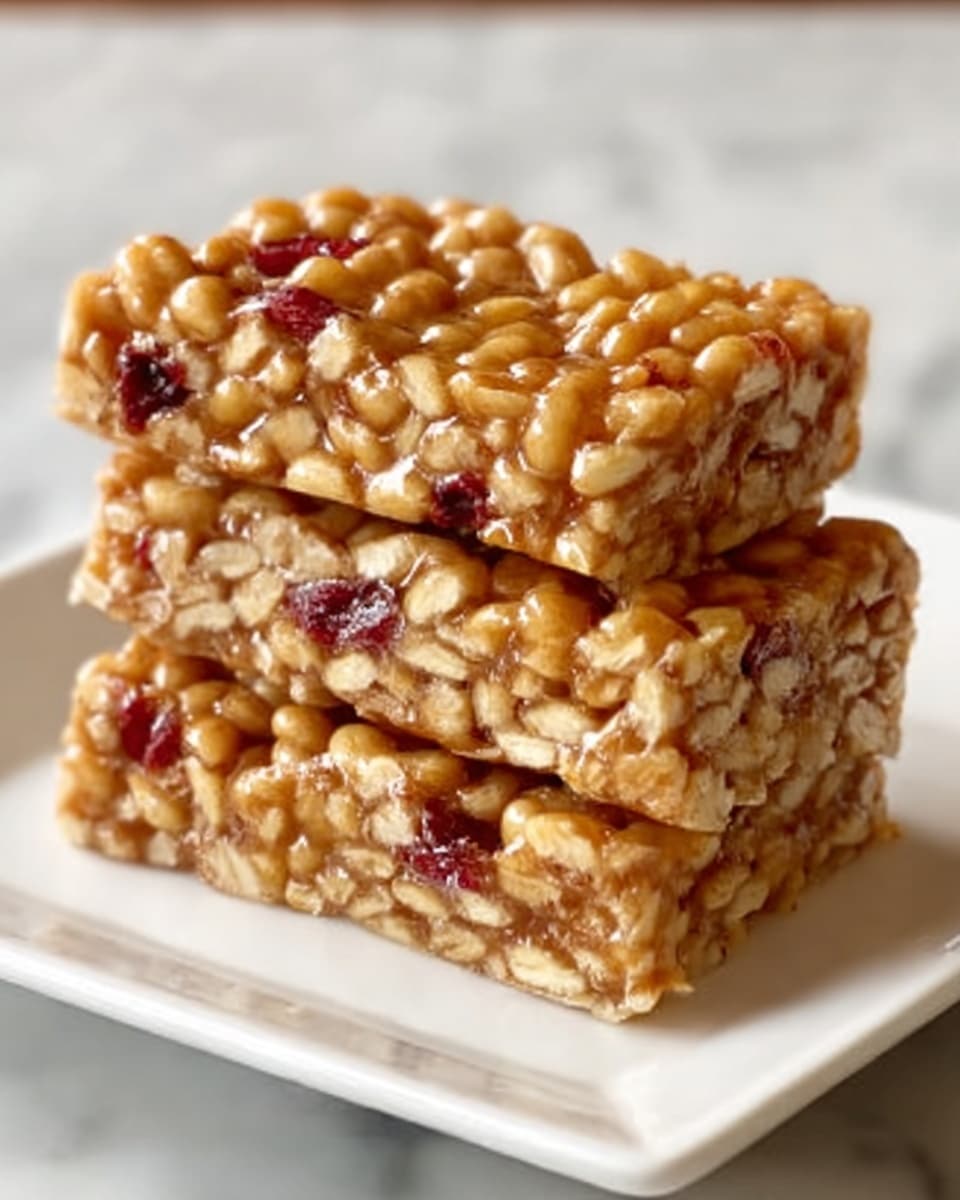
Ingredients You’ll Need
These ingredients are wonderfully straightforward but essential for nailing the perfect cereal bars. Each adds a unique touch to flavor, texture, or sweetness, ensuring your bars come out just right every time.
- 3 cups crispy rice cereal or mixed whole-grain cereal: This forms the crunchy base and adds a light texture that keeps the bars from being too dense.
- 1 cup rolled oats: Rolled oats bring a hearty chew and wholesome goodness to the mix, balancing out the crispiness of the cereal.
- ½ cup honey or maple syrup: Natural sweetness that binds the ingredients together while adding a subtle, rich flavor.
- ½ cup peanut butter or almond butter: Creamy and nutty, this not only holds the bars together but also contributes to the satisfying taste and protein content.
- 1 teaspoon vanilla extract: A splash of warmth and depth that subtly elevates the overall flavor profile.
- ¼ teaspoon salt: Enhances all the sweet and nutty flavors, making them pop just perfectly.
- Optional: ¼ cup mini chocolate chips or dried fruit: These add bursts of sweetness and fun textures, great for personalizing your bars.
How to Make Cereal Bars Recipe
Step 1: Prepare Your Baking Dish
Start by lining an 8×8-inch baking dish with parchment paper, making sure to leave some paper hanging over the edges. This little trick makes lifting the bars out a breeze once they’re set, ensuring clean, beautiful squares without any fuss.
Step 2: Mix the Dry Ingredients
In a large bowl, combine the crispy rice cereal and rolled oats. This mix of textures creates that perfect balance of crunch and chew that’s so satisfying in these bars.
Step 3: Heat the Wet Ingredients
Gently warm the honey or maple syrup and peanut butter together in a small saucepan over low heat. Stir continuously until the mixture is silky smooth and fully combined. Then, remove from heat and mix in vanilla extract and salt for that extra layer of flavor.
Step 4: Combine All Ingredients
Pour your warm peanut butter mixture over the cereal and oats. Stir everything together thoroughly so every bit is coated. If you’re feeling adventurous, gently fold in mini chocolate chips or your favorite dried fruit for an added twist.
Step 5: Press Into the Pan
Transfer your mixture into the lined baking dish. Using the back of a spoon or spatula, firmly press it down into an even layer. The firmness here is key to ensuring your bars hold together once chilled.
Step 6: Chill and Cut
Pop the dish in the refrigerator for at least 1 hour, or until the mixture is firm to the touch. After chilling, lift the whole block out using the parchment paper edges and cut into 12 delightful bars. Now the fun part begins—time to enjoy!
How to Serve Cereal Bars Recipe
Garnishes
To make your cereal bars even more special, consider topping them with a drizzle of melted dark chocolate or a sprinkle of toasted coconut flakes. These little touches add a lovely finish and make your bars feel a bit more gourmet without extra effort.
Side Dishes
These bars are fantastic on their own but also pair beautifully with fresh fruit slices or a dollop of Greek yogurt for a balanced snack or breakfast. The creamy yogurt complements the crispy bars fabulously.
Creative Ways to Present
Serve your cereal bars on a rustic wooden board alongside nuts and fresh berries for an inviting snack platter. Or, individually wrap them in parchment paper tied with a colorful string for grab-and-go treats that look as good as they taste.
Make Ahead and Storage
Storing Leftovers
Store your cereal bars in an airtight container at room temperature for up to a week. Keeping them sealed preserves their freshness and crunch, making them just as delightful days later.
Freezing
For longer storage, freeze the bars wrapped tightly in plastic wrap and placed in a freezer-safe bag or container. They can last up to 2 months this way and thaw quickly when you’re ready for a treat.
Reheating
While these bars are great straight from the fridge or freezer, warming them slightly in the microwave for 10-15 seconds brings out the gooey peanut butter flavor and makes them wonderfully soft and chewy.
FAQs
Can I substitute the peanut butter with another nut butter?
Absolutely! Almond butter, cashew butter, or sunflower seed butter all work wonderfully and bring their own distinct nutty flavors to the bars.
Are these cereal bars gluten-free?
They can be if you use gluten-free cereal and oats. Just be sure to check your ingredient labels to ensure everything fits your dietary needs.
Can I make these bars without honey or maple syrup?
Honey or maple syrup acts as the natural sweetener and binder, so it’s best not to omit it. However, you can try using agave syrup or brown rice syrup as alternatives.
What’s the best way to keep these bars from crumbling?
The key is pressing the mixture down firmly in the pan and chilling them well. This helps everything stick together so your bars hold their shape beautifully.
Can I add nuts or seeds to this recipe?
Definitely! Chopped nuts or seeds like chia, flax, or sunflower seeds add wonderful crunch and nutrition, giving the bars an extra boost of flavor and texture.
Final Thoughts
I hope this Cereal Bars Recipe inspires you to create a batch of your very own delicious, homemade bars that you can enjoy anytime. They’re incredibly simple to make, packed with wholesome ingredients, and totally customizable. Go ahead, give it a try—you’ll soon find these bars becoming a favorite snack in your kitchen!
Print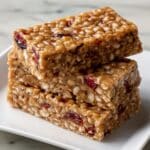
Cereal Bars Recipe
- Total Time: 1 hour 10 minutes
- Yield: 12 bars 1x
- Diet: Vegetarian
Description
These homemade cereal bars are a perfect no-bake snack combining crispy rice cereal, oats, and a luscious blend of honey and peanut butter. With optional additions like mini chocolate chips or dried fruit, they’re easy to customize and perfect for on-the-go energy boosts or a quick treat.
Ingredients
Base Ingredients
- 3 cups crispy rice cereal or mixed whole-grain cereal
- 1 cup rolled oats
Binding Mixture
- ½ cup honey or maple syrup
- ½ cup peanut butter or almond butter
- 1 teaspoon vanilla extract
- ¼ teaspoon salt
Optional Add-ins
- ¼ cup mini chocolate chips or dried fruit
Instructions
- Prepare Baking Dish: Line an 8×8-inch baking dish with parchment paper, ensuring there is extra paper hanging over the edges. This makes it easy to lift out the bars once set.
- Mix Dry Ingredients: In a large bowl, combine the crispy rice cereal and rolled oats evenly. Set this mixture aside while you prepare the binding syrup.
- Heat Binding Mixture: Place honey (or maple syrup) and peanut butter (or almond butter) in a small saucepan over low heat. Stir constantly until the mixture is smooth and well combined. Remove from heat, then stir in the vanilla extract and salt to enhance the flavor.
- Combine and Add Extras: Pour the warm peanut butter syrup over the cereal and oats, stirring thoroughly until everything is coated evenly. If you like, gently fold in mini chocolate chips or dried fruit at this stage.
- Press Mixture Into Dish: Transfer the combined mixture into the prepared baking dish. Use the back of a spoon or a spatula to press firmly and evenly across the entire surface, ensuring the bars hold together well.
- Chill Until Set: Place the dish in the refrigerator for at least 1 hour to allow the bars to firm up. Once solid, lift the mixture out using the parchment paper edges, then cut it into 12 equal-sized bars for serving.
Notes
- Use natural peanut butter or almond butter for a healthier option without added sugars.
- Press the mixture firmly into the dish to help the bars hold their shape better.
- Store bars in an airtight container in the refrigerator for up to one week, or freeze for longer storage.
- Feel free to substitute with your favorite nuts or seeds to customize texture and flavor.
- If you prefer vegan, ensure the honey is replaced with maple syrup or agave nectar.
- Prep Time: 15 minutes
- Cook Time: 10 minutes
- Category: Snack
- Method: No-Cook
- Cuisine: American
