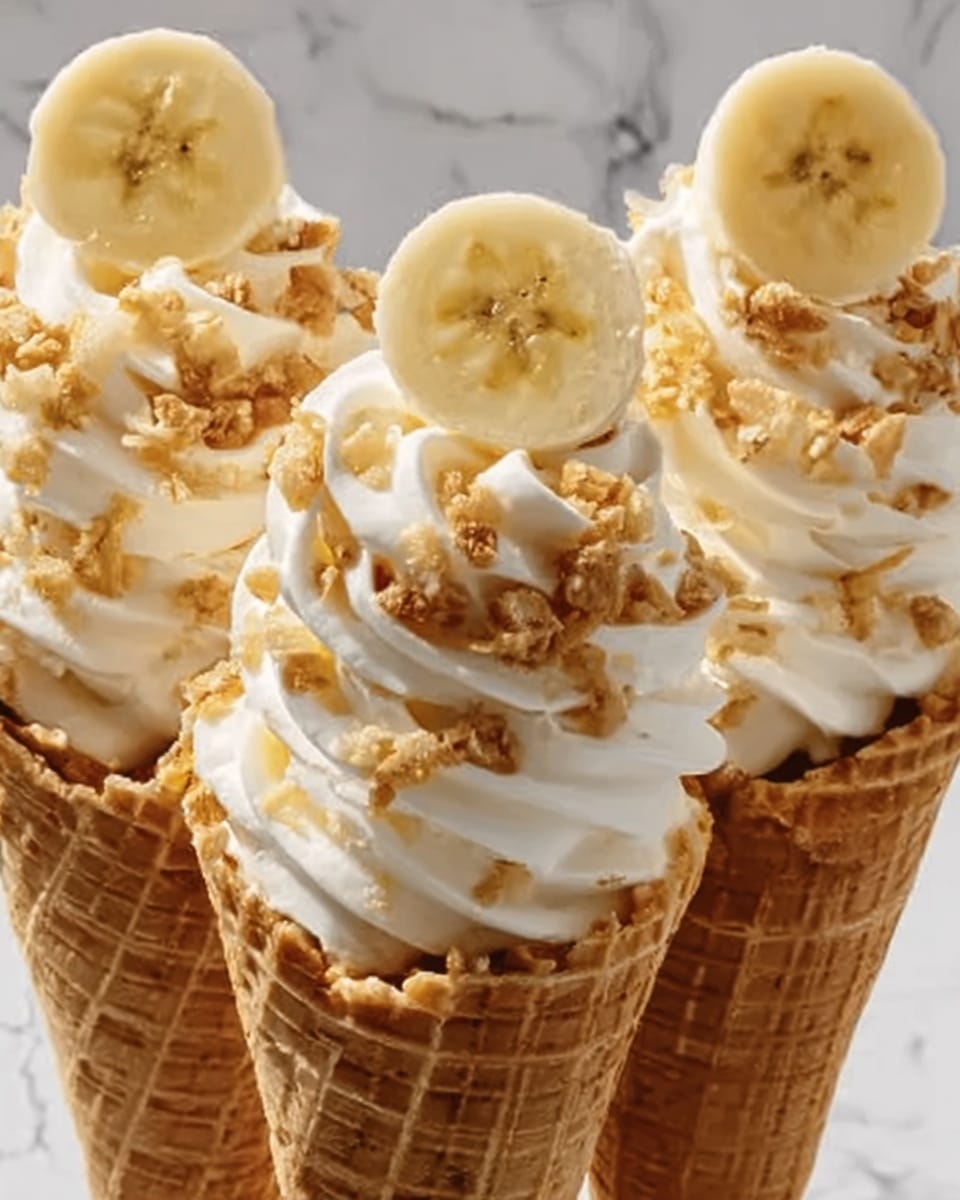
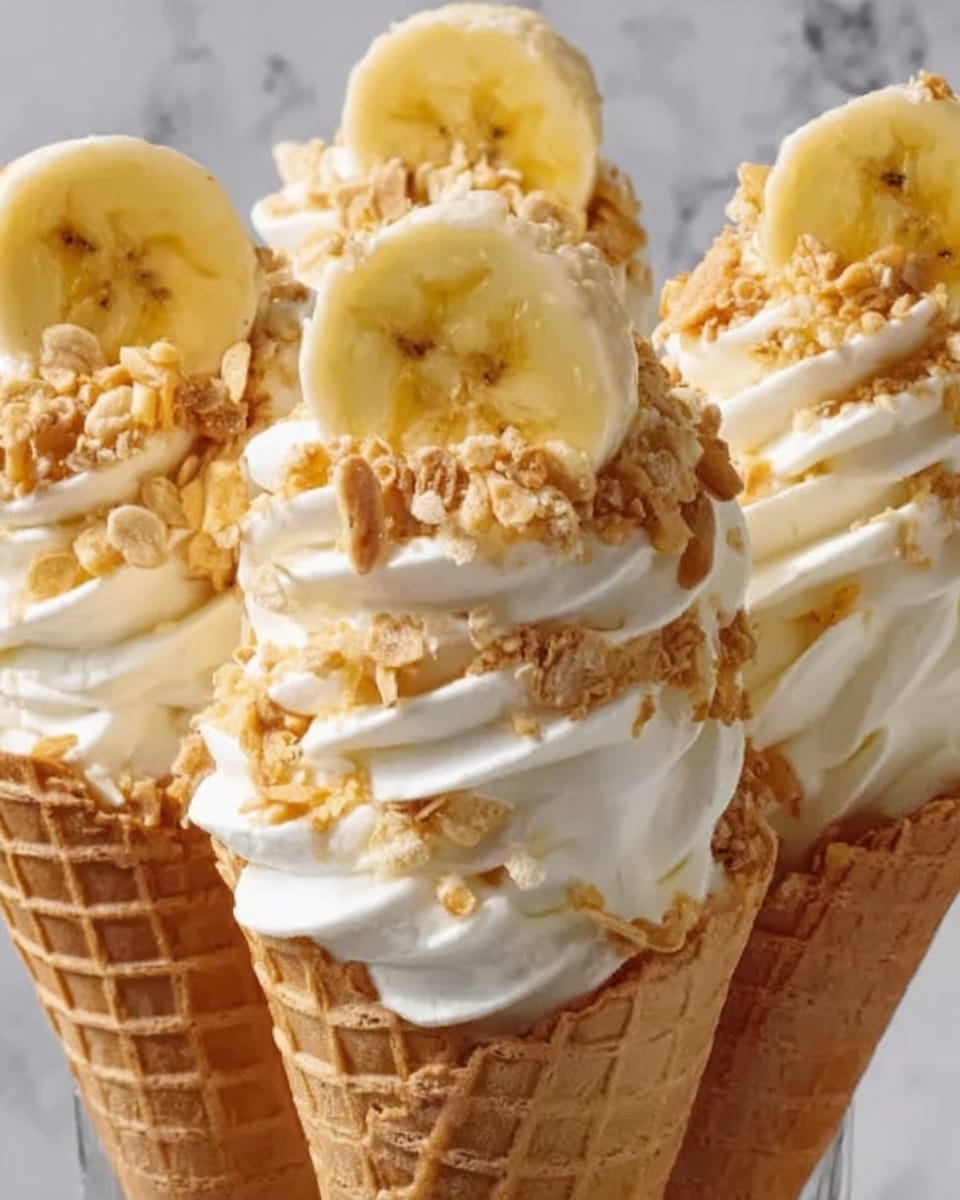
If you have a sweet tooth and love the classic flavors of banana pudding with a creamy twist, then you are going to absolutely adore this Banana Pudding Cheesecake Cones Recipe. It combines the richness of cheesecake filling with the nostalgic crunch of vanilla wafers and the natural sweetness of ripe bananas, all served in charming sugar cones for a fun and portable dessert. This treat is perfect for warm afternoons, parties, or whenever you want a delightful bite that feels both elegant and playful.
Ingredients You’ll Need
The beauty of this Banana Pudding Cheesecake Cones Recipe is in its simplicity—each ingredient is carefully chosen to bring creamy texture, sweet banana flavor, and that classic wafer crunch together. These essentials do more than just contribute to the taste; they create a harmony of flavors and textures that will make your dessert unforgettable.
- Cream cheese (8 oz, softened): The creamy base that gives the cheesecake filling its luscious texture and tangy depth.
- Granulated sugar (1/2 cup): Adds the perfect touch of sweetness to balance the cream cheese.
- Vanilla extract (1 tsp): Infuses a warm, fragrant note that elevates every bite.
- Heavy cream (1 cup): Whipped until stiff peaks form, it lightens the filling to a fluffy, dreamy consistency.
- Ripe bananas (2, mashed): Bring natural sweetness and moisture that highlight the banana pudding flavor.
- Vanilla wafers (1 cup, crushed): Provide nostalgic crunch and subtle vanilla flavor for texture contrast.
- Sugar cones (6): The playful edible vessel that makes this treat easy to enjoy anywhere.
How to Make Banana Pudding Cheesecake Cones Recipe
Step 1: Prepare the Cream Cheese Mixture
Start by beating your softened cream cheese, granulated sugar, and vanilla extract in a large mixing bowl until the mixture is perfectly smooth. This base is where the rich, tangy cheesiness begins, and it’s important to get rid of any lumps so your filling is silky and luxurious.
Step 2: Whip the Heavy Cream
In a separate bowl, whip the heavy cream until stiff peaks form. This step adds lightness and fluffiness to the cheesecake filling, keeping it from becoming too dense or heavy. Watching those peaks hold shape is always satisfying!
Step 3: Combine Whipped Cream and Cream Cheese
Gently fold the whipped cream into your cream cheese mixture. Be patient and delicate here, as you want to maintain the airy texture. The result will be a creamy, dreamy filling that’s just begging to be eaten.
Step 4: Add Bananas and Wafers
Now it’s time to fold in those mashed ripe bananas and crushed vanilla wafers. The bananas bring their sweet, mellow flavor while the wafers add a delightful crunch. Together, they make this cheesecake filling truly sing with classic banana pudding vibes.
Step 5: Fill the Sugar Cones
Carefully spoon the cheesecake mixture into each sugar cone, pressing gently to pack the filling but not so hard that you crack the cones. This step is where your dessert takes shape and becomes irresistibly fun to serve and eat.
Step 6: Chill to Set
Place the filled cones upright in the refrigerator for at least one hour. This chilling time helps the cheesecake filling set to the perfect consistency, making every bite cool, creamy, and satisfying.
Step 7: Serve and Enjoy!
After chilling, your Banana Pudding Cheesecake Cones are ready to delight. Serve them chilled for the best experience and watch how quickly they disappear at any gathering or simple family treat time.
How to Serve Banana Pudding Cheesecake Cones Recipe
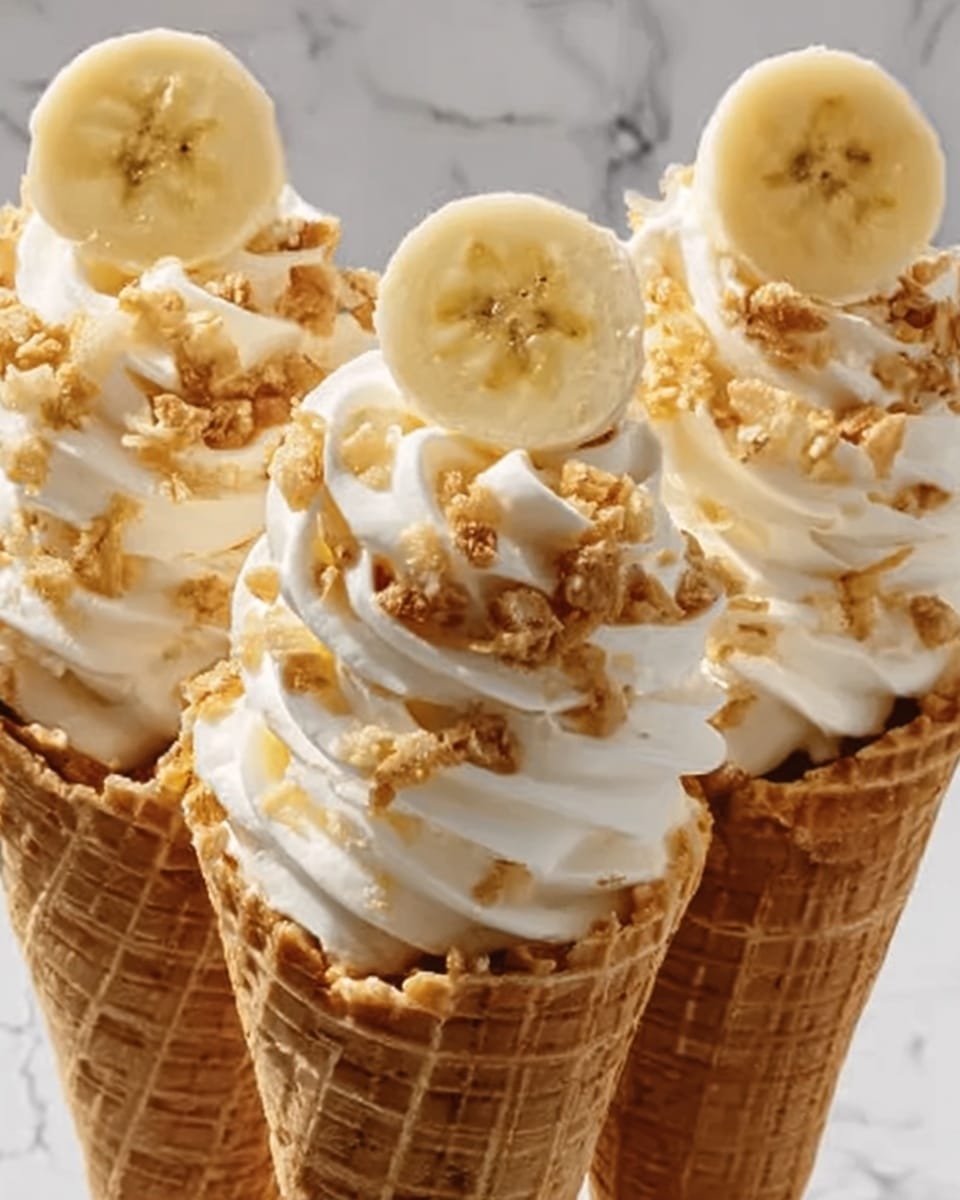
Garnishes
Consider topping your cones with extra crushed vanilla wafers, a thin banana slice, or even a drizzle of caramel sauce for an indulgent touch. A sprinkle of cinnamon or nutmeg can also add warmth and aroma, making your presentation even more inviting.
Side Dishes
Although these cones are delicious on their own, pairing them with fresh fruit like berries or a light fruit salad complements the sweetness without overpowering it. A simple cup of iced tea or coffee also makes for a lovely tasting experience.
Creative Ways to Present
Set the filled cones upright in a decorative cup or small flower pot with parchment paper or even crushed wafers at the bottom for stability. You could also arrange them artistically on a tray lined with banana leaves or a rustic wooden board for a stunning visual effect at parties.
Make Ahead and Storage
Storing Leftovers
If you have any leftovers, store the Banana Pudding Cheesecake Cones in an airtight container in the refrigerator. They will keep well for up to 2 days, though we must admit they rarely last that long once tasted!
Freezing
While these cones are best enjoyed fresh and chilled, you can freeze the filling separately in a freezer-safe container for up to a month. When ready to serve, thaw overnight in the fridge and spoon into fresh cones for the best texture.
Reheating
Since this dessert is served chilled, reheating isn’t recommended. To bring back the best flavor and texture, always enjoy straight from the refrigerator after chilling.
FAQs
Can I use other types of cones instead of sugar cones?
Absolutely! While sugar cones are traditional for this recipe because of their sweetness and crunch, waffle cones can add a different texture and richer flavor. Just make sure whatever cone you choose is sturdy enough to hold the filling.
Can I substitute the ripe bananas with something else?
The ripe bananas are key to the classic banana pudding flavor, but you could experiment with mashed strawberries or peaches if you want a fruity twist. Keep in mind that it will change the taste profile significantly.
Is it possible to make this recipe dairy-free?
Yes! Swap out the cream cheese and heavy cream for plant-based alternatives like vegan cream cheese and coconut cream. The texture may vary slightly, but it will still be delicious and creamy.
How long does it take for the cheesecake filling to set properly?
We recommend chilling the filled cones for at least one hour. This gives the filling enough time to firm up for a creamy yet scoopable texture perfect for eating straight from the cone.
Can these cones be made ahead for a party?
Definitely! You can prepare the filling a day in advance and store it in the refrigerator. Just fill the cones shortly before serving to keep them crisp and fresh.
Final Thoughts
This Banana Pudding Cheesecake Cones Recipe is a delightful fusion of comforting flavors and fun presentation that everyone will love. Once you try it, you’ll want to make it again and again for gatherings or a special treat. So go ahead, give it a whirl in your kitchen and enjoy every creamy, crunchy, banana-packed bite!
Print
Banana Pudding Cheesecake Cones Recipe
- Total Time: 1 hour 15 minutes
- Yield: 6 servings 1x
- Diet: Vegetarian
Description
This delightful Banana Pudding Cheesecake Cones recipe combines creamy cheesecake with the sweet freshness of bananas and the crunchy texture of vanilla wafer crumbs, all served conveniently in sugar cones. Perfect for a refreshing dessert that requires no baking and is easy to prepare in under 90 minutes.
Ingredients
Cheesecake Filling
- 1 package (8 oz) cream cheese, softened
- 1/2 cup granulated sugar
- 1 tsp vanilla extract
- 1 cup heavy cream
- 2 ripe bananas, mashed
- 1 cup vanilla wafers, crushed
Assembly
- 6 sugar cones
Instructions
- Prepare the cream cheese mixture: In a large mixing bowl, beat the softened cream cheese, granulated sugar, and vanilla extract until the mixture is smooth and creamy, ensuring no lumps remain.
- Whip the heavy cream: In a separate bowl, whip the heavy cream using a mixer until stiff peaks form, which will help create a light and fluffy texture in the final filling.
- Combine whipped cream and cream cheese: Gently fold the whipped cream into the cream cheese mixture, mixing carefully to maintain the airy consistency without overmixing.
- Add bananas and wafers: Fold in the mashed ripe bananas along with the crushed vanilla wafers to incorporate flavor and texture uniformly.
- Fill the cones: Spoon the cheesecake mixture carefully into each sugar cone, pressing gently to pack the filling and avoid air pockets but not so hard as to break the cones.
- Chill to set: Place the filled cones upright in the refrigerator for at least 1 hour to allow the cheesecake filling to firm up and the flavors to meld.
- Serve and enjoy: Once chilled, serve the Banana Pudding Cheesecake Cones immediately for a cool, creamy dessert experience.
Notes
- Make sure the cream cheese is fully softened to avoid lumps in the mixture.
- Use ripe bananas for maximum sweetness and flavor.
- Gently fold the ingredients to keep the mixture light and airy.
- Keep cones upright in the fridge using a stand or a container to prevent tipping.
- This dessert is best served within 24 hours for freshness and optimal texture.
- Optionally, garnish with additional crushed vanilla wafers or sliced bananas before serving.
- Prep Time: 15 minutes
- Cook Time: 0 minutes
- Category: Dessert
- Method: No-Cook
- Cuisine: American
