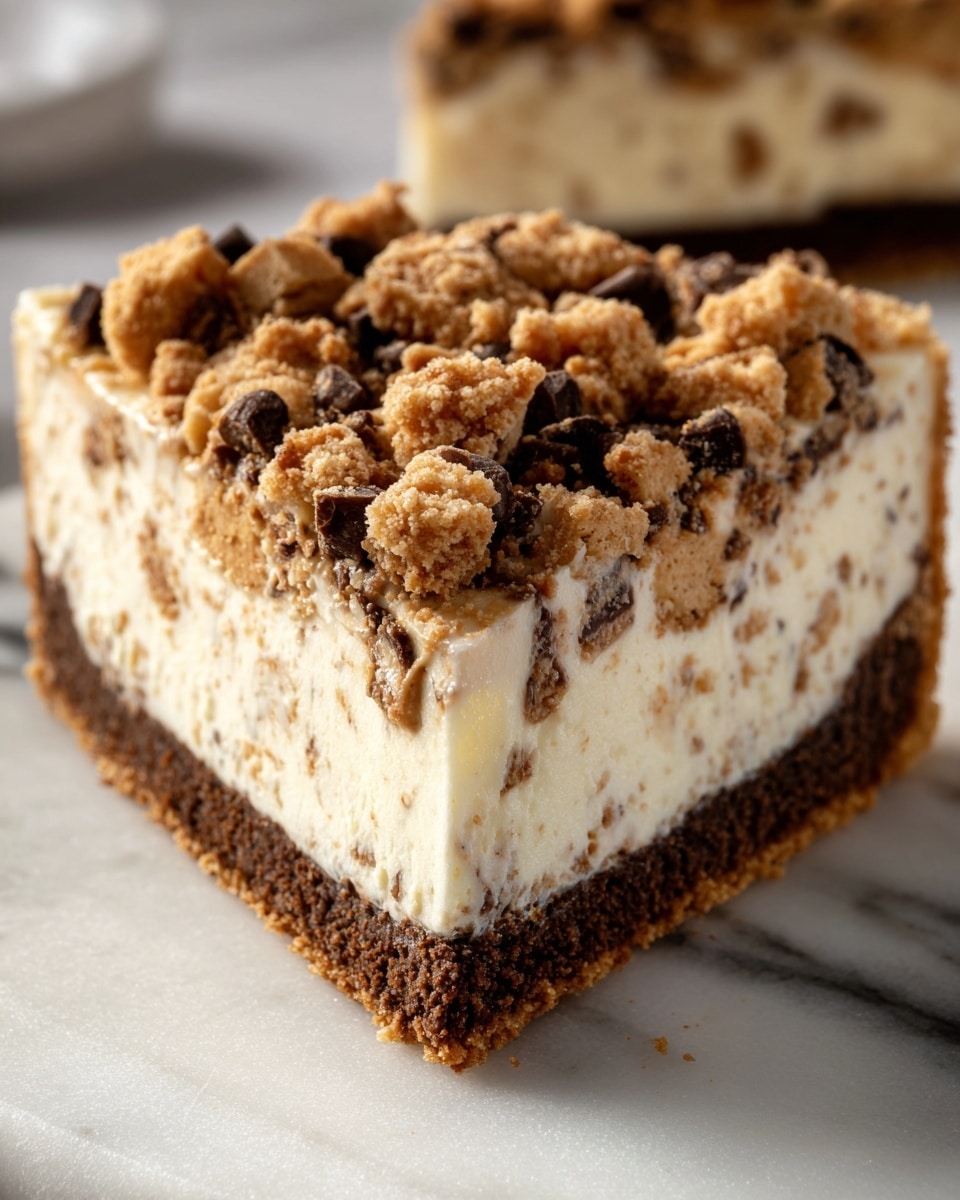
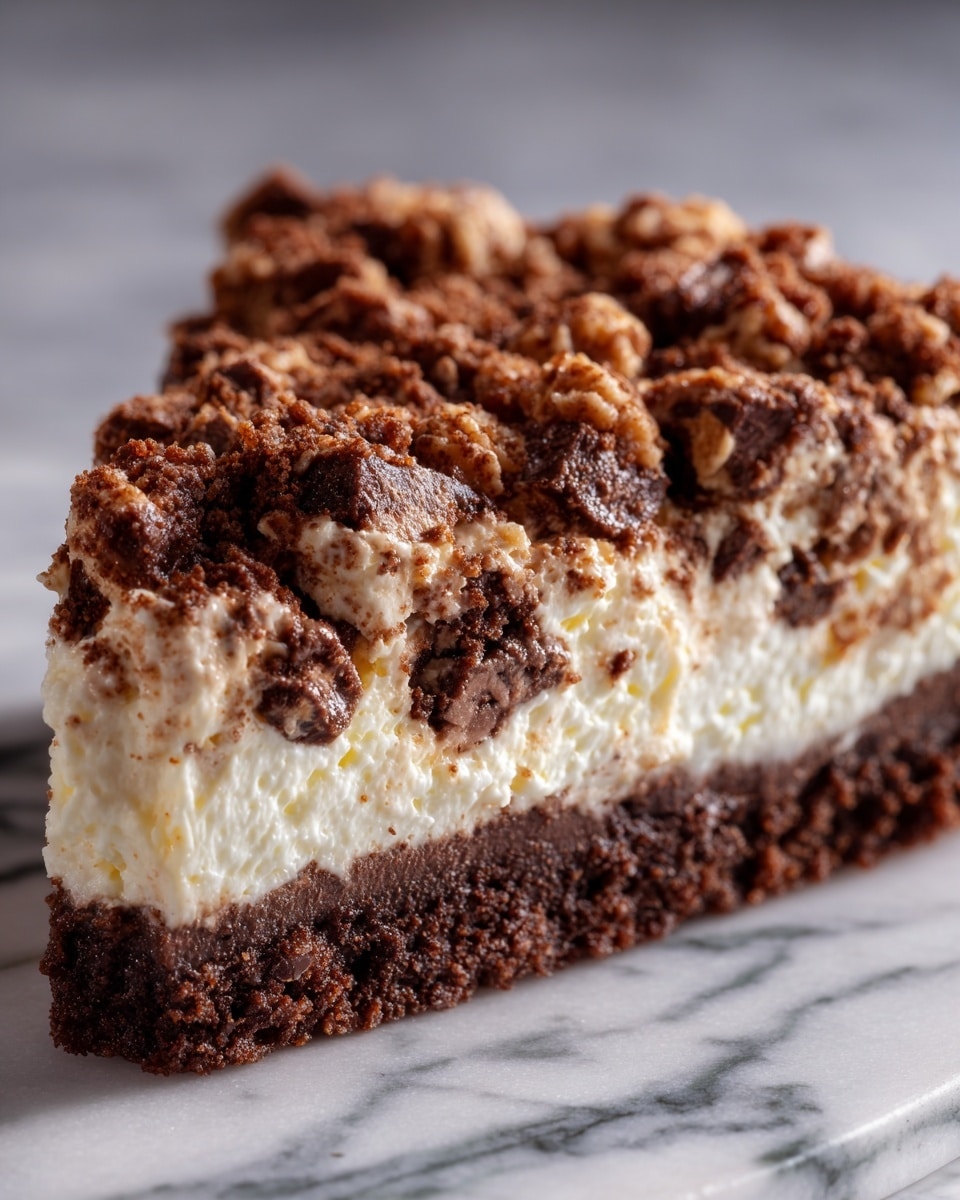
If you are a fan of rich, creamy desserts with a nostalgic crunch, you are going to absolutely adore this Butterfinger Pie (No-Bake) Recipe. It’s a delightful blend of smooth peanut butter, luscious cream cheese filling, and the unmistakable crispiness of crushed Butterfinger bars, all resting on a buttery graham cracker crust. This no-bake wonder comes together with minimal effort yet delivers a taste experience that feels like a celebration in every bite. Whether it’s for a special occasion or a weekend treat, this pie is destined to become your new favorite dessert.
Ingredients You’ll Need
This Butterfinger Pie (No-Bake) Recipe is wonderfully simple, using a handful of ingredients that each bring something special to the table. From the crunchy crust to the fluffy filling and the candy bar bursts of flavor, every element is essential to creating that perfect balance of texture and taste.
- Graham cracker crumbs (1 1/2 cups): The golden base providing a slightly sweet crunch that holds the pie together.
- Granulated sugar (1/4 cup): Adds just the right touch of sweetness to the crust.
- Unsalted butter, melted (1/2 cup): Binds the crust crumbs and adds a rich buttery flavor.
- Cream cheese, softened (8 oz): Creates a creamy, tangy foundation for the pie filling.
- Powdered sugar (1 cup): Sweetens the filling with a silky smooth texture.
- Whipped topping (1 cup): Lightens the filling for a fluffy, airy consistency.
- Peanut butter (1 cup): Brings a nutty richness that pairs perfectly with Butterfinger’s signature flavor.
- Heavy cream (1 cup): Whipped, it adds volume and decadence to the filling.
- Butterfinger bars, crushed (3 bars): The star ingredient – crunchy candy pieces folded into the filling and sprinkled on top for that irresistible crunch.
How to Make Butterfinger Pie (No-Bake) Recipe
Step 1: Prepare the Crust
Start by mixing graham cracker crumbs, granulated sugar, and melted butter in a medium bowl until the mixture looks like wet sand. This step is crucial because you want your crust to be firm yet crumbly enough to give that satisfying crisp base. Press the mixture evenly into the bottom of a 9-inch pie dish using the back of a spoon or your fingers, then pop it into the fridge to chill and set while you prepare the filling.
Step 2: Make the Filling
In a large mixing bowl, beat the softened cream cheese together with powdered sugar until smooth and lump-free. This creamy base is what gives your pie that luscious texture and slightly tangy flavor that balances the sweetness perfectly.
Step 3: Add Peanut Butter and Cream
Next, add the peanut butter and heavy cream to the cream cheese mixture. Beat everything together until light and fluffy, allowing the peanut butter’s savory depth to combine beautifully with the airy cream, creating a dreamy filling that’s every bit as delicious as it sounds.
Step 4: Fold in Whipped Topping and Butterfinger Pieces
Gently fold in the whipped topping to keep the filling light and airy, then stir in most of the crushed Butterfinger bars, reserving some pieces to sprinkle on top. These candy pieces bring in a delightful crunch and that unmistakable Butterfinger flavor punch bursting throughout the pie.
Step 5: Assemble and Chill
Spread the luscious filling evenly over the chilled crust in your pie dish, smoothing out the top. Scatter the remaining crushed Butterfingers on top for an inviting, crunchy garnish. Refrigerate your pie for at least 3 to 4 hours, or better yet, overnight, to let everything set beautifully and the flavors meld together into pure perfection.
Step 6: Serve and Enjoy
Once chilled and set, slice your Butterfinger Pie (No-Bake) Recipe and serve chilled. Every bite delivers creamy, crunchy, and sweet sensations working together in a decadent dessert that’s perfect any time of year.
How to Serve Butterfinger Pie (No-Bake) Recipe
Garnishes
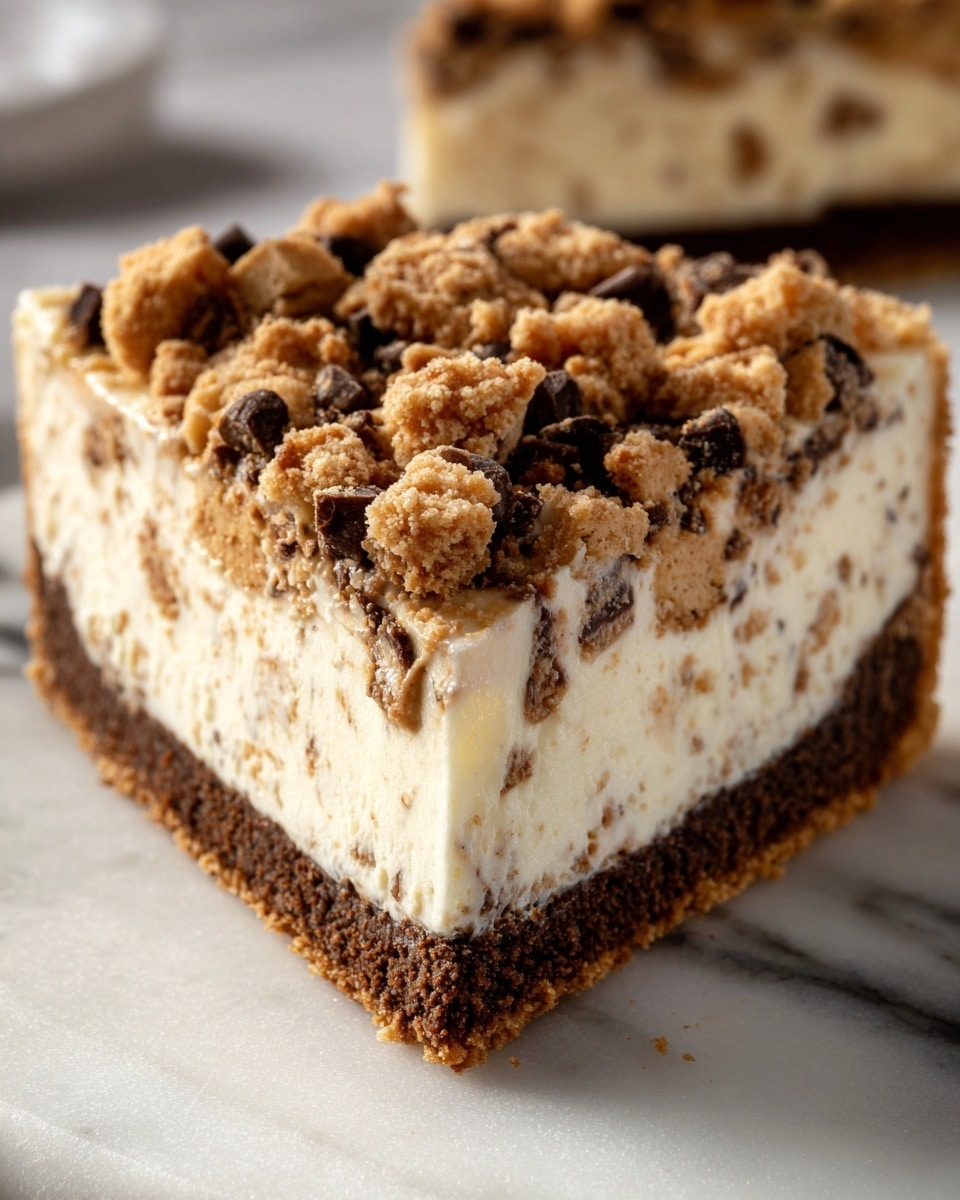
While the crushed Butterfingers on top add plenty of texture, consider a dollop of freshly whipped cream or a drizzle of chocolate syrup to elevate your presentation. A sprinkle of chopped peanuts can also add extra crunch and a nutty aroma that complements the pie’s flavors perfectly.
Side Dishes
This pie shines best as a standalone treat, but if you’re serving it at a party or dinner, pair it with light fruit salads or a refreshing berry compote. The tartness of fresh berries contrasts beautifully with the creamy sweetness of the pie, creating a perfect balance on your dessert plate.
Creative Ways to Present
Want to impress your guests? Serve individual portions in cute mini glass jars or clear cups to showcase the layers of crust, filling, and candy pieces. You can even use a pie ring mold for a more polished shape and decorate the edges with more crushed Butterfingers or chocolate shavings.
Make Ahead and Storage
Storing Leftovers
This pie keeps wonderfully in the refrigerator for up to 4 days when covered tightly with plastic wrap or stored in an airtight container. The flavors actually deepen after a day or two, making your Butterfinger Pie (No-Bake) Recipe taste even better the next day.
Freezing
You can freeze Butterfinger Pie (No-Bake) Recipe for up to 2 months. Wrap it well with foil and plastic wrap to prevent freezer burn. When ready to enjoy, thaw overnight in the fridge before serving to retain the perfect creamy texture.
Reheating
This pie is best enjoyed chilled, so there’s no need to reheat. Simply allow it to come to a slightly softer texture in the fridge before slicing if you find it too firm straight from the freezer or fridge.
FAQs
Can I use crunchy peanut butter instead of smooth?
Yes, you can substitute crunchy peanut butter if you like extra texture in your filling, but keep in mind it will add a bit more crunch to the creamy pie. Either way, the peanut flavor shines brilliantly.
Do I have to use Cool Whip or can I make my own whipped cream?
Homemade whipped cream works beautifully if you prefer fresh ingredients. Just make sure it’s whipped to soft peaks before folding into the filling for that airy lightness.
Can I make this pie gluten-free?
Absolutely! Use gluten-free graham cracker crumbs or substitute with crushed gluten-free cookies for the crust, and your pie will be safe for gluten-sensitive friends while tasting just as delicious.
What is the best way to crush Butterfinger bars?
The easiest method is to place the bars in a sealed plastic bag and gently smash with a rolling pin or the back of a heavy pan. You want small pieces, not powder, to enjoy the candy’s crunchy texture throughout the pie.
Can I double this recipe for a larger crowd?
Yes, doubling the recipe is straightforward. Just use a larger pie dish or two standard ones. Keep the chilling time the same or slightly longer to ensure the filling is fully set.
Final Thoughts
This Butterfinger Pie (No-Bake) Recipe is a true crowd-pleaser that combines ease and indulgence in the best way possible. Sharing it feels like giving a gift of homemade joy, and once you taste that smooth peanut butter filling punctuated with crunchy Butterfinger pieces, you will see why it quickly becomes a dessert staple. So go ahead and make this pie your next sweet adventure—you won’t regret it!
Print
Butterfinger Pie (No-Bake) Recipe
- Total Time: 3 hours 20 minutes
- Yield: 8 servings 1x
Description
This no-bake Butterfinger Pie is a creamy and crunchy treat featuring a graham cracker crust, rich peanut butter filling, and crushed Butterfinger bars folded throughout and sprinkled on top. Perfectly chilled and easy to prepare, it’s an irresistible dessert for any occasion.
Ingredients
Crust
- 1 1/2 cups graham cracker crumbs
- 1/4 cup granulated sugar
- 1/2 cup unsalted butter, melted
Filling
- 1 package (8 oz) cream cheese, softened
- 1 cup powdered sugar
- 1 cup whipped topping (like Cool Whip)
- 1 cup peanut butter
- 1 cup heavy cream
- 3 Butterfinger bars, crushed (reserve some for topping)
Instructions
- Prepare the Crust: In a medium bowl, combine graham cracker crumbs, granulated sugar, and melted butter until evenly mixed. Press the mixture firmly into the bottom of a 9-inch pie dish to form an even crust. Refrigerate to set while you prepare the filling.
- Make the Filling: In a large bowl, beat the softened cream cheese with powdered sugar until smooth and creamy. Add peanut butter and heavy cream, then beat the mixture until fluffy and fully combined, ensuring a light texture.
- Fold in Toppings: Gently fold in the whipped topping to the cream cheese mixture until incorporated. Stir in the crushed Butterfinger bars, reserving some to sprinkle on top later for extra crunch.
- Assemble the Pie: Spread the filling evenly over the chilled graham cracker crust in the pie dish. Make sure the surface is smooth and even for an attractive finish.
- Top and Chill: Sprinkle the reserved crushed Butterfinger bars on top of the filling to enhance the flavor and texture. Refrigerate the pie for at least 3 to 4 hours, or preferably overnight, to allow it to fully set and chill.
- Serve: Once set, slice the pie and serve chilled. Enjoy this creamy, crunchy, and sweet no-bake Butterfinger Pie as a delicious dessert or treat anytime.
Notes
- Make sure the cream cheese is softened to room temperature for easier mixing and a smoother filling.
- Use a 9-inch pie dish for best results with crust and filling proportions.
- Chilling the crust before adding filling helps it hold shape and prevents sogginess.
- You can substitute whipped topping with homemade whipped cream if preferred.
- For a stronger peanut butter flavor, use natural peanut butter but mix it well to avoid separation.
- Store leftovers tightly covered in the refrigerator for up to 3 days.
- Prep Time: 20 minutes
- Cook Time: 0 minutes
- Category: Dessert
- Method: No-Cook
- Cuisine: American
