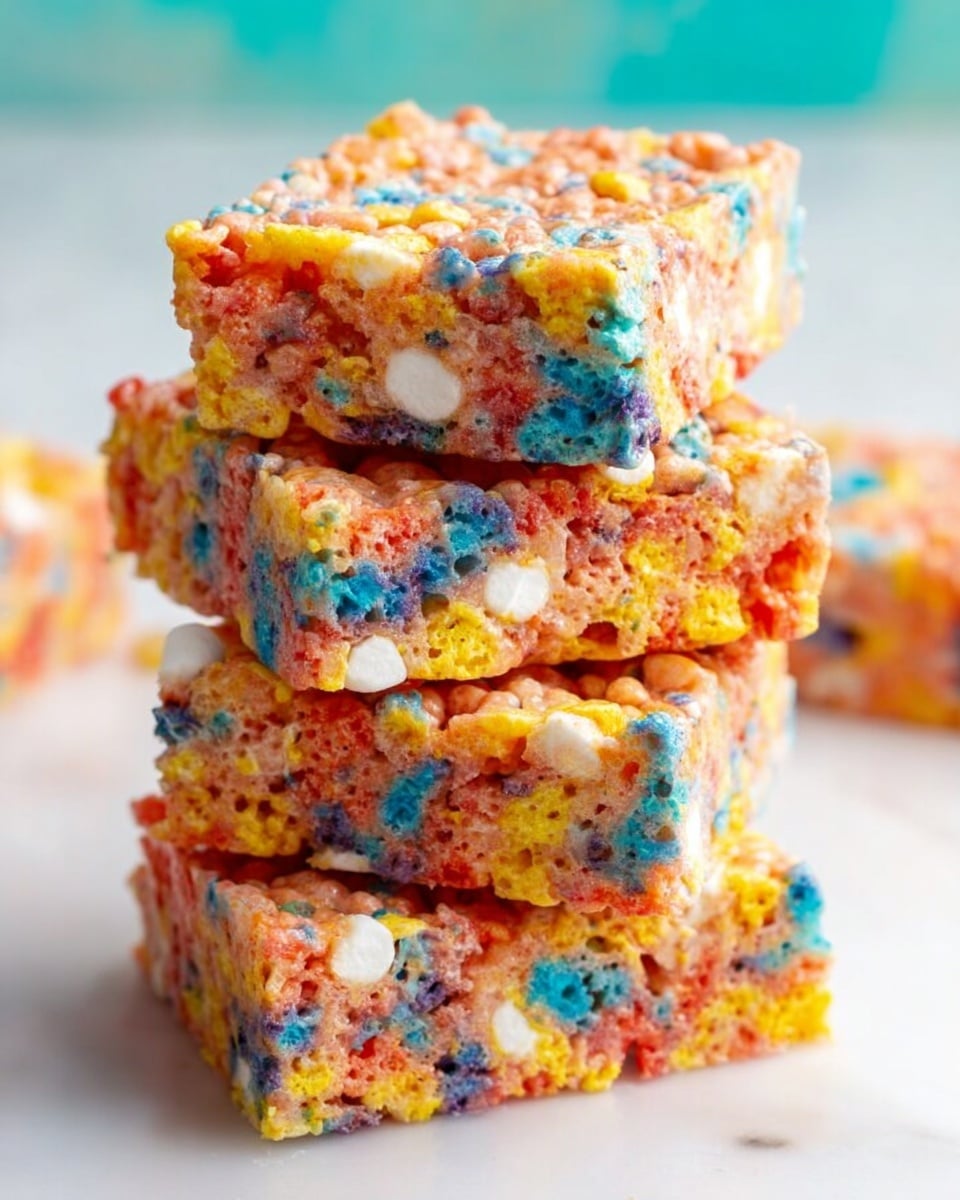
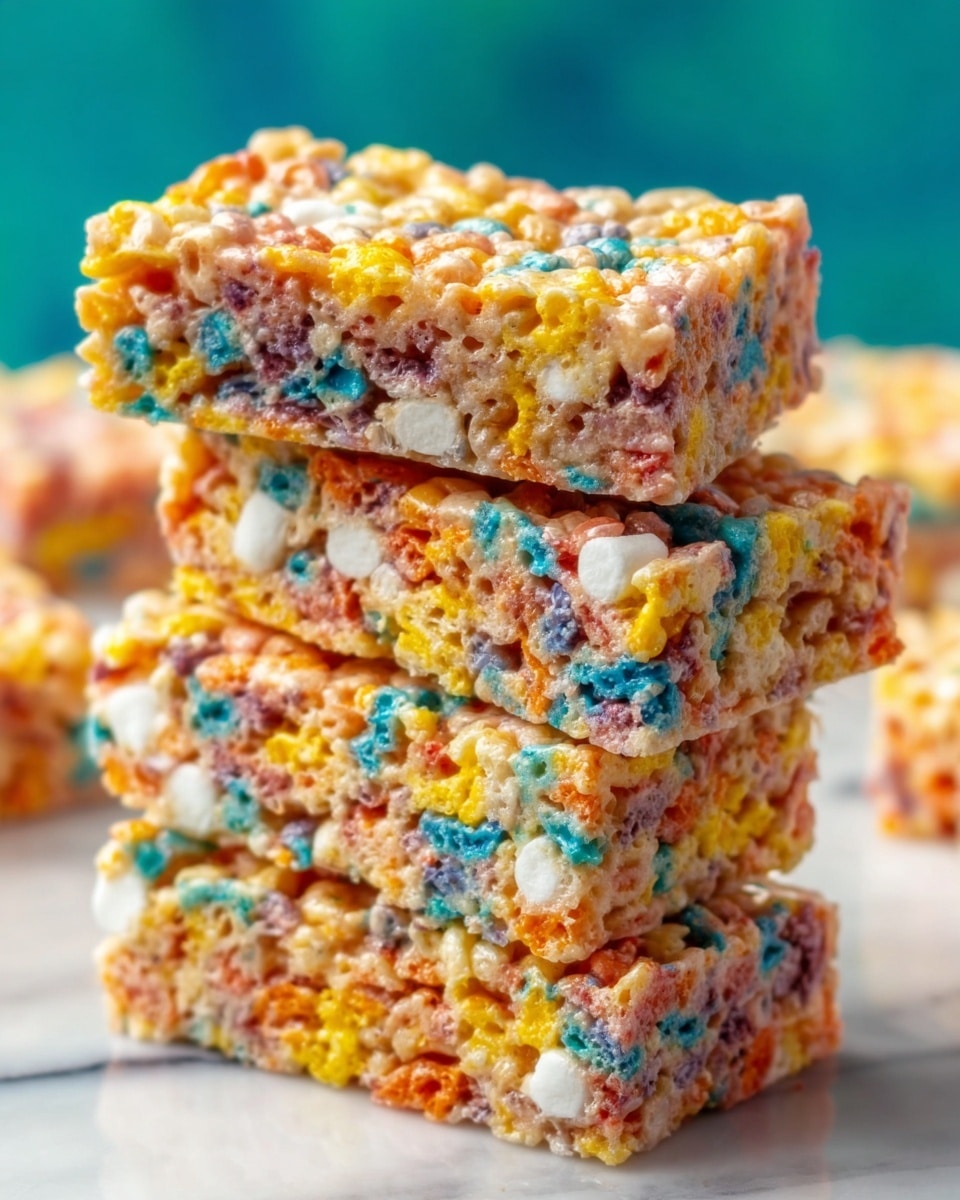
If you’re craving a colorful, crispy, and utterly delightful treat that carries the nostalgic charm of your childhood, look no further than the Fruity Pebbles Rice Krispie Treats Recipe. This vibrant twist on the classic marshmallow cereal snack brings together the irresistible crunch of Fruity Pebbles cereal with gooey marshmallow goodness, resulting in a dessert that’s both playful and satisfying. It’s perfect for parties, lunchboxes, or simply whenever you need a sweet pick-me-up that instantly brightens your day.
Ingredients You’ll Need
Gathering the right ingredients for this Fruity Pebbles Rice Krispie Treats Recipe is the first step to achieving that perfect combination of creamy marshmallow texture and fruity crunch. Each component plays an essential role in flavor, texture, and appearance, making this recipe wonderfully straightforward yet incredibly rewarding.
- Butter (8 tbsp): Adds a rich, smooth base to melt the marshmallows in and keeps the treats moist.
- Vanilla extract (1 tsp): Enhances sweetness with a warm, aromatic accent that complements the fruity cereal beautifully.
- Mini marshmallows (15 ounces): The key ingredient for that irresistible gooey binding and softness.
- Fruity Pebbles cereal (8-9 cups): Brings vibrant colors and a fruity crunch that make these treats stand out from the classic version.
How to Make Fruity Pebbles Rice Krispie Treats Recipe
Step 1: Melt Butter and Marshmallows
Start by gently melting the butter in a large saucepan over low heat. Once it’s smooth, stir in all but one cup of the mini marshmallows. Keep stirring constantly to avoid burning and ensure a silky mix that’s the perfect base for your treats.
Step 2: Add Remaining Marshmallows
After the initial marshmallows have melted completely, add the remaining cup. Stir just until they begin to melt and combine, then quickly remove the pan from heat. This helps prevent the mixture from becoming too thick and ensures those extra marshmallows give your treats a slightly chewy texture.
Step 3: Add Vanilla
Mix in the vanilla extract right away to infuse the marshmallow blend with a subtle, comforting aroma that elevates every bite.
Step 4: Combine with Cereal
Pour the Fruity Pebbles cereal into the marshmallow mixture and fold gently but thoroughly until every colorful flake is coated in the luscious marshmallow glue. This step is crucial to get that perfect ratio of crunch to chew in every square.
Step 5: Press into Pan
Transfer your mixture into a greased 9×13 inch pan. Press it down firmly but not too hard so the treats hold together well without becoming dense. This helps them set in that classic bar shape we all know and love.
Step 6: Cool and Serve
Allow the treats to cool completely at room temperature. Once firm, cut them into squares and prepare for the rainbow-hued snack attack that’s both nostalgic and new in every bite!
How to Serve Fruity Pebbles Rice Krispie Treats Recipe
Garnishes
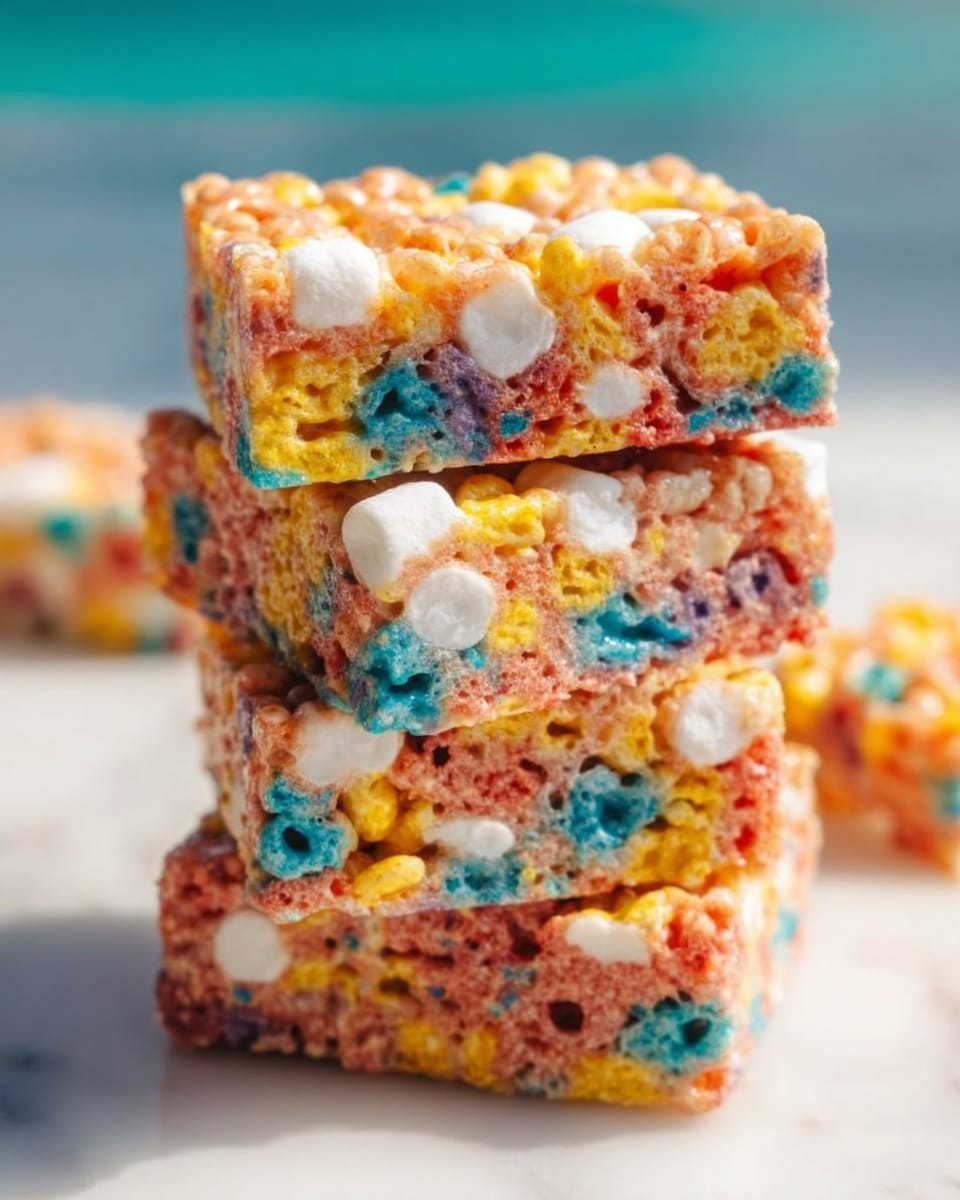
While these treats are delightful on their own, you can get creative by drizzling melted white chocolate or adding sprinkles on top for extra sparkle that complements the cereal’s vivid colors. A dusting of powdered sugar around the edges can also add a delicate touch.
Side Dishes
Pair your Fruity Pebbles Rice Krispie Treats with a cold glass of milk or a bright smoothie to balance the sweetness. Fresh fruit like strawberries or blueberries makes a fabulous refreshing side that echoes the fruity theme without overwhelming the palate.
Creative Ways to Present
For parties, cut the treats into fun shapes using cookie cutters or stack them into a mini layered dessert with whipped cream and berries. Wrapping individual squares in colorful cellophane tied with a ribbon also makes adorable grab-and-go favors that everyone will adore.
Make Ahead and Storage
Storing Leftovers
Keep any extra Fruity Pebbles Rice Krispie Treats Recipe bars in an airtight container at room temperature. Stored this way, they stay fresh and chewy for up to three days, making them convenient to snack on or share throughout the week.
Freezing
If you want to prepare a batch in advance, these treats freeze well. Wrap individual squares tightly with plastic wrap and place them in a freezer-safe bag or container. When stored in the freezer, they can last up to six weeks without losing their signature texture.
Reheating
There’s really no need to reheat these treats, as they’re lovely cold or at room temperature. But if you prefer them softer, a few seconds in the microwave can gently warm a square just enough to bring out that gooey marshmallow magic.
FAQs
Can I use regular Rice Krispies cereal instead of Fruity Pebbles?
Absolutely! Using regular Rice Krispies will give you a classic taste and texture, but it won’t have the colorful, fruity twist that makes this Fruity Pebbles Rice Krispie Treats Recipe so special.
Is there a way to make these treats gluten-free?
Yes, just make sure the Fruity Pebbles cereal you buy is certified gluten-free, as some brands may contain gluten. The other ingredients are naturally gluten-free.
How do I ensure the treats don’t stick to my hands when pressing them into the pan?
Grease your hands lightly with butter or use a spatula to press down the mixture. This keeps things neat and prevents sticking without compromising the texture.
Can I add mix-ins like chocolate chips or nuts?
Definitely! Toss in your favorite mix-ins after adding the cereal but before pressing the mixture into the pan for extra flavor and texture surprises.
What’s the best pan size to use for this recipe?
A 9×13 inch pan is ideal for this Fruity Pebbles Rice Krispie Treats Recipe because it allows the mixture to spread evenly, ensuring treats that aren’t too thick or too thin.
Final Thoughts
This Fruity Pebbles Rice Krispie Treats Recipe is a delightful celebration of fun colors, amazing textures, and easy-to-love flavors. Whether you’re making it with kids, prepping for a party, or just treating yourself, these treats bring joy to every bite. I can’t wait for you to try them and make them a staple in your recipe collection!
Print
Fruity Pebbles Rice Krispie Treats Recipe
- Total Time: 10 minutes
- Yield: 12 servings 1x
Description
Delightfully colorful and chewy Fruity Pebbles Rice Krispie Treats made with melted butter, mini marshmallows, and Fruity Pebbles cereal. These no-bake treats are easy to prepare, perfect for a quick snack or fun dessert for all ages.
Ingredients
Ingredients
- 8 tbsp butter
- 1 tsp vanilla extract
- 15 ounces mini marshmallows
- 8–9 cups Fruity Pebbles cereal
Instructions
- Melt Butter and Marshmallows: In a large saucepan over low heat, melt the butter completely. Then add all but 1 cup of the mini marshmallows, stirring constantly to ensure they melt smoothly without burning.
- Add Remaining Marshmallows: Once the majority of marshmallows have melted, add the remaining 1 cup of mini marshmallows. Stir for a few seconds just to combine them without fully melting, then remove the saucepan from heat.
- Add Vanilla: Stir in the vanilla extract thoroughly to enhance the flavor of the marshmallow mixture.
- Combine with Cereal: Immediately add the Fruity Pebbles cereal to the marshmallow mixture and gently fold to coat all the cereal evenly with the melted marshmallow.
- Press into Pan: Transfer the sticky mixture into a greased 9×13 inch pan. Use a greased spatula or wax paper to evenly press the mixture down firmly to form a compact layer.
- Cool and Serve: Allow the mixture to cool completely at room temperature until set. Once cool, cut into squares and serve your colorful, chewy treats.
Notes
- Use low heat to melt the marshmallows slowly to avoid burning.
- Press the mixture firmly into the pan for easier cutting and better texture.
- Add a tablespoon of vegetable oil to your hands or spatula to prevent sticking when pressing the mixture.
- Store treats in an airtight container to maintain freshness.
- For a different flavor, try substituting vanilla extract with almond or coconut extract.
- Prep Time: 5 minutes
- Cook Time: 5 minutes
- Category: Dessert
- Method: Stovetop
- Cuisine: American
