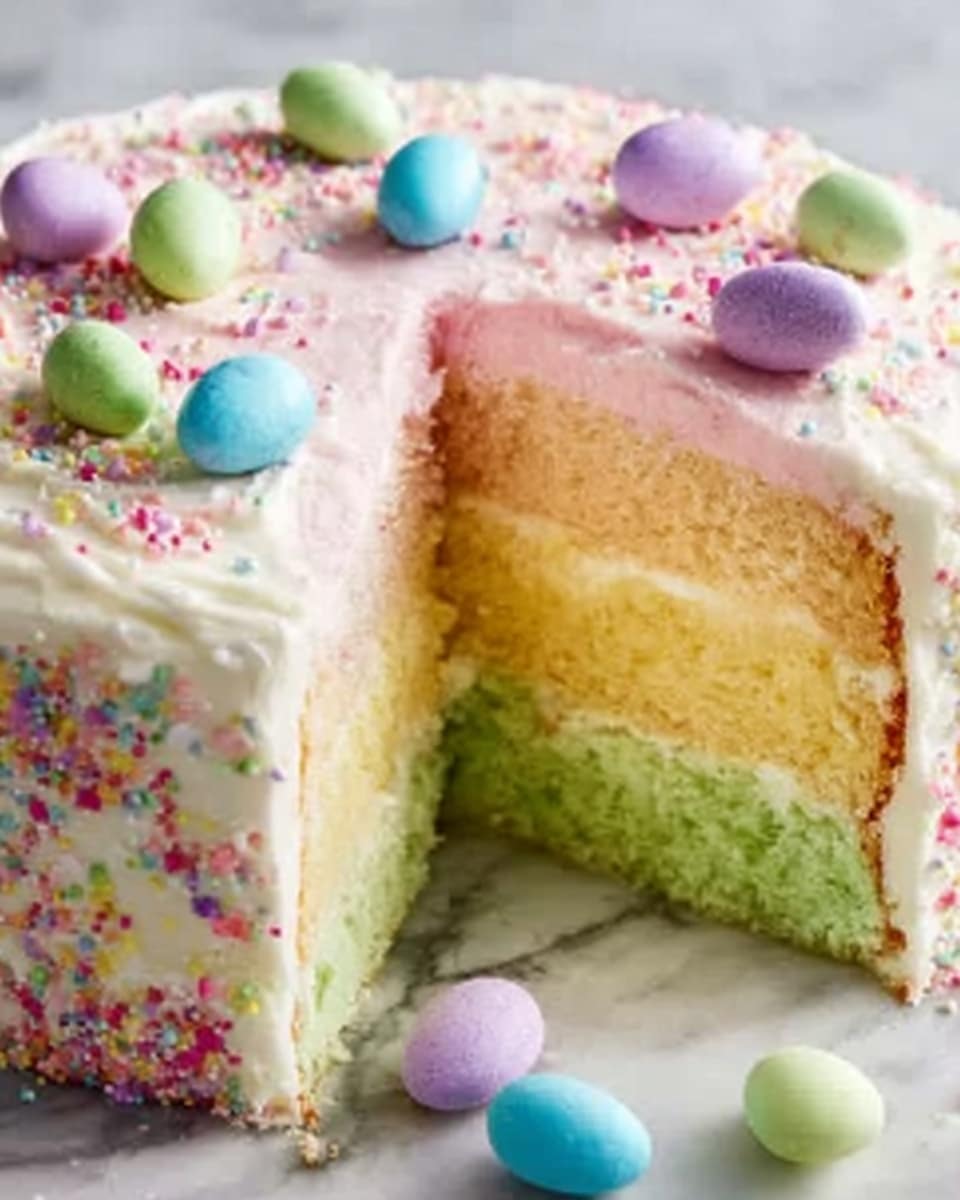
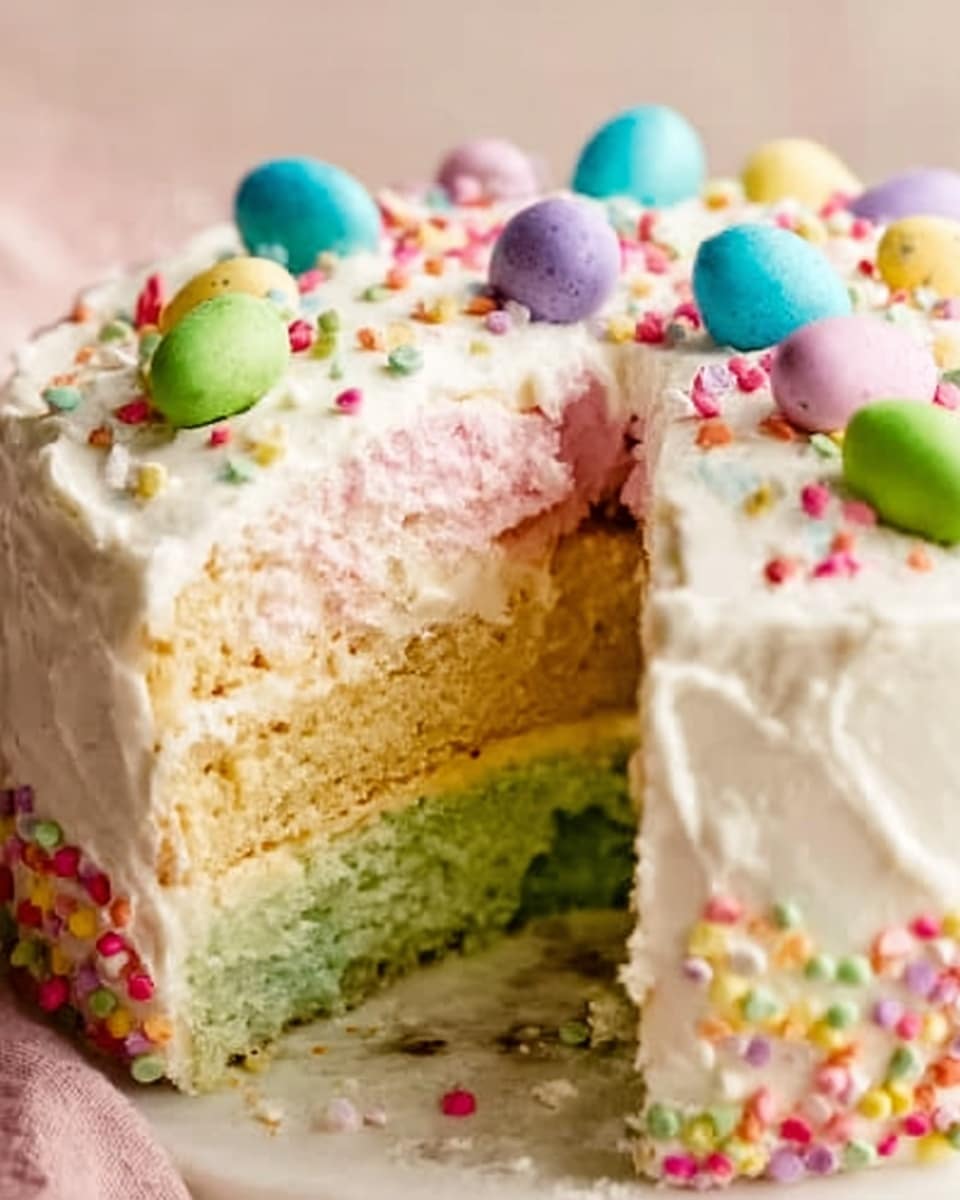
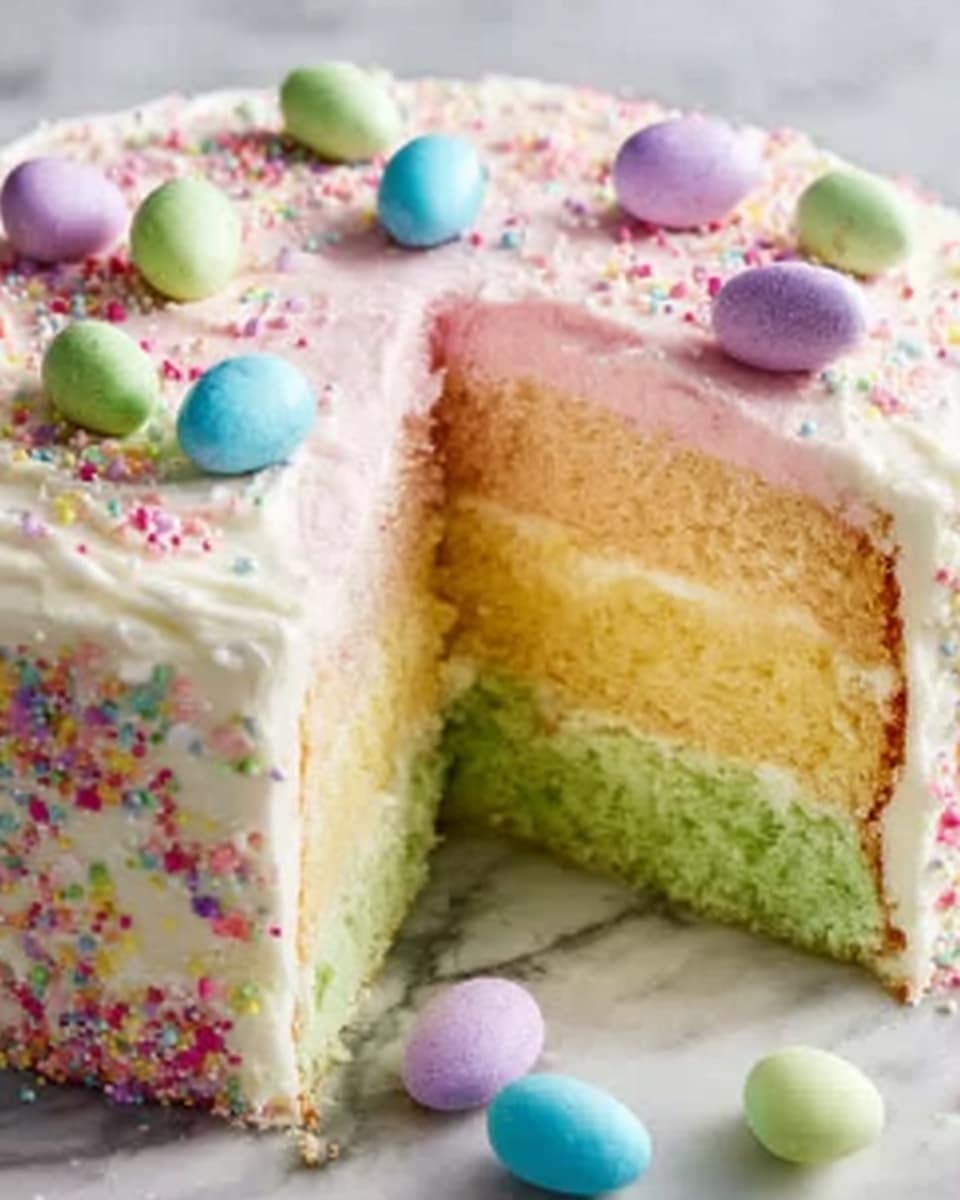
If you’re looking for a dessert that truly captures the joyful spirit of springtime celebrations, this Festive Easter Poke Cake Recipe is your new best friend. Imagine a moist white cake generously soaked with vibrant strawberry gelatin, topped with fluffy whipped cream and dotted with colorful pastel sprinkles and mini Easter candies. It’s not just beautiful to behold but also a delightful balance of flavors and textures, making it the perfect centerpiece for your Easter gathering. Trust me, once you try this Festive Easter Poke Cake Recipe, it’ll become a cherished tradition for years to come!
Ingredients You’ll Need
This Festive Easter Poke Cake Recipe relies on simple, accessible ingredients that come together to create a dessert bursting with color, flavor, and that delightful poke cake texture. Each component plays a special role—from the light and airy cake base to the fruity gelatin soak, and the creamy topping that ties it all together.
- White cake mix: An easy foundation that ensures a soft, tender crumb perfect for absorbing the gelatin.
- Eggs: They add structure and richness to the cake batter.
- Water: Keeps the cake moist and helps dissolve the gelatin.
- Vegetable oil: Adds moisture and keeps the cake tender.
- Strawberry or raspberry gelatin: Infuses the cake with vibrant fruity flavor and a splash of color.
- Boiling water: Essential for dissolving the gelatin properly.
- Cold water: Helps set the gelatin mixture perfectly.
- Whipped topping: Creates a smooth, creamy layer that balances the gelatin’s fruity tang.
- Pastel-colored sprinkles (optional): Adds a festive pop of Easter cheer and texture.
- Mini Easter candy (optional): Perfect for a whimsical, colorful finish that kids and adults adore.
How to Make Festive Easter Poke Cake Recipe
Step 1: Prepare the Cake Batter
Start by preheating your oven to 350°F (175°C) and greasing plus flouring a 9×13-inch pan to prevent sticking. Next, get the white cake mix ready by combining it with eggs, water, and vegetable oil as directed on the box. This classic step sets the stage for a light and fluffy cake that’s just waiting to soak up that luscious gelatin later on.
Step 2: Bake and Cool the Cake
Pour your batter into the prepared pan and pop it into the oven. Bake for about 30 minutes or until a toothpick inserted in the center comes out clean. Let the cake cool in the pan for 10 minutes—this makes it easier to poke holes without crumbs flying everywhere.
Step 3: Make the Gelatin Mixture
While the cake is cooling, dissolve the strawberry or raspberry gelatin in 1 cup of boiling water. Stir until every bit is dissolved, then add ½ cup of cold water to cool it down and help it set properly. The bright red gelatin adds a burst of fruity flavor and that signature poke cake moisture.
Step 4: Poke the Cake
After the 10-minute cooling period, grab the handle of a wooden spoon or fork and poke holes all over the cake’s surface, spacing them evenly. These holes are what let that beautiful gelatin syrup seep deep into the cake, delivering flavor and color throughout every bite.
Step 5: Pour the Gelatin Over the Cake
Slowly and gently pour the gelatin mixture over the cake, making sure it seeps into all those tiny holes. This step is key for that signature Festive Easter Poke Cake Recipe texture—moist, vibrant, and full of fruity goodness.
Step 6: Chill to Set
Let the cake cool completely at room temperature before sliding it into the fridge for at least 2 hours. This chilling time allows the gelatin to set firmly inside the cake, ensuring each slice holds together beautifully yet remains delightfully tender.
Step 7: Add the Whipped Topping and Decorations
Once the gelatin has set, spread an even layer of whipped topping over the cake’s surface. For a stunning finish, sprinkle on pastel-colored sprinkles and mini Easter candies. This decorative touch not only adds festive flair but also a little crunch that makes each forkful feel like a celebration!
Step 8: Serve
Slice your Festive Easter Poke Cake Recipe into generous squares and serve chilled. Watch the smiles light up the room as everyone enjoys this colorful, luscious dessert that’s perfect for Easter or any spring gathering.
How to Serve Festive Easter Poke Cake Recipe
Garnishes
Beyond the sprinkles and candies already suggested, you can get creative with fresh berries or even a drizzle of white chocolate sauce for extra indulgence. These little additions brighten the cake’s appearance and introduce complementary flavors that keep every bite exciting.
Side Dishes
This cake pairs beautifully with light, refreshing side dishes like a citrus fruit salad or a subtly sweetened iced tea. Such pairings help balance the richness of the cake while keeping the Easter meal feeling fresh and festive.
Creative Ways to Present
For added wow factor, serve your Festive Easter Poke Cake Recipe on a vibrant pastel platter or a rustic wooden board adorned with spring flowers. Individual servings in clear glasses layered with extra whipped topping and candies create delightful parfait-style treats that guests will adore.
Make Ahead and Storage
Storing Leftovers
Leftover Festive Easter Poke Cake Recipe keeps wonderfully in the fridge for up to 3 days. Cover it tightly with plastic wrap or store in an airtight container to maintain moisture and keep the whipped topping fresh and creamy.
Freezing
While freezing isn’t ideal for maintaining the cake’s perfect texture—especially the whipped topping—you can freeze undecorated cake portions without gelatin soak for up to 2 months. Thaw fully in the fridge, then prepare the gelatin soak and topping fresh for best results.
Reheating
This poke cake is best served chilled and does not require reheating. Let any refrigerated leftovers come to room temperature for about 10 minutes if preferred, but avoid warming to preserve the creamy whipped topping and gelatin layers.
FAQs
Can I use a different flavor of gelatin?
Absolutely! While strawberry or raspberry produces a classic pink hue perfect for Easter, you can use any gelatin flavor you love. Just keep in mind that more vibrant colors will have a stronger visual impact.
Is it necessary to poke so many holes in the cake?
Yes, the holes let the gelatin soak into the cake, creating that signature moist texture and infusing every bite with flavor. Skimping on this step may result in less evenly distributed gelatin.
Can I substitute the whipped topping with homemade whipped cream?
Definitely! Homemade whipped cream adds a fresh, rich flavor and can be sweetened to taste, making your Festive Easter Poke Cake Recipe feel even more special and homemade.
How far in advance can I make this cake?
This poke cake is excellent made one day ahead. The gelatin needs a couple of hours to set, and chilling overnight actually enhances the flavor melding. Just add the sprinkles and candies right before serving for maximum freshness.
What if I don’t have pastel sprinkles or Easter candy?
No worries! You can decorate with chopped nuts, shredded coconut dyed with food coloring, or even edible flowers. The goal is to make it look as festive and inviting as possible with whatever you have on hand.
Final Thoughts
I genuinely hope you give this Festive Easter Poke Cake Recipe a try—it’s one of those magical desserts that brings joy both to make and to eat. Whether you’re celebrating Easter with family or just want to add some springtime cheer to your table, this cake’s vibrant colors and sweet flavors will make your gathering unforgettable. Happy baking and even happier indulging!
Print
Festive Easter Poke Cake Recipe
- Total Time: 45 minutes plus 2 hours chilling
- Yield: 12 servings 1x
- Diet: Vegetarian
Description
This Festive Easter Poke Cake is a delightful and colorful dessert perfect for spring celebrations. Featuring a moist white cake base infused with vibrant strawberry or raspberry gelatin, it offers a light and fruity flavor. Topped with creamy whipped topping and adorned with pastel sprinkles and mini Easter candies, this 12-serving cake is sure to brighten your Easter gathering.
Ingredients
Cake Ingredients
- 1 box (15.25 oz) white cake mix
- 3 large eggs
- 1 cup water
- ½ cup vegetable oil
Gelatin Filling
- 1 box (3 oz) strawberry or raspberry gelatin
- 1 cup boiling water
- ½ cup cold water
Toppings
- 1 tub (8 oz) whipped topping (such as Cool Whip)
- ½ cup pastel-colored sprinkles (optional)
- ½ cup mini Easter candy (e.g., pastel M&Ms, jelly beans) (optional)
Instructions
- Make the Cake: Preheat your oven to 350°F (175°C) and grease and flour a 9×13-inch baking pan to prevent sticking.
- Prepare Cake Batter: In a large mixing bowl, prepare the white cake mix according to the package instructions by combining the cake mix, 3 large eggs, 1 cup water, and ½ cup vegetable oil. Mix until smooth.
- Bake the Cake: Pour the batter evenly into the prepared pan. Bake for approximately 30 minutes or until a toothpick inserted into the center comes out clean.
- Cool Cake: Allow the cake to cool in the pan for 10 minutes before moving on to the next step.
- Prepare Gelatin Mixture: While the cake cools, dissolve 1 box of strawberry or raspberry gelatin in 1 cup of boiling water, stirring until fully dissolved. Add ½ cup cold water and stir well.
- Poke Holes: Using the handle of a wooden spoon or a fork, poke holes all over the surface of the slightly cooled cake to allow the gelatin to soak through.
- Pour Gelatin: Slowly pour the prepared gelatin mixture evenly over the cake, ensuring it seeps into all the holes for maximum flavor infusion.
- Set the Cake: Let the cake cool completely at room temperature, then refrigerate for at least 2 hours to allow the gelatin to set fully.
- Apply Topping: Once set, spread the whipped topping evenly over the top of the chilled cake to add creaminess and contrast.
- Decorate: Sprinkle pastel-colored sprinkles and mini Easter candies over the whipped topping to give a festive, colorful touch.
- Serve: Slice the cake and serve chilled. Enjoy your festive Easter dessert with family and friends!
Notes
- Make sure the cake is slightly cooled but still warm before poking holes to prevent breaking.
- For best results, refrigerate the cake for at least 2 hours to allow the gelatin to fully set.
- Use fresh whipped topping for a light texture; avoid thawed frozen toppings.
- Optional decorations can be customized with other Easter-themed candies or sprinkles.
- This cake is best served chilled and consumed within 2-3 days.
- Prep Time: 15 minutes
- Cook Time: 30 minutes
- Category: Dessert
- Method: Baking
- Cuisine: American
