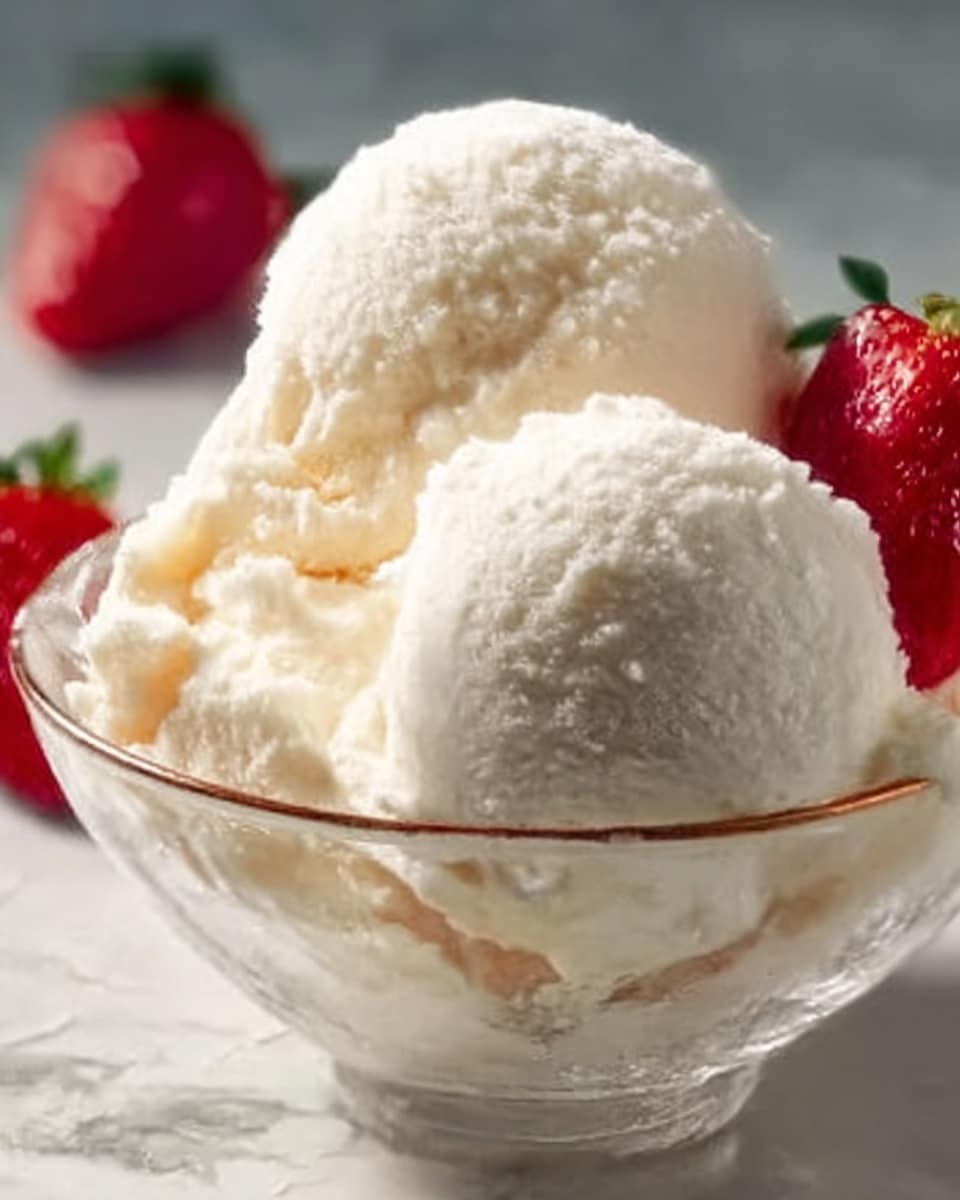
If you’re craving a sweet, creamy treat that feels like a hug in dessert form, then it’s time to create pure happiness with this easy homemade ice cream recipe. There’s something magical about making your own ice cream right at home—it allows you to savor velvety smooth texture, rich vanilla flavor, and endless possibilities for mix-ins without any of the mystery ingredients found in store-bought versions. Whether you’re a beginner or a dessert aficionado, this recipe will quickly become a treasured part of your freezer lineup.
Ingredients You’ll Need
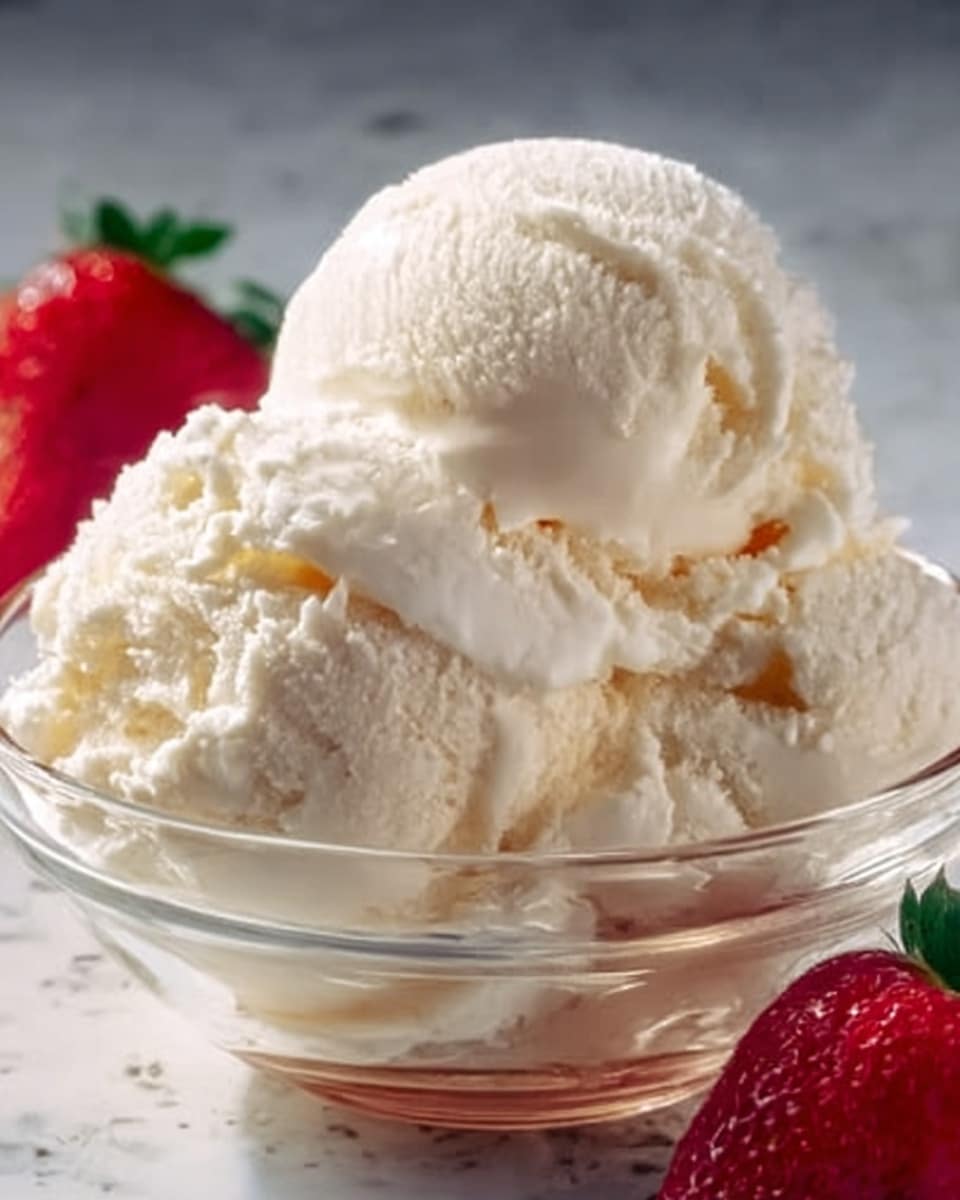
The beauty of this recipe lies in its simplicity. Each ingredient is thoughtfully chosen to bring that perfect balance of creaminess, sweetness, and flavor that makes homemade ice cream irresistible. From the heavy cream’s lush texture to the bright hint of vanilla, these essentials combine for a dreamy base to play with.
- 2 cups heavy cream: Provides the luscious, creamy texture that’s the hallmark of great ice cream.
- 1 cup whole milk: Adds smoothness and helps create the perfect consistency without being too heavy.
- 3/4 cup granulated sugar: Sweetens the ice cream and aids in achieving that melt-in-your-mouth feel.
- 1 tablespoon pure vanilla extract: Infuses the mixture with rich, aromatic vanilla flavor that complements any mix-in.
- Pinch of salt: Enhances the flavors and balances the sweetness perfectly.
- Optional: 1/2 cup chocolate chips, crushed cookies, or fruit mix-ins: Customize your ice cream with your favorite add-ins for an extra burst of fun and texture.
How to Make Create Pure Happiness With This Easy Homemade Ice Cream Recipe
Step 1: Dissolve the Sugar
Begin by whisking together the granulated sugar, whole milk, and a pinch of salt in a mixing bowl. Stir until the sugar is completely dissolved—this ensures a smooth, evenly sweet base without any grainy bits. Taking the time here pays off in the creaminess of your final product.
Step 2: Add Cream and Vanilla
Next, pour in the heavy cream and stir in the pure vanilla extract. The vanilla brings warmth and depth, transforming simple ingredients into an irresistible treat. Give it a good mix so everything is well combined.
Step 3: Chill the Mixture
Cover your bowl and refrigerate the mixture for at least 2 hours. This step is key because a thoroughly chilled base churns into ice cream much faster and smoother. Patience here means better texture.
Step 4: Churn or Freeze
If you have an ice cream maker, pour the chilled mixture in and churn according to the manufacturer’s instructions. For those without one, simply transfer the mixture to a freezer-safe container. Both methods work beautifully, but churning will give you that classic whipped texture.
Step 5: Stir to Prevent Ice Crystals
If you’re not using a machine, stir the mixture every 30 minutes for 2 to 3 hours during freezing. This breaks up ice crystals and keeps your ice cream creamy, rather than icy. It’s a little extra effort with big payoff.
Step 6: Mix in the Fun Stuff
Once your frozen base reaches a soft-serve consistency, it’s time to add in your favorite mix-ins like chocolate chips, crushed cookies, or fresh berries. This is where you can truly make the recipe your own, tailoring the ice cream to your taste buds.
Step 7: Firm Up
After mixing in additions, freeze the ice cream for another 2 to 3 hours to let it fully set. This final chill ensures every scoop holds its perfect shape and texture when served.
Step 8: Ease Into Scooping
Before serving, let the ice cream sit at room temperature for 5 to 10 minutes. This slight softening makes scooping a breeze and elevates the creamy mouthfeel, turning every spoonful into a moment of delight.
How to Serve Create Pure Happiness With This Easy Homemade Ice Cream Recipe
Garnishes
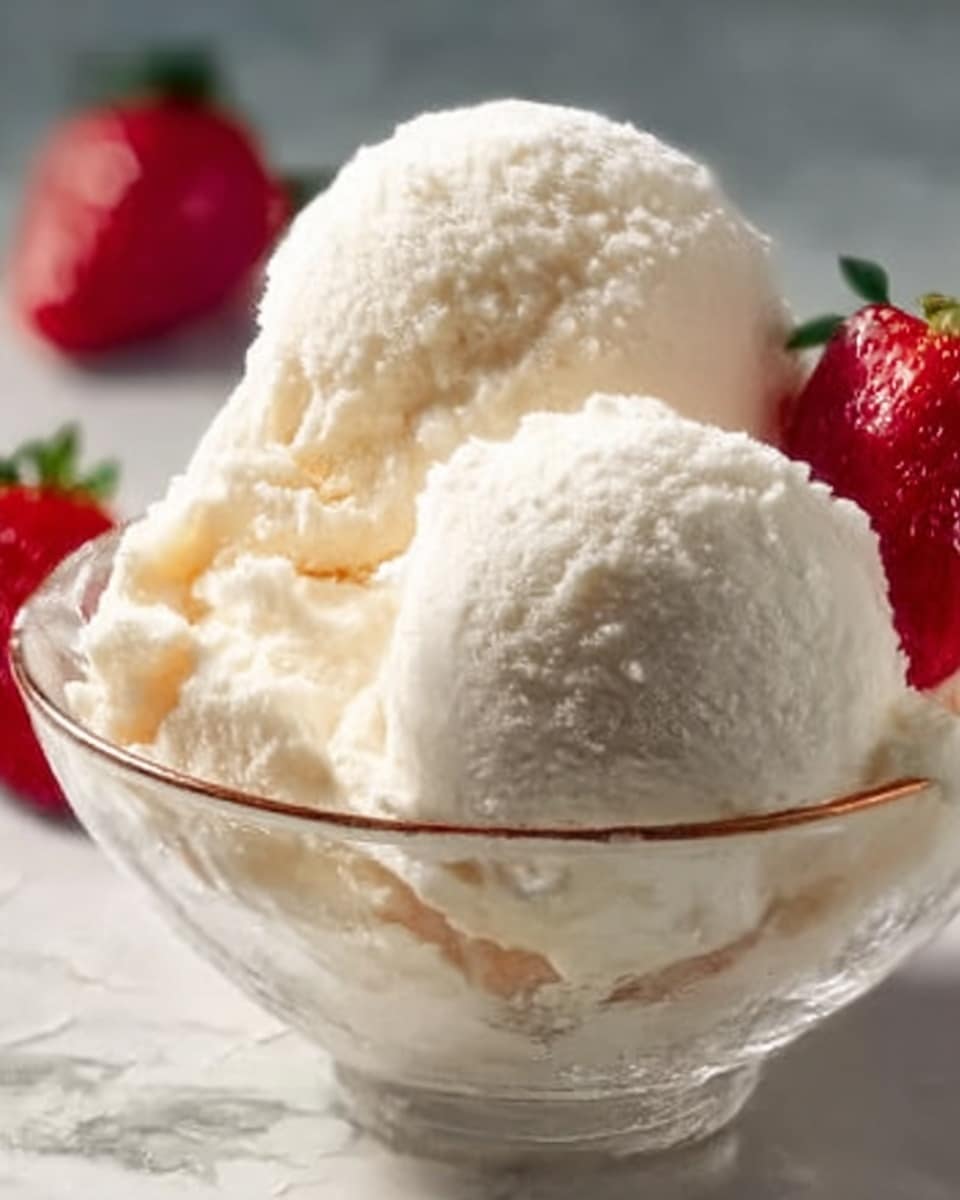
Elevate your homemade ice cream experience with fresh berries, a drizzle of chocolate or caramel sauce, or a sprinkle of toasted nuts. These little touches add color, texture, and even more flavor layers that make dessert feel special and festive.
Side Dishes
This ice cream pairs wonderfully with warm brownies, fruit cobblers, or crisp apple pies. The contrast between warm and cold is simply heavenly, making your dessert an unforgettable finale to any meal.
Creative Ways to Present
Want to impress your guests? Serve the ice cream in waffle cones, hollowed-out fruit shells, or atop milkshakes and floats. You can even create mini sundaes with different mix-ins and toppings for a playful and indulgent twist.
Make Ahead and Storage
Storing Leftovers
Store any leftover ice cream in an airtight container to prevent freezer burn and odor absorption. Press a piece of parchment directly on the surface before sealing to maintain the creamy texture you worked so hard to achieve.
Freezing
This homemade ice cream freezes well for up to two weeks. Beyond that, it can develop ice crystals and lose richness, so enjoy your creation relatively quickly for optimal taste and texture.
Reheating
No need to reheat ice cream, but allowing it to soften slightly at room temperature for about 5 to 10 minutes before scooping helps maintain smoothness and allows flavors to shine. Avoid microwaving to preserve the texture.
FAQs
Can I use low-fat milk instead of whole milk?
While you can use low-fat milk, it will change the creamy texture since whole milk provides fat that contributes to smoothness. For the best results, stick with whole milk and heavy cream.
Do I have to use an ice cream maker?
Not at all! This recipe works beautifully with or without an ice cream maker. The trick is to stir frequently while freezing to break up ice crystals. It’s a bit more hands-on but just as rewarding.
Can I add flavorings other than vanilla?
Absolutely! You can experiment with almond extract, coffee, citrus zest, or even spices like cinnamon. Just be mindful of the quantity, as some flavors are stronger and can overpower the cream base.
How do I prevent ice crystals from forming?
Regularly stirring the ice cream during freezing or using an ice cream maker helps prevent large ice crystals. Also, chilling the base thoroughly before freezing is crucial for smooth texture.
Can I make this recipe vegan or dairy-free?
This particular recipe relies on dairy for its rich texture, but you could experiment with coconut milk and coconut cream as substitutes. Just know the flavor and consistency will change, but it can still be delicious!
Final Thoughts
Now that you’ve got the blueprint to create pure happiness with this easy homemade ice cream recipe, I really encourage you to dive in and make it your own. The satisfaction of scooping luscious, creamy ice cream right from your freezer is unmatched, and the delicious hands-on process makes every bite that much sweeter. So grab your ingredients, put on your favorite tunes, and get ready to savor some homemade joy!
Print
Create Pure Happiness With This Easy Homemade Ice Cream Recipe
- Total Time: 4 hours
- Yield: 6 servings 1x
Description
This easy homemade ice cream recipe brings pure happiness with its creamy texture and customizable mix-ins. Made from simple ingredients like heavy cream, whole milk, sugar, and vanilla extract, it can be prepared with or without an ice cream maker. Enjoy a delightful treat with minimal effort and ready in about 4 hours.
Ingredients
Base Ingredients
- 2 cups heavy cream
- 1 cup whole milk
- 3/4 cup granulated sugar
- 1 tablespoon pure vanilla extract
- Pinch of salt
Optional Mix-ins
- 1/2 cup chocolate chips
- 1/2 cup crushed cookies
- 1/2 cup fruit mix-ins
Instructions
- Whisk Sugar Mixture: In a mixing bowl, whisk together the granulated sugar, whole milk, and a pinch of salt until the sugar is completely dissolved to ensure a smooth ice cream base.
- Add Cream and Vanilla: Stir in the heavy cream and pure vanilla extract into the sugar mixture to enhance the flavor and richness of the ice cream.
- Chill the Mixture: Cover the bowl and refrigerate for at least 2 hours, or until thoroughly chilled, which helps improve the texture when freezing.
- Churn or Freeze: If you have an ice cream maker, pour the chilled mixture in and churn according to the manufacturer’s instructions. Without an ice cream maker, transfer the mixture into a freezer-safe container for manual freezing.
- Manual Freezing Process: For no-machine method, stir the mixture every 30 minutes for 2 to 3 hours. This intermittent stirring breaks up ice crystals and promotes a smoother texture.
- Add Mix-ins: Once the ice cream reaches a soft-serve consistency, fold in any optional add-ins like chocolate chips or crushed cookies to customize your flavor.
- Freeze Until Firm: Freeze the ice cream for an additional 2 to 3 hours or until it becomes firm and scoopable.
- Serve: Before serving, let the ice cream sit at room temperature for 5 to 10 minutes to soften slightly for easy scooping and the best texture.
Notes
- For a creamier texture, ensure to thoroughly chill the base mixture before freezing or churning.
- If using mix-ins, add them only after the ice cream has partially set to avoid sinking.
- You can substitute granulated sugar with a sugar alternative suitable for your diet, but results may vary.
- Adjust freezing time slightly depending on your freezer’s temperature and container size.
- Store the ice cream in an airtight container to prevent ice crystals formation and maintain freshness.
- Prep Time: 15 minutes
- Cook Time: 3 hours 45 minutes (including freezing/stirring time)
- Category: Dessert
- Method: No-Cook
- Cuisine: American
