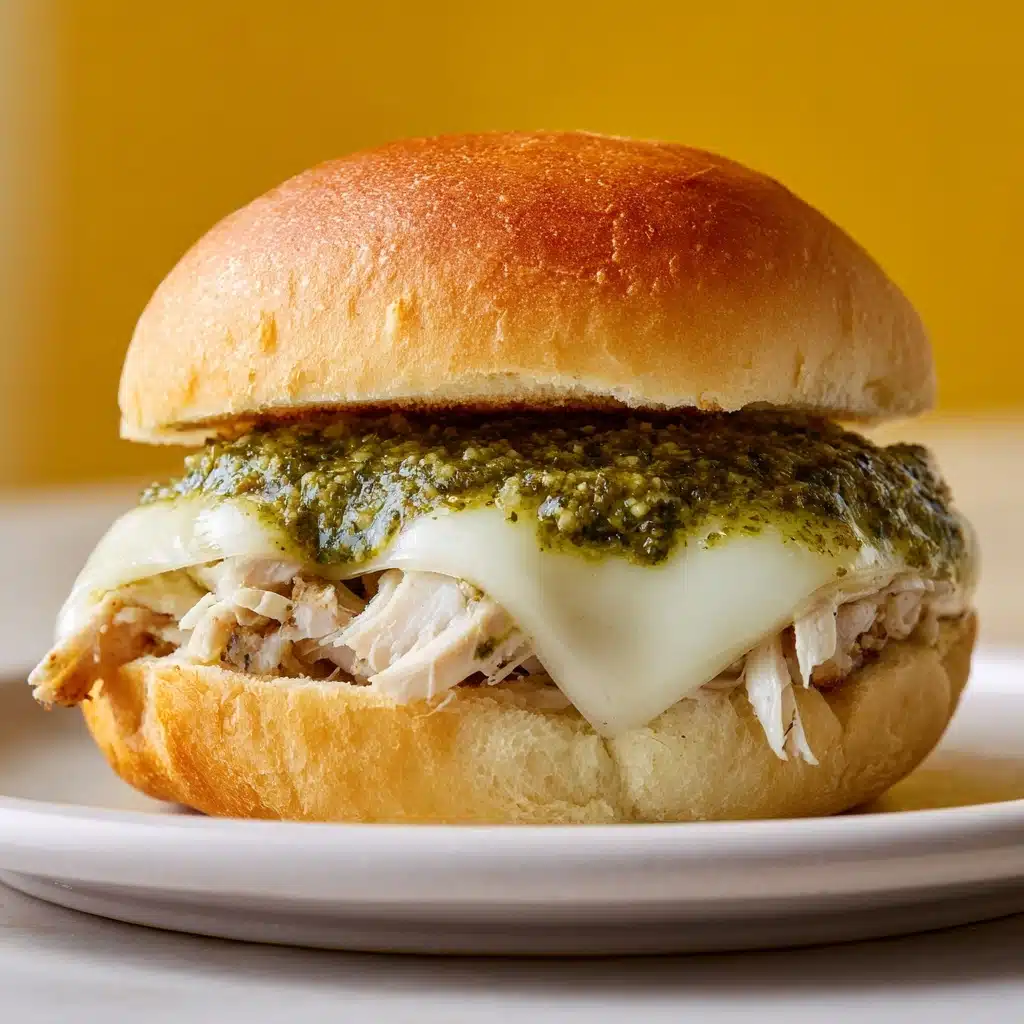
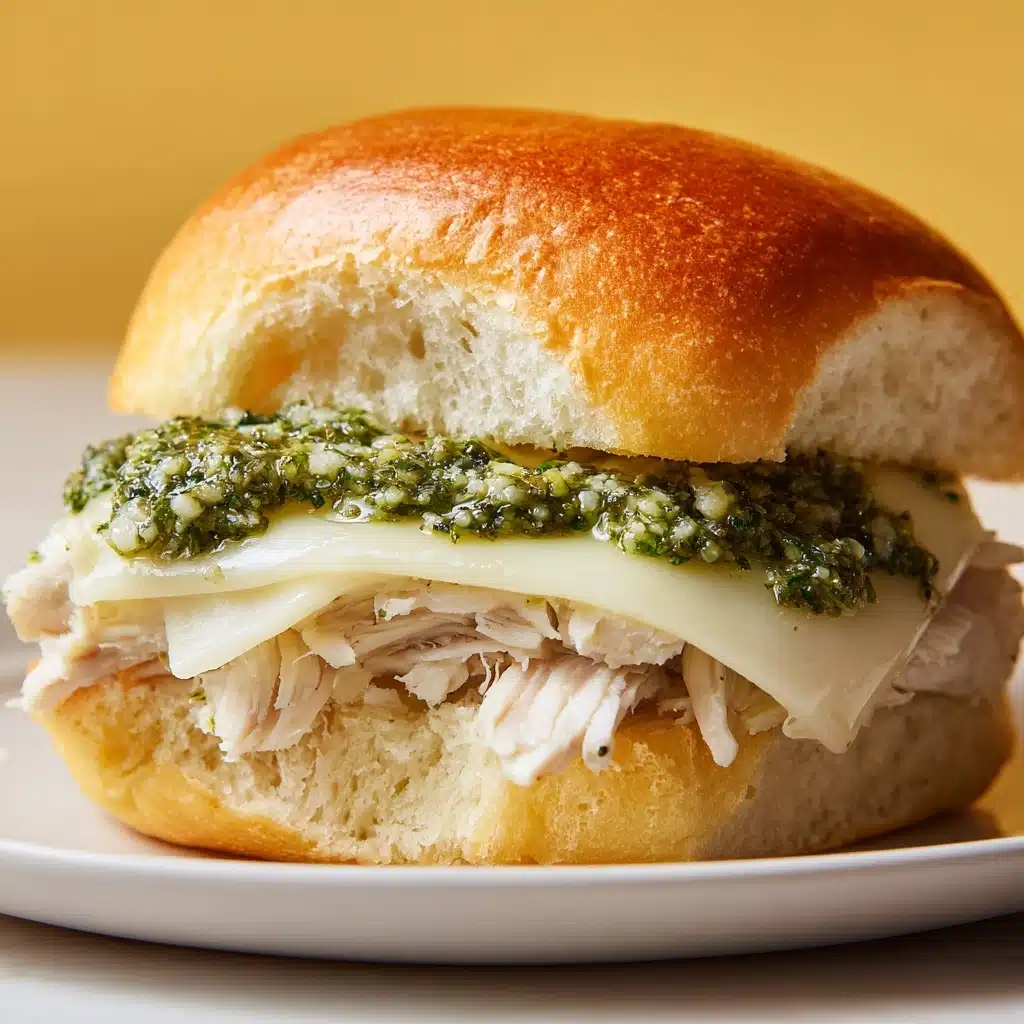
If you’re looking to wow your family or impress a crowd, the Cheesy Garlic Pesto Chicken Sliders Recipe is your new secret weapon. Imagine tender shredded chicken tossed with aromatic basil pesto, layered with gooey mozzarella and Parmesan, all tucked inside pillowy slider buns brushed with garlicky butter. Every bite bursts with savory, herby flavors and irresistible cheesy goodness. These sliders are simple enough for a weeknight meal but special enough for parties, and they disappear fast. Trust me, one batch is never enough!
Ingredients You’ll Need
These are the simple yet standout ingredients that make the Cheesy Garlic Pesto Chicken Sliders Recipe an absolute winner. Each one brings something unique—whether it’s creaminess, crunch, or that signature pop of flavor—to ensure every slider is pure perfection.
- Slider buns or Hawaiian rolls (12): Soft, slightly sweet rolls hold everything together and soak up all the delicious flavors without falling apart.
- Cooked shredded chicken (2 cups): Tender, juicy chicken is the hearty base; rotisserie chicken works perfectly for convenience.
- Basil pesto (1/2 cup): Fragrant and herby, pesto infuses the sliders with Italian-inspired flair—store-bought or homemade both work.
- Shredded mozzarella cheese (1 1/2 cups): Melts beautifully for that classic cheesy pull with every bite.
- Grated Parmesan cheese (1/2 cup): Adds a salty, nutty depth that pairs perfectly with pesto and chicken.
- Mayonnaise (2 tablespoons, optional): Makes the chicken extra creamy and helps bind the filling; skip it if you want a lighter version.
- Unsalted butter, melted (4 tablespoons): The base for the irresistible garlic butter topping that takes these sliders over the top.
- Garlic, minced (2 cloves): Fresh garlic brings a bold, savory punch to the buttery glaze.
- Chopped fresh parsley (1 tablespoon): Brightens up the garlic butter and adds a pop of color.
- Pinch of salt: Just enough to enhance every flavor without overpowering.
How to Make Cheesy Garlic Pesto Chicken Sliders Recipe
Step 1: Prep Your Baking Dish and Oven
Start by preheating your oven to 350°F (175°C). Lightly grease a 9×13-inch baking dish—this keeps the sliders from sticking and makes cleanup a breeze. While the oven’s warming up, gather all your ingredients so you can move through the recipe without a hitch.
Step 2: Slice and Arrange the Buns
Take your slider buns or Hawaiian rolls and, without separating them, slice them horizontally to create a top and bottom slab. Place the bottom half into your prepared baking dish. Keeping the buns together makes assembly and serving extra easy.
Step 3: Mix the Chicken Filling
In a medium bowl, combine the shredded chicken, basil pesto, and mayonnaise (if you’re using it). Stir until every piece of chicken is well coated with that vibrant, herby goodness. This step locks in moisture and flavor, ensuring the sliders don’t dry out.
Step 4: Layer the Filling and Cheeses
Spread the chicken mixture evenly over the bottom buns, making sure you reach all the corners. Sprinkle the shredded mozzarella and grated Parmesan generously over the chicken, creating that irresistible cheesy layer that’s the heart of this Cheesy Garlic Pesto Chicken Sliders Recipe.
Step 5: Cap with the Top Buns
Gently lay the top half of the buns over the cheesy chicken mixture. Take a moment to press down lightly, so everything holds together and the flavors can meld as they bake.
Step 6: Make and Brush the Garlic Butter
In a small bowl, mix the melted butter with minced garlic, chopped parsley, and a pinch of salt. Using a pastry brush, generously coat the tops of the buns with this flavorful mixture—it’s what gives the sliders that golden, aromatic finish.
Step 7: Bake to Perfection
Cover the baking dish loosely with foil and bake for 15 minutes, allowing the cheese to melt and flavors to come together. Then, remove the foil and bake for an additional 5–7 minutes to get the tops beautifully golden and slightly crisp. If you love extra crunch, broil the sliders for 1–2 minutes at the end, but keep a close eye so they don’t burn!
Step 8: Cool and Slice
Let the sliders cool for a few minutes before slicing. This helps the cheesy filling set a bit and makes serving neat and easy. Now, get ready for the best part—devouring these irresistible bites!
How to Serve Cheesy Garlic Pesto Chicken Sliders Recipe

Garnishes
For a fresh finish, sprinkle a little more chopped parsley or extra Parmesan on top right before serving. A few basil leaves add a beautiful, aromatic touch, making your Cheesy Garlic Pesto Chicken Sliders Recipe look as good as it tastes.
Side Dishes
Pair these sliders with a crisp green salad, roasted veggies, or even some crunchy potato chips. They also shine next to a bowl of tomato soup or a light pasta salad, making for a cozy, satisfying meal that everyone will love.
Creative Ways to Present
For parties, arrange the sliders on a big platter and stick festive toothpicks in each one. Or, serve them in individual parchment wraps for grab-and-go convenience. The Cheesy Garlic Pesto Chicken Sliders Recipe is also perfect as mini sandwiches for a brunch spread or game day feast!
Make Ahead and Storage
Storing Leftovers
Let leftover sliders cool completely before transferring them to an airtight container. Store in the refrigerator for up to three days—just be warned, they might not last that long once everyone finds out!
Freezing
The Cheesy Garlic Pesto Chicken Sliders Recipe freezes beautifully. Wrap individual sliders tightly in foil or plastic wrap, then place them in a freezer bag. They’ll keep for up to two months, making them a great grab-and-heat option for busy days.
Reheating
To reheat, place sliders on a baking sheet, cover loosely with foil, and warm in a 350°F oven for 10–12 minutes (or until hot throughout). For just one or two, a microwave works in a pinch, but oven reheating keeps the buns nice and toasty.
FAQs
Can I use a different type Main Course
Absolutely! While mozzarella and Parmesan are classic, feel free to swap in provolone, fontina, or even a sharp cheddar for a twist on the Cheesy Garlic Pesto Chicken Sliders Recipe.
What’s the best way to shred chicken quickly?
If you have a stand mixer or hand mixer, add warm cooked chicken breasts and let the beaters do the work—it shreds chicken in seconds and saves so much time.
Do I have to use mayonnaise in the filling?
Nope! The mayo just adds creaminess and helps bind the chicken, but you can skip it if you prefer a lighter slider or if you need to avoid eggs.
Can I make these sliders ahead of time?
Yes! Assemble the sliders up to the point of baking, cover, and refrigerate for several hours or overnight. Bake fresh when you’re ready to serve for the best texture and flavor.
What’s the best way to keep sliders warm for a party?
After baking, keep the sliders covered with foil and pop them in a low oven (around 200°F) until you’re ready to serve. This keeps everything melty and delicious without drying out the buns.
Final Thoughts
If you’re looking for a dish that’s guaranteed to bring smiles and requests for seconds, look no further than the Cheesy Garlic Pesto Chicken Sliders Recipe. They’re easy, crowd-pleasing, and packed with craveable flavors. Give them a try and watch them disappear faster than you can say “seconds, please!”
Print
Cheesy Garlic Pesto Chicken Sliders Recipe
- Total Time: 35 minutes
- Yield: 12 sliders 1x
- Diet: Non-Vegetarian
Description
These Cheesy Garlic Pesto Chicken Sliders are deliciously savory and perfect for any occasion, featuring tender shredded chicken mixed with fresh basil pesto, melty mozzarella and Parmesan cheeses, and a flavorful garlic butter topping. Baked to golden perfection on soft slider buns, they’re quick to make and ideal for parties, game days, or a tasty weeknight dinner.
Ingredients
Slider Assembly
- 12 slider buns or Hawaiian rolls
- 2 cups cooked shredded chicken
- 1/2 cup basil pesto
- 1 1/2 cups shredded mozzarella cheese
- 1/2 cup grated Parmesan cheese
- 2 tablespoons mayonnaise (optional)
Garlic Butter Topping
- 4 tablespoons unsalted butter (melted)
- 2 cloves garlic (minced)
- 1 tablespoon chopped fresh parsley
- Pinch of salt
Instructions
- Preheat and Prepare: Preheat your oven to 350°F (175°C) and lightly grease a 9×13-inch baking dish to prevent sticking.
- Slice Slider Buns: Slice the slider buns horizontally without separating the rolls, creating a top and bottom slab. Place the bottom half flat in the prepared baking dish.
- Mix Chicken and Pesto: In a medium bowl, combine the shredded chicken with basil pesto and mayonnaise (if using), stirring until the chicken is evenly coated.
- Assemble Sliders: Spread the chicken mixture evenly over the bottom half of the buns in the baking dish. Sprinkle mozzarella and Parmesan cheese evenly over the chicken layer.
- Add Top Buns: Place the top half of the slider buns over the cheese and chicken filling, pressing lightly to secure layers.
- Prepare Garlic Butter: In a small bowl, mix melted butter with minced garlic, chopped parsley, and a pinch of salt until well combined.
- Brush and Bake: Brush the garlic butter mixture generously over the top buns. Cover the dish loosely with aluminum foil and bake for 15 minutes.
- Finish Baking: Remove the foil and bake uncovered for an additional 5–7 minutes, until the buns are golden brown and the cheese is melted and bubbly.
- Cool and Serve: Let the sliders cool slightly before slicing between the buns and serving warm.
Notes
- Using rotisserie chicken saves preparation time and adds great flavor.
- For extra crispy tops, broil the sliders for 1–2 minutes after baking, watching carefully to avoid burning.
- These sliders make perfect party appetizers, game day snacks, or quick weeknight dinners.
- Prep Time: 15 minutes
- Cook Time: 20 minutes
- Category: Main Course
- Method: Baking
- Cuisine: American
Nutrition
- Serving Size: 1 slider
- Calories: 260
- Sugar: 3g
- Sodium: 400mg
- Fat: 15g
- Saturated Fat: 7g
- Unsaturated Fat: 7g
- Trans Fat: 0g
- Carbohydrates: 16g
- Fiber: 1g
- Protein: 16g
- Cholesterol: 45mg


