
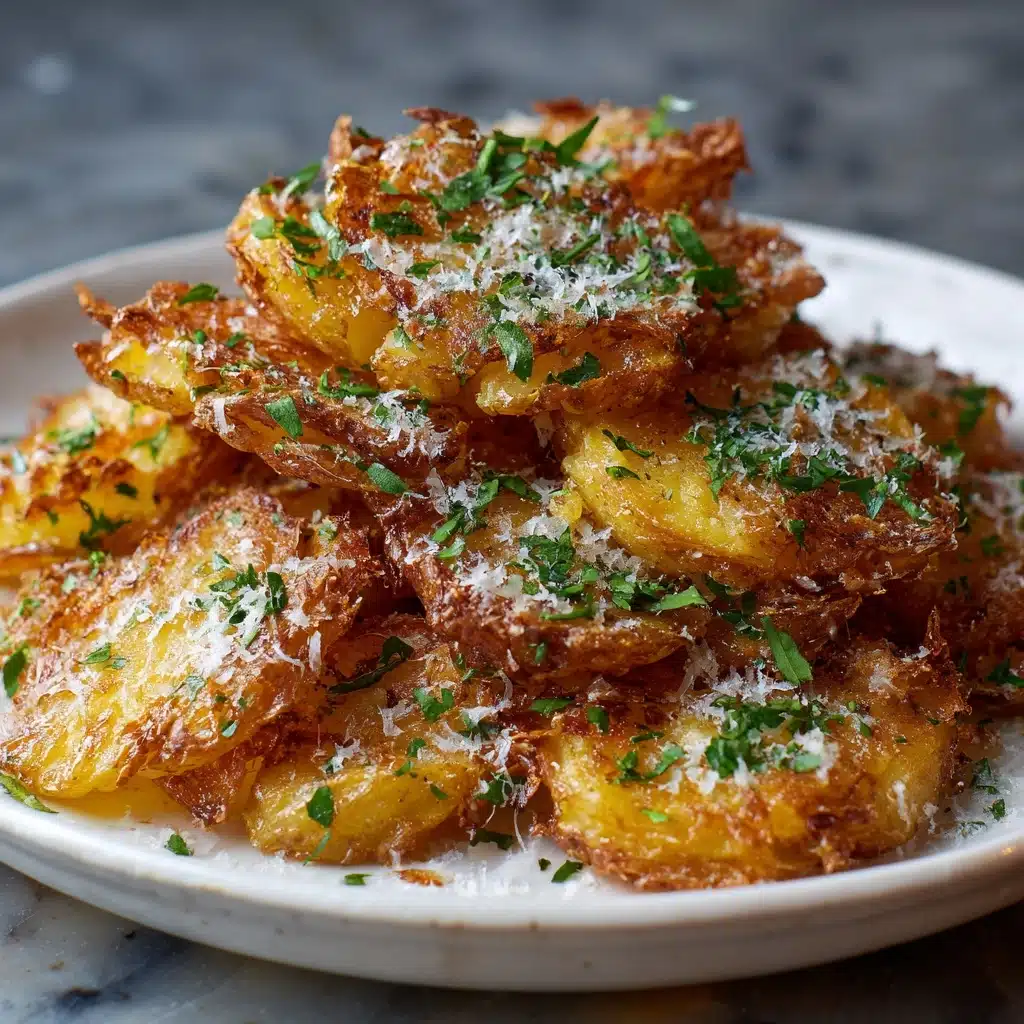
There are snacks, and then there are snacks that disappear the moment they hit the table. Cheesy Onion Crisps are firmly in the second camp: salty, golden, irresistibly crunchy, packed with real onion flavor and a glorious mix of cheddar and Parmesan. Imagine the very best part of French onion soup – that molten, cheesy crust – but as a hand-held bite you can serve at any gathering or savor as a solo treat. Grab some onions and cheese, because these are about to become your new entertaining go-to!
Ingredients You’ll Need
You won’t believe how such familiar ingredients come together to make something this special. Each element pulls its weight – onions for their sweet bite, cheeses to bring the savory melt, panko for crunch, and butter to tie it all together. Here’s what you’ll need for unforgettable Cheesy Onion Crisps:
- Yellow Onions (2 large, thinly sliced): Go for yellow onions for just the right balance of sweetness and savor; slice them super thin for maximum crispiness.
- Shredded Sharp Cheddar Cheese (1 cup): Sharp cheddar adds bold flavor and that gooey pull everyone loves.
- Grated Parmesan Cheese (½ cup): Parmesan brings nutty, salty depth and helps the crisps brown beautifully.
- Panko Breadcrumbs (½ cup): These airy Japanese breadcrumbs deliver unbeatable crunch.
- All-Purpose Flour (2 tbsp): Lightly coats onions to help everything bond together and crisp up in the oven.
- Unsalted Butter, melted (2 tbsp): Provides richness and encourages golden edges; salted butter can be used, but mind the extra salt.
- Garlic Powder (½ tsp): Adds gentle garlic warmth without overpowering the onions and cheese.
- Onion Powder (½ tsp): Bumps up the savory, oniony flavor in every bite.
- Salt and Black Pepper (to taste): Don’t skip a generous pinch of each to bring all the flavors forward.
- Fresh Parsley for garnish (optional): A handful of chopped parsley delivers a pop of color and freshness right before serving.
How to Make Cheesy Onion Crisps
Step 1: Prep Your Oven and Sheet
Start by heating your oven to 375°F (190°C), making sure it’s fully preheated for even baking. Line a large baking sheet with parchment paper – this keeps the Cheesy Onion Crisps from sticking and makes clean-up a breeze.
Step 2: Coat the Onions
In a large mixing bowl, toss those thin onion slices with flour. Coating the onions ensures they’ll crisp up perfectly and helps the cheeses cling in every mouthful.
Step 3: Mix in the Good Stuff
Add the shredded cheddar, Parmesan, panko, garlic powder, onion powder, salt, and black pepper directly to the floured onions. Drizzle in the melted butter and stir everything together until you see no streaks of flour and the mixture is evenly moistened. Every piece of onion should be blanketed in cheesy, buttery goodness!
Step 4: Shape and Space
Using a heaping tablespoon measure, scoop out mounds of the mixture onto the prepared baking sheet. Slightly press down each one with your fingers or the back of the spoon to flatten them – this helps with those glorious crispy edges. Leave space between each mound so they spread and don’t meld together.
Step 5: Bake to Golden Perfection
Slide the tray into your oven and bake for 18–22 minutes. You’re looking for Cheesy Onion Crisps that are golden brown around the edges and deeply fragrant. If you want extra crunch, pop them under the broiler for 1–2 minutes, watching closely, until they reach your desired level of crispiness.
Step 6: Cool and Garnish
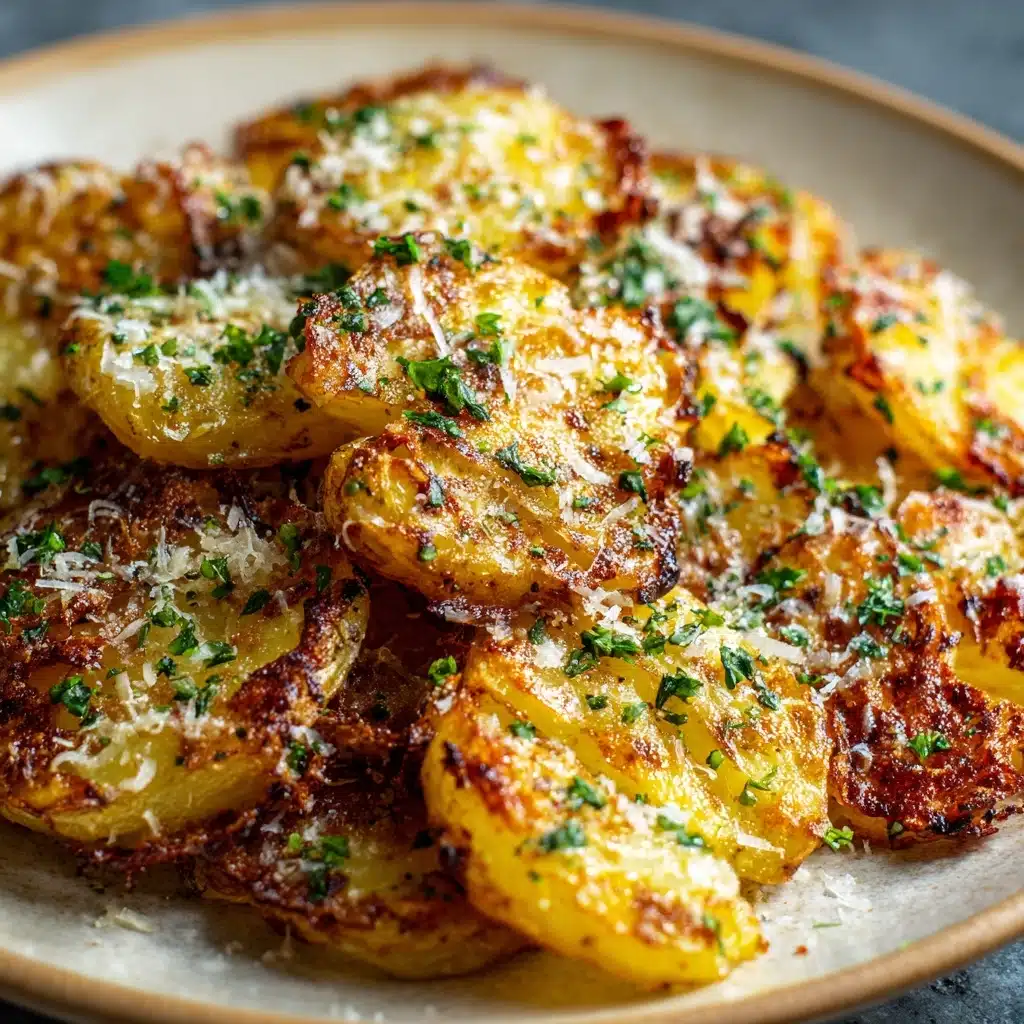
Let the crisps cool directly on the baking sheet for five minutes; this makes them easier to lift. Gently transfer them to a wire rack for a few more minutes of cooling time. If you’re feeling fancy, sprinkle with chopped fresh parsley for an eye-catching finish.
How to Serve Cheesy Onion Crisps
Garnishes
A flourish of freshness can make these irresistible bites even more tempting. Scatter chopped fresh parsley, chives, or even a very light dusting of paprika over your Cheesy Onion Crisps just before serving. The herbs bring a touch of brightness to complement the cheese and onion richness.
Side Dishes
While these crisps are a show-stealer all on their own, they pair beautifully with dips like cool sour cream, tangy ranch, or a spicy aioli. Place them alongside a platter of fresh veggies for a crowd-pleasing, textural contrast, or serve them as a crunchy topper for a vibrant green salad or bowl of soup.
Creative Ways to Present
Stack Cheesy Onion Crisps on a rustic wooden board for a casual appetizer spread, or set each on a dollop of herbed cream cheese for an elegant hors d’oeuvre. You can also break them into shards to sprinkle over creamy baked potatoes or fold into a wrap for an unforgettable crunch.
Make Ahead and Storage
Storing Leftovers
If you find yourself with any Cheesy Onion Crisps left (which honestly is a rare situation!), let them cool completely and store them in an airtight container at room temperature. They’ll stay crispy and delicious for up to two days, making them great for snacking or topping leftovers.
Freezing
For longer storage, you can freeze the baked crisps. Once cooled, arrange them in a single layer on a baking sheet to freeze solid, then transfer to a zip-top bag or airtight container. They’ll keep their flavor and crunch for up to one month. Just be sure to separate layers with parchment to prevent sticking.
Reheating
To revive maximum crunch, reheat the Cheesy Onion Crisps in a preheated 350°F oven for 5–8 minutes straight from the fridge or freezer. Avoid microwaving, which can make them soggy; the oven brings that toasty bite right back to life.
FAQs
Can I use a different type Appetizer
Absolutely! While sharp cheddar and Parmesan combine for bold flavor and excellent texture, you can swap in Gruyère, Swiss, or even mozzarella for a creative twist. Just make sure whichever cheese you use melts well and has plenty of flavor.
Can I make Cheesy Onion Crisps gluten-free?
Yes, you can use a 1:1 gluten-free all-purpose flour blend and gluten-free panko breadcrumbs. The result is still just as delicious and crunchy!
What’s the best way to get even, thin onion slices?
A sharp chef’s knife and a little patience will do the trick, but if you have a mandoline slicer, this is its moment to shine. Ultra-thin slices cook more evenly and help the Cheesy Onion Crisps hold together perfectly.
Can I prep these ahead for a party?
You can mix the dry ingredients and slice your onions a day ahead, but for best texture, toss everything with butter and bake just before serving. That way, your crisps will be at their freshest and most irresistible.
Are Cheesy Onion Crisps kid-friendly?
Absolutely! The sweet, mellow onions and cheesy crunch are big hits with kids. If you’re serving little ones, you can pull back slightly on the black pepper or spice for a milder bite.
Final Thoughts
If you’re looking to shake up snack time or wow your friends with something truly addictive, these Cheesy Onion Crisps have your name on them. They’re easy, fun, and oh-so-satisfying. Don’t be surprised if you find yourself baking a double batch!
Print
Cheesy Onion Crisps Recipe
- Total Time: 30 minutes
- Yield: 12 crisps 1x
- Diet: Vegetarian
Description
These Cheesy Onion Crisps are crispy, savory bites loaded with cheddar and Parmesan cheese. Perfect as a party appetizer or a tasty snack.
Ingredients
Yellow Onions:
- 2 large yellow onions, thinly sliced
Cheese Mixture:
- 1 cup shredded sharp cheddar cheese
- 1/2 cup grated Parmesan cheese
- 1/2 cup panko breadcrumbs
- 2 tbsp all-purpose flour
- 2 tbsp unsalted butter, melted
- 1/2 tsp garlic powder
- 1/2 tsp onion powder
- Salt and black pepper, to taste
Garnish:
- Fresh parsley for garnish (optional)
Instructions
- Preheat the oven: Preheat the oven to 375°F (190°C) and line a baking sheet with parchment paper.
- Prepare the onions: Toss thinly sliced onions with flour in a large bowl until coated.
- Mix ingredients: Add cheddar, Parmesan, panko breadcrumbs, garlic powder, onion powder, salt, and pepper. Drizzle melted butter and mix well.
- Bake: Scoop tablespoons of the mixture onto the baking sheet, flatten slightly, and bake for 18–22 minutes until golden brown.
- Cool and garnish: Let cool for 5 minutes on the sheet, then transfer to a wire rack. Garnish with parsley.
- Serve: Enjoy warm or at room temperature.
Notes
- For extra crunch, broil the crisps for 1–2 minutes at the end of baking.
- Best enjoyed fresh but can be stored in an airtight container for up to 2 days.
- Prep Time: 10 minutes
- Cook Time: 20 minutes
- Category: Appetizer
- Method: Baking
- Cuisine: American
Nutrition
- Serving Size: 1 crisp
- Calories: 90
- Sugar: 1g
- Sodium: 140mg
- Fat: 6g
- Saturated Fat: 3g
- Unsaturated Fat: 2g
- Trans Fat: 0g
- Carbohydrates: 5g
- Fiber: 0g
- Protein: 3g
- Cholesterol: 12mg

