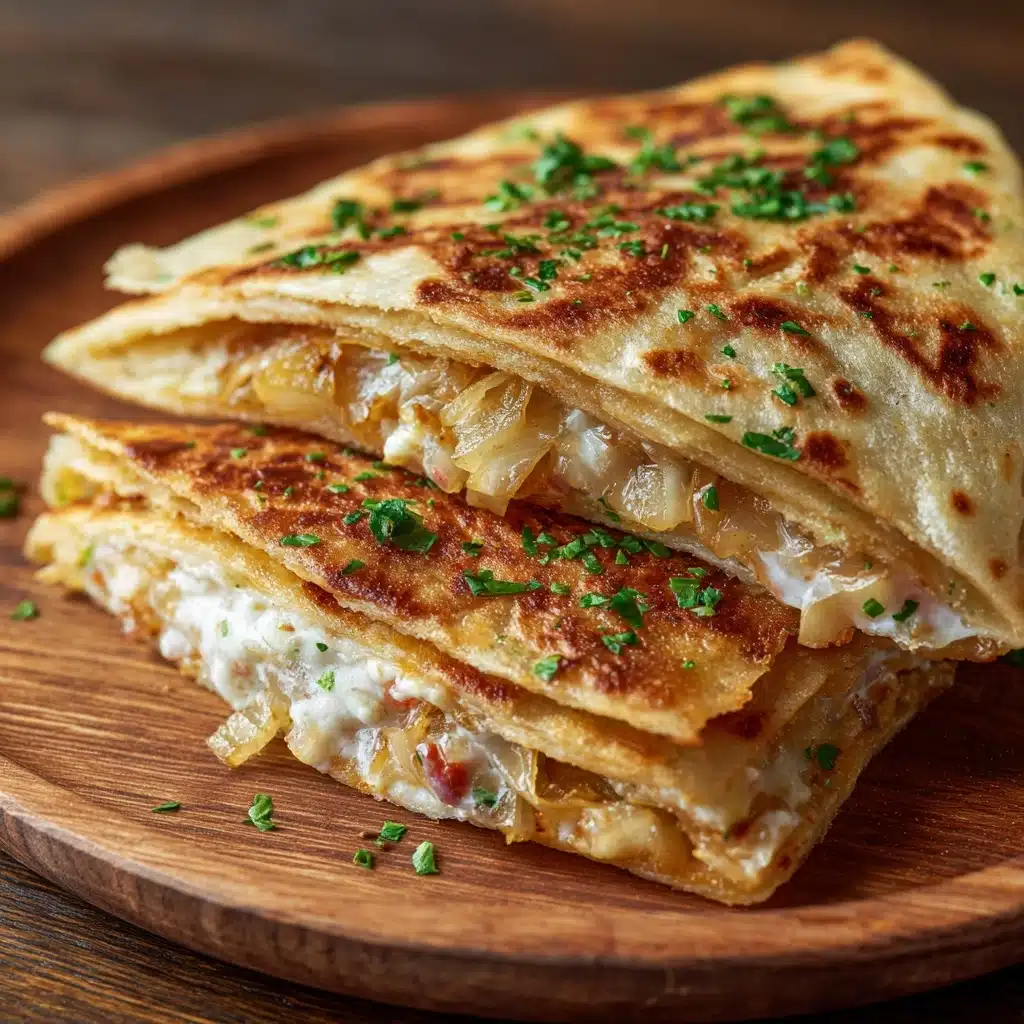
If there’s one dish that instantly brings a festive, comforting spirit to the table, it’s Russian Blini (Stuffed Pancakes). Delicately thin, golden, and endlessly customizable, these classic treats are more than just a breakfast staple—they’re an invitation to gather, create, and savor. Whether you prefer yours stuffed with velvety sour cream and caviar, rich creamy mushrooms, or a sweet swirl of jam, Russian Blini (Stuffed Pancakes) promise a memorable, joyous experience every time they grace your plate.
Ingredients You’ll Need
Simple pantry staples are all it takes to master Russian Blini (Stuffed Pancakes), but each ingredient truly matters in creating their signature delicate texture and irresistible flavor. Assemble your ingredients and get ready for a quick journey to homemade blini bliss.
- All-purpose flour: The backbone of this recipe, providing structure and the perfect canvas for your favorite fillings.
- Whole milk (warmed): Adds a luxurious richness that keeps the batter silky and the pancakes soft.
- Large eggs: Essential for binding and giving the blini their tender, flexible bite.
- Melted butter (plus more for cooking): Infuses flavor and a touch of golden color, while also ensuring each pancake releases beautifully from the pan.
- Granulated sugar: Just a hint for touch of sweetness that balances all types of fillings, sweet or savory.
- Salt: Rounds out the flavors and balances the sweetness in the batter.
- Baking powder (optional for fluffier texture): An optional addition if you like your blini just a little airy—traditionalists sometimes skip it, but it’s fun to experiment!
- Assorted fillings (sour cream, caviar, smoked salmon, mushrooms, sweetened cottage cheese, or jam): The magic-makers! Choose your favorites or offer a spread for everyone to build their own perfect Russian Blini (Stuffed Pancakes).
How to Make Russian Blini (Stuffed Pancakes)
Step 1: Mix the Dry Ingredients
Start by whisking together the all-purpose flour, granulated sugar, salt, and baking powder (if you want a touch of fluffiness) in a large mixing bowl. This ensures an even distribution, so you don’t wind up with pockets of salt or baking powder in your blini—just a smooth, harmonious batter ready for luscious fillings.
Step 2: Prepare the Wet Ingredients
In a separate bowl, beat the eggs thoroughly, then add the warm milk and melted butter. Whisk together until everything is velvety and combined. The warm milk helps the butter blend easily and encourages a silky-smooth batter—your future self will thank you for the extra minute spent here!
Step 3: Combine to Make the Batter
Now, gradually pour the wet mixture into the dry ingredients. Whisk constantly for a lump-free, satiny batter. This step is where patience pays off: a smooth batter means thin blini that won’t tear when you fill and roll them. When you’re done, cover and let the batter rest for 15–20 minutes. This nap allows the gluten to relax and yields pancakes with the perfect stretch.
Step 4: Cook the Blini
Heat a nonstick skillet or crepe pan over medium heat and brush it lightly with melted butter. Pour in about ¼ cup of batter, swirling the pan to coat the bottom in a delicate layer. Cook for 1–2 minutes until the border lifts and the underside turns a gentle gold. Flip gently with a thin spatula and cook for another 30–60 seconds on the other side. Transfer your blini to a plate and repeat—stacking them up for the coming feast.
Step 5: Fill and Roll
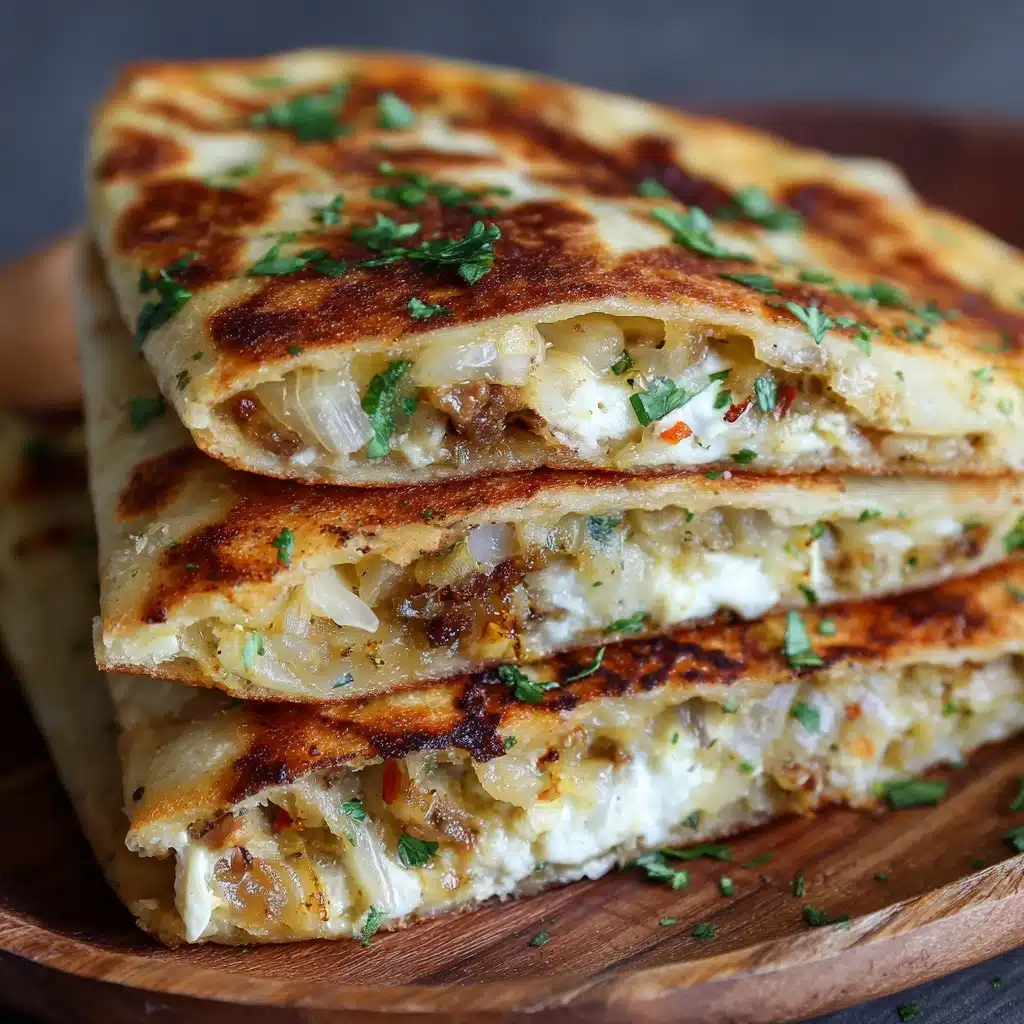
Lay each blin flat, dollop or spread your chosen filling—savory or sweet—and then roll tightly or fold into elegant triangles. Whether you go classic with smoked salmon and dill, a sautéed mushroom medley, or a nostalgic swipe of sweetened cottage cheese, this step is where Russian Blini (Stuffed Pancakes) shine as a personalized treat.
How to Serve Russian Blini (Stuffed Pancakes)

Garnishes
The right garnish takes Russian Blini (Stuffed Pancakes) from delicious to dazzling. For savory versions, a spoonful of sour cream, a sprinkle of fresh dill, or a little glint of caviar add sophistication and flavor. On the sweet side, a dusting of powdered sugar, fresh berries, or even a drizzle of honey brings joyful color and charm to every plate.
Side Dishes
Set your blini beside a crisp cucumber salad, marinated beets, or even a steaming cup of black tea for a truly Russian-inspired spread. If you’re serving them at brunch, add fresh fruit or a tangy slaw—Russian Blini (Stuffed Pancakes) love a little contrast and crunch alongside!
Creative Ways to Present
Channel your inner chef by stacking blini in a tall tower, rolling them into elegant cigars, or arranging them in a pinwheel on a festive platter. Mini blini as bite-sized appetizers are always a conversation starter at parties, proving these pancakes are as much about play as they are about tradition.
Make Ahead and Storage
Storing Leftovers
If your Russian Blini (Stuffed Pancakes) don’t disappear immediately, you’re in luck: allow them to cool completely, then stack with a bit of parchment paper in between. Store in an airtight container in the fridge for up to three days. When ready to enjoy again, they’ll still be soft, supple, and ready for a fresh round of filling.
Freezing
Blini freeze beautifully! Just layer each pancake with parchment paper, slip them into a resealable bag or airtight container, and stash in the freezer for up to two months. This means you always have the building blocks for an elegant brunch or last-minute dessert at your fingertips.
Reheating
To reheat, warm your Russian Blini (Stuffed Pancakes) gently in a covered skillet over low heat or pop them in the microwave for 20–30 seconds, just until heated through. If you’re starting from frozen, let them thaw overnight in the fridge, then rewarm as usual—they’ll taste just as fresh as the day they were made.
FAQs
Can I make Russian Blini (Stuffed Pancakes) gluten-free?
Absolutely! Swap the all-purpose flour for your favorite gluten-free blend. Look for a mix that’s meant for pancakes or crepes to keep that signature soft, pliable texture everyone loves.
What are the best fillings for Russian Blini (Stuffed Pancakes)?
It’s all about personal taste! Classic options include sour cream and caviar or smoked salmon for savory lovers, and sweetened cottage cheese or jam for those with a sweet tooth. You can even offer a variety and let everyone roll their own favorites—customization is half the fun.
Can I make the batter in advance?
Yes, you certainly can. Prepare the batter, cover, and refrigerate overnight. Give it a quick stir before cooking, and your Russian Blini (Stuffed Pancakes) will be ready to go with minimal morning fuss.
Why are my blini tearing when I fold them?
If your blini are delicate or tearing, it could be that they’re a bit too thick, or perhaps the batter needs a touch more milk for fluidity. Resting the batter and making sure your pan is well-prepped with butter helps create blini that are both strong and flexible for stuffing and rolling.
Are Russian Blini (Stuffed Pancakes) served hot or cold?
Traditionally, blini are served warm, fresh from the pan or gently reheated until just soft and fragrant. However, they’re equally delicious at room temperature—perfect for lunchboxes, picnics, or a do-it-yourself brunch spread.
Final Thoughts
Russian Blini (Stuffed Pancakes) are a celebration on a plate—simple to make, endlessly adaptable, and always a joy to share. Whether it’s for a cozy brunch, festive holiday, or a special treat just because, you’ll love the creativity and comfort these pancakes bring. Don’t hesitate—whisk up a batch, gather your favorite fillings, and create your own tasty tradition!
Print
Russian Blini (Stuffed Pancakes) Recipe
- Total Time: 40 minutes
- Yield: 10 blini 1x
- Diet: Non-Vegetarian
Description
Learn how to make delicious Russian Blini, stuffed pancakes perfect for any time of day. These versatile crepes can be filled with a variety of sweet or savory ingredients for a traditional Russian treat.
Ingredients
Blini Batter:
- 1 cup all-purpose flour
- 1 ½ cups whole milk (warmed)
- 2 large eggs
- 2 tbsp melted butter (plus more for cooking)
- 1 tbsp granulated sugar
- ¼ tsp salt
- ½ tsp baking powder (optional for fluffier texture)
Assorted Fillings:
- Sour cream
- Caviar
- Smoked salmon
- Sautéed mushrooms
- Sweetened cottage cheese
- Jam
Instructions
- Prepare the Batter: Mix dry ingredients in one bowl and wet ingredients in another. Combine wet mixture with dry until smooth. Rest batter for 15–20 minutes.
- Cook the Blini: Heat skillet, coat with butter, pour batter, cook until golden on both sides.
- Fill and Serve: Add desired fillings, roll or fold blini, and serve warm.
Notes
- Blini can be made ahead and reheated.
- They freeze well for later use.
- Experiment with various sweet and savory fillings.
- Prep Time: 20 minutes
- Cook Time: 20 minutes
- Category: Breakfast
- Method: Stovetop
- Cuisine: Russian
Nutrition
- Serving Size: 1 blin (without filling)
- Calories: 110
- Sugar: 1g
- Sodium: 95mg
- Fat: 5g
- Saturated Fat: 3g
- Unsaturated Fat: 2g
- Trans Fat: 0g
- Carbohydrates: 12g
- Fiber: 0g
- Protein: 3g
- Cholesterol: 45mg


