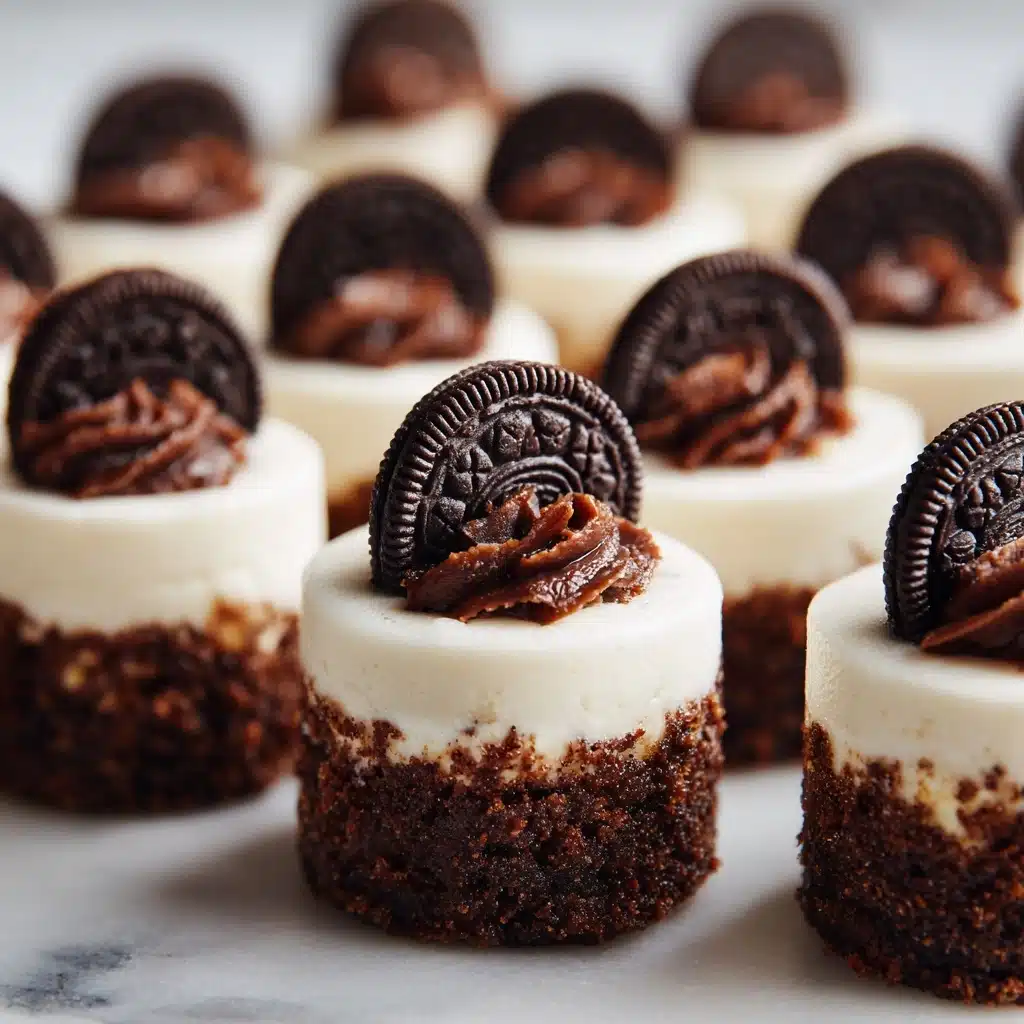
If you’re in the mood for a treat that channels the nostalgia of childhood and delivers a crowd-pleasing punch of creamy, chocolatey goodness, Cookies and Cream Dessert Cups are your new best friend. Imagine layers of chocolate sandwich cookie crumbles, a dreamy cream cheese filling, fluffy whipped topping, and extra cookie bits in every spoonful. These no-bake wonders are as fun to assemble as they are to devour, making them perfect for parties, family nights, or those moments when you need an easy yet knockout dessert. Trust me, every bite is like a sweet hug in a cup!
Ingredients You’ll Need
This recipe keeps things simple but packs in loads of flavor and texture, thanks to each essential ingredient. Every component has a purpose, whether it’s for the snap of the crust, the tang of the filling, or a cloud-like finish on top.
- Chocolate sandwich cookies (18, crushed): The chunky, chocolatey base that sets the stage for the layers of flavor; use your favorite brand for the best taste!
- Melted butter (2 tablespoons): Helps bind the cookie crumbs together to make a perfectly indulgent crust.
- Cream cheese (8 oz, softened): The secret to a lusciously smooth and slightly tangy filling—let it come to room temperature for easy mixing.
- Granulated sugar (1/4 cup): Adds the right touch of sweetness to balance the cream cheese.
- Vanilla extract (1 teaspoon): Rounds out all the flavors and boosts the dessert’s cozy aroma.
- Whipped topping (8 oz, plus more for garnish): Folds into the filling for an airy texture and makes the most irresistible garnish.
- Crushed chocolate sandwich cookies (1/2 cup, for folding): Stirred into the filling, these bits add an unbeatable pop of crunch and flavor.
- Extra cookies or crumbs (for garnish): The finishing touch—think of it as the cherry on top, but better!
How to Make Cookies and Cream Dessert Cups
Step 1: Make the Cookie Crust
Start by combining the crushed chocolate sandwich cookies with melted butter in a small bowl. Mix until every crumb is coated and the mixture resembles delicious, chocolatey wet sand. Spoon a generous tablespoon or two into the bottom of each of your small serving cups or jars, and gently press down to form a simple, satisfying crust. This layer gives you that classic cookies-and-cream crunch with every bite!
Step 2: Whip Up the Creamy Filling
In a large mixing bowl, beat the softened cream cheese together with the sugar and vanilla extract. Aim for a mixture that’s perfectly smooth and creamy—no pesky lumps allowed! The tanginess from the cream cheese cuts through the sweetness, bringing everything together in a heavenly cloud of flavor.
Step 3: Fold in Whipped Topping and Cookie Pieces
Once your base is silky-smooth, gently fold in the whipped topping until you have a light, airy filling. For that iconic cookies and cream moment, stir in half a cup of extra crushed cookies. This step adds flecks of chocolate throughout the creamy layer, giving each mouthful a little crunch and a lot of joy.
Step 4: Assemble the Dessert Cups
Evenly spoon or pipe (if you’re feeling fancy) the cream cheese mixture over the cookie crust in every cup. Take your time—this is where you get those beautiful, tempting layers. The contrast between the dark cookie base and creamy filling is absolutely irresistible!
Step 5: Finish with Garnish and Chill
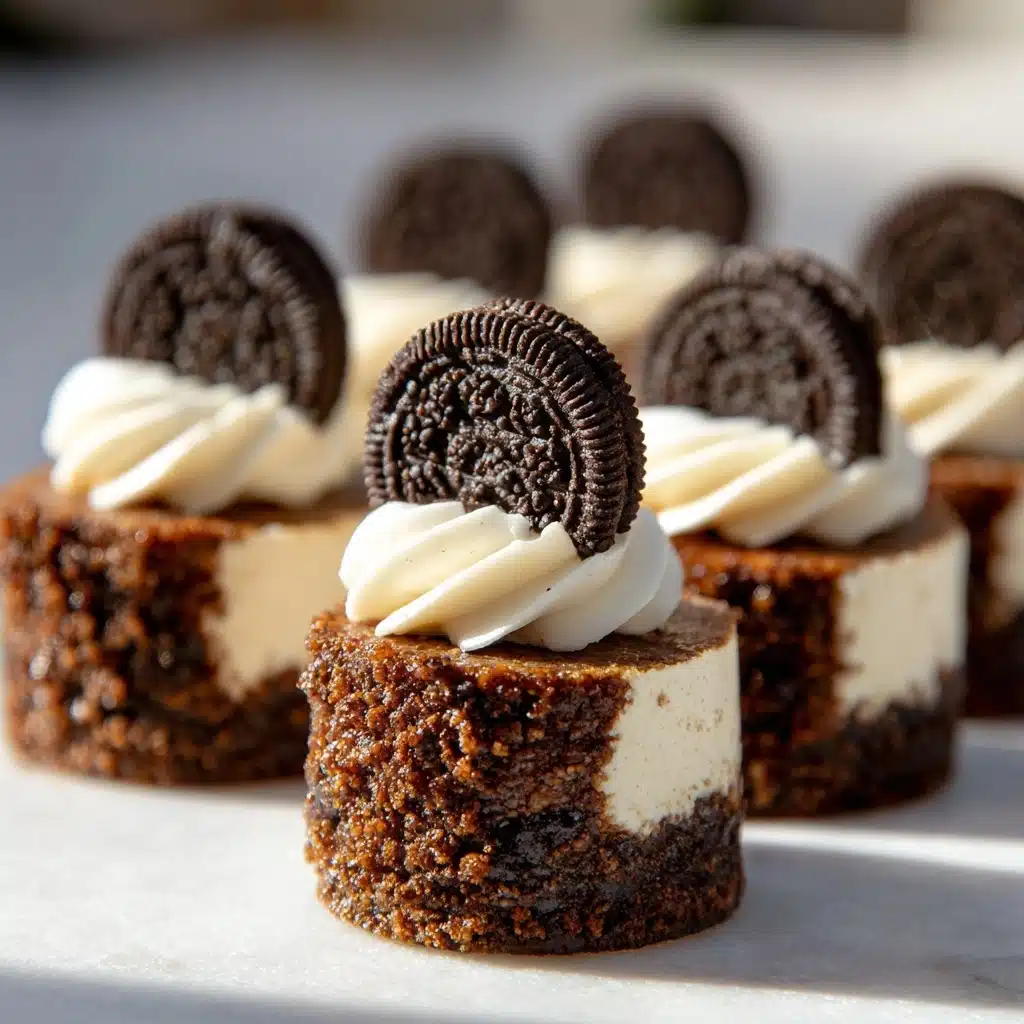
Add a playful dollop of whipped topping to each cup, then sprinkle extra cookie crumbs or perch a half cookie on top for good measure. Allow your Cookies and Cream Dessert Cups to chill in the fridge for at least one hour. That not only helps the flavors meld but ensures the texture is perfectly set for scooping.
How to Serve Cookies and Cream Dessert Cups

Garnishes
The sky’s the limit when it comes to garnishing these beauties! A swirl of whipped topping and a light rain of extra cookie crumbs are traditional and always a hit. For a little added flair, consider a chocolate drizzle or even a miniature chocolate bar wedged artfully into the top. Each garnish makes the Cookies and Cream Dessert Cups a little more special and a lot more photogenic.
Side Dishes
Since these dessert cups are rich and decadent, they shine alongside lighter fare. Consider serving with a bowl of fresh strawberries or a refreshing fruit salad to balance out the sweetness. If you’re going big, pair them with a tray of salty-sweet snacks like pretzel sticks or candied nuts to create a fun, contrast-filled dessert spread.
Creative Ways to Present
Cookies and Cream Dessert Cups have “party-perfect” written all over them. Present them in small mason jars for rustic charm, or use clear shot glasses for bite-sized elegance at parties. For an extra twist, layer with chocolate pudding or tuck a surprise swirl of strawberry jam in the middle. The more personal your presentation, the more memorable your dessert will be!
Make Ahead and Storage
Storing Leftovers
If you find yourself with extra Cookies and Cream Dessert Cups (lucky you!), simply cover them with plastic wrap or an airtight lid and stash them in the fridge. They’ll stay fresh, creamy, and delicious for up to three days, which makes late-night snacking a real treat!
Freezing
Want to extend the magic even longer? You can freeze these dessert cups for up to a month. Be sure to wrap them tightly to avoid freezer burn, and thaw in the fridge overnight for best results. The texture will be slightly firmer but still creamy—almost like a decadent frozen cheesecake!
Reheating
Reheating isn’t really needed for these no-bake treats, but if they’ve been in the fridge or freezer and you prefer them less chilled, just let them sit at room temperature for about 15 minutes before serving. They’ll soften up beautifully without losing their shape or flavor.
FAQs
Can I use a different type Dessert
Absolutely! While classic chocolate sandwich cookies are traditional in Cookies and Cream Dessert Cups, you can swap in golden versions, chocolate chip cookies, or even gluten-free alternatives for a personalized spin.
Can I make these dessert cups ahead of time?
Yes, in fact, they get even better after a night in the fridge! Assemble a day ahead and chill, then garnish right before serving for the freshest presentation.
Can I use homemade whipped cream instead of store-bought whipped topping?
Definitely! Homemade whipped cream gives the filling an extra-rich, fresh flavor—just make sure it’s whipped to stiff peaks so the dessert holds its shape.
How can I make these mini desserts look extra special for parties?
Try piping the cream filling into clear shot glasses or mini jars, then finish with a half cookie standing upright for a show-stopping look. Little cookie flags or colorful sprinkles are always a fun touch too!
Are Cookies and Cream Dessert Cups kid-friendly?
You bet! They’re sweet, easy to eat, and simple enough for little hands to help assemble. Just be prepared—they’ll probably disappear fast at any family gathering!
Final Thoughts
I can’t say enough about how much fun it is to make and share these Cookies and Cream Dessert Cups. Every cup is a sweet little celebration, brimming with familiar flavors and playful textures. If you’re craving an easy, crowd-pleasing dessert that brings smiles to the table, whip up a batch soon—you’re in for a real treat!
Print
Cookies and Cream Dessert Cups Recipe
- Total Time: 1 hour 15 minutes (including chilling)
- Yield: 6–8 dessert cups 1x
- Diet: Vegetarian
Description
Indulge in these delightful Cookies and Cream Dessert Cups, featuring a luscious blend of cream cheese, whipped topping, and crushed cookies for a no-bake treat that’s perfect for any occasion.
Ingredients
For the Crust:
- 18 chocolate sandwich cookies, crushed
- 2 tablespoons melted butter
For the Filling:
- 1 (8 oz) package cream cheese, softened
- 1/4 cup granulated sugar
- 1 teaspoon vanilla extract
- 1 (8 oz) tub whipped topping, plus more for garnish
- 1/2 cup crushed chocolate sandwich cookies, for folding into filling
- Extra cookies or crumbs for garnish
Instructions
- Prepare the Crust: Mix 18 crushed cookies with melted butter until evenly coated. Spoon into serving cups, pressing gently to form a crust layer.
- Make the Filling: Beat cream cheese with sugar and vanilla until smooth. Fold in whipped topping and crushed cookies.
- Assemble: Spoon or pipe the filling over the crusts. Top with whipped topping and cookie crumbs.
- Chill: Refrigerate for at least 1 hour before serving.
Notes
- You can make these a day ahead for easy entertaining.
- For variation, layer with chocolate pudding or drizzle with chocolate syrup.
- Prep Time: 15 minutes
- Cook Time: 0 minutes
- Category: Dessert
- Method: No-Bake
- Cuisine: American
Nutrition
- Serving Size: 1 dessert cup
- Calories: 330
- Sugar: 20g
- Sodium: 230mg
- Fat: 22g
- Saturated Fat: 12g
- Unsaturated Fat: 8g
- Trans Fat: 0g
- Carbohydrates: 30g
- Fiber: 1g
- Protein: 3g
- Cholesterol: 35mg


