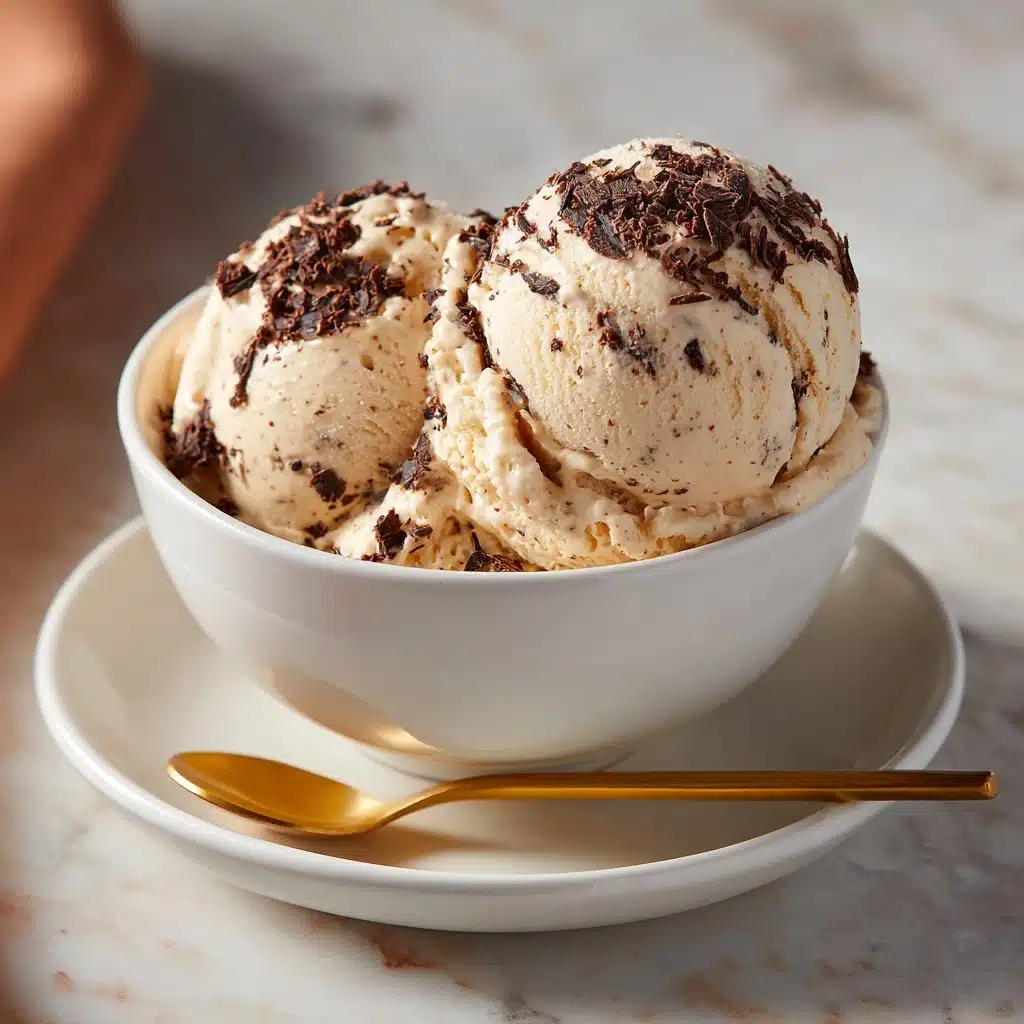
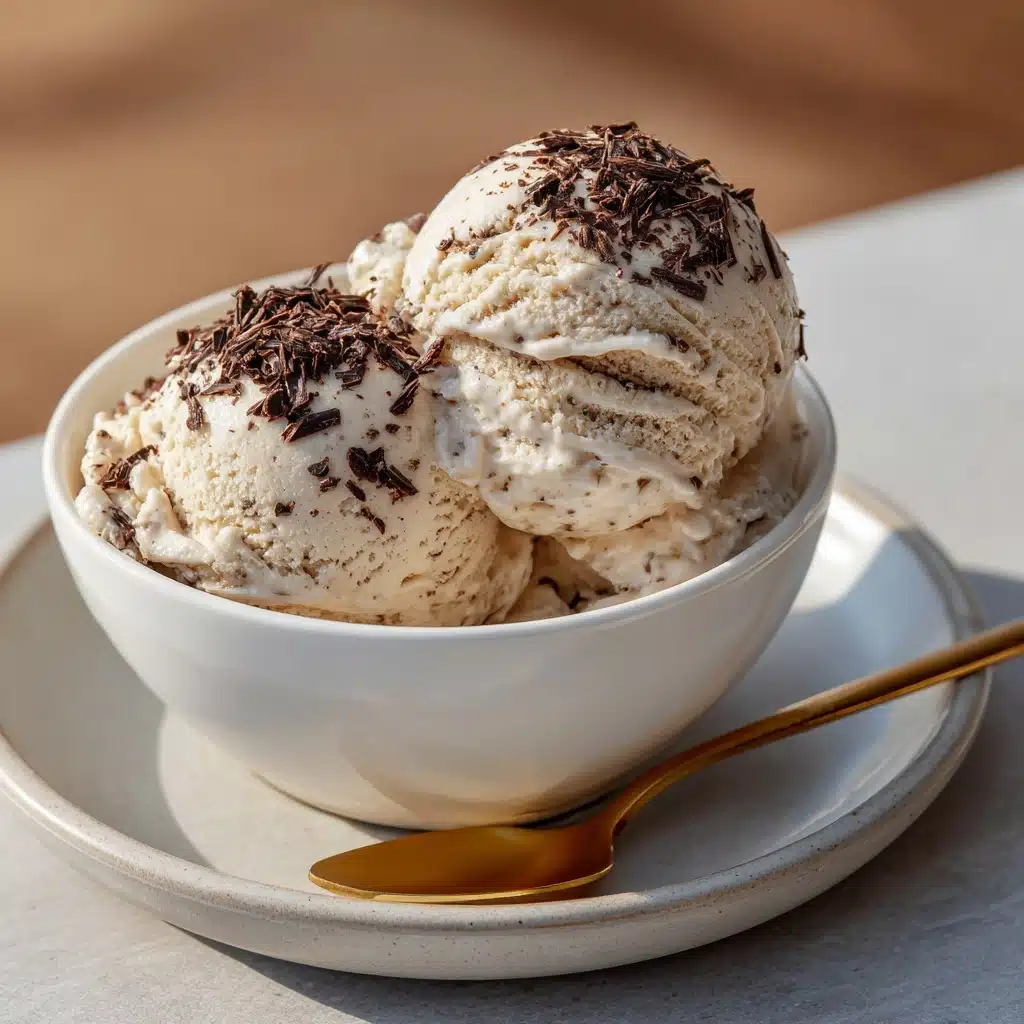
Get ready to fall in love with the rich, invigorating flavors of Coffee Ice Cream: a homemade treat that captures the boldness of coffee and the creaminess of old-fashioned churned ice cream! Imagine each scoop swirling with sweet espresso notes, luxuriously smooth texture, and that irresistible aroma reminiscent of your favorite café. This dreamy Coffee Ice Cream is a must-try for coffee enthusiasts and dessert lovers alike, turning a handful of pantry staples into an unforgettable frozen masterpiece you’ll want to make again and again.
Ingredients You’ll Need
This Coffee Ice Cream recipe is all about letting simple, quality ingredients shine. Each element plays a key role, from lending creamy richness to providing that signature punch of deep coffee flavor. Here’s what you need—and why each one matters:
- Heavy cream: Brings that essential silkiness and body, making your ice cream scoopable and indulgent.
- Whole milk: Helps lighten the texture without sacrificing creaminess, for a balanced mouthfeel.
- Granulated sugar: Sweetens the ice cream while also keeping it soft and scoopable straight from the freezer.
- Salt: Just a pinch makes each flavor pop by highlighting the sweetness and coffee notes.
- Instant espresso powder (or strong instant coffee): Delivers a concentrated, robust coffee flavor—no brewing needed!
- Hot water: Dissolves the instant espresso, unlocking its full aromatic intensity.
- Vanilla extract: Rounds out the flavor with its classic, mellow warmth.
How to Make Coffee Ice Cream
Step 1: Dissolve the Coffee
To unleash the coffee’s best flavor, start by mixing the instant espresso powder with hot water in a small bowl. Give it a good stir until the powder dissolves completely and you’ve got a deep, aromatic concentrate. This step ensures the coffee can seamlessly infuse its essence throughout the ice cream.
Step 2: Whisk the Base
Grab a medium mixing bowl and whisk together the sugar, salt, and whole milk. Pour in that fragrant dissolved espresso and whisk until the sugar is fully dissolved. You’ll want the mixture to feel silky and the sugar granules to disappear, creating the perfect base for your Coffee Ice Cream.
Step 3: Add Cream and Vanilla
Now, gently stir in the heavy cream and dreamy vanilla extract. This is the moment when simple ingredients start transforming into something extraordinary. The mixture will look pale and creamy, and you’ll already catch those inviting coffee aromas swirling up!
Step 4: Chill the Mixture
Cover your bowl and slide it into the fridge for at least 2 hours. Chilling helps all the flavors meld together and ensures your ice cream churns up thick and smooth. If you’re planning ahead, you can even let it rest overnight for extra depth of flavor.
Step 5: Churn into Ice Cream
Once thoroughly chilled, pour the mixture into your ice cream maker. Churn according to your manufacturer’s instructions—typically 20 to 25 minutes—until it turns creamy and thick, almost like a soft serve. The anticipation is half the fun as you watch Coffee Ice Cream take shape!
Step 6: Freeze for the Perfect Texture
Spoon the churned ice cream into a lidded container. For that classic, scoopable consistency, freeze the Coffee Ice Cream for at least 2 hours. This sets the texture just right—firm but still perfectly creamy.
How to Serve Coffee Ice Cream

Garnishes
Finish each scoop with flair! Try a dusting of cocoa powder, a handful of chocolate shavings, or crunchy espresso beans. Sometimes a drizzle of chocolate or caramel sauce takes Coffee Ice Cream to a whole new level, making every bite a showstopper.
Side Dishes
Pair Coffee Ice Cream with crisp almond biscotti, buttery shortbread, or even a sweet slice of chocolate cake. The contrast in textures and flavors is simply irresistible, whether you’re serving dessert for a crowd or indulging on your own.
Creative Ways to Present
Think outside the scoop: sandwich Coffee Ice Cream between cookies, swirl it into an affogato with hot espresso, or serve tiny quenelles in elegant glass dishes for dinner parties. Presentation elevates this classic to a memorable finale for any meal!
Make Ahead and Storage
Storing Leftovers
Store any extra Coffee Ice Cream in an airtight container in your freezer. To prevent iciness, press a layer of plastic wrap directly onto the surface before sealing. This simple trick locks in freshness so you can enjoy creamy perfection scoop after scoop.
Freezing
This recipe freezes beautifully for up to two weeks. If you plan to keep it longer, consider dividing the batch into smaller containers to minimize air exposure and keep that lovely texture intact.
Reheating
Ice cream doesn’t need reheating, but for an ideal scoop, let your Coffee Ice Cream sit at room temperature for 5 minutes before serving. This softens it just enough to reveal all that rich, velvety flavor.
FAQs
Can I use brewed coffee instead of instant espresso powder?
Instant espresso powder is preferred because it delivers a bold, undiluted coffee flavor without adding extra water to the mix. Brewed coffee isn’t concentrated enough and can make the ice cream icy rather than creamy.
Do I need an ice cream maker for this recipe?
An ice cream maker gives you the smoothest texture, but if you don’t have one, pour the mixture into a shallow dish, freeze, and stir every 30 minutes until set. The results won’t be as airy, but you’ll still get delicious homemade Coffee Ice Cream.
Can I make this recipe with decaf coffee?
Absolutely! Swap in your favorite decaf instant espresso powder for a less-caffeinated treat—perfect for enjoying a scoop late at night or sharing with kids.
How can I make my Coffee Ice Cream even creamier?
For extra creaminess, use all heavy cream in place of some or all of the whole milk. Just remember, more cream will make the dessert richer and a bit more decadent!
What are some fun mix-ins for Coffee Ice Cream?
Mini chocolate chips, crushed toffee, or a swirl of fudge are fantastic additions! Fold them in just before freezing to keep the pieces evenly distributed and crunchy or gooey as you desire.
Final Thoughts
If you’re ready for a burst of coffee flavor wrapped in silky, homemade ice cream, this Coffee Ice Cream is your next kitchen adventure. Go ahead—gather your ingredients and treat yourself (and your friends) to a scoop of pure joy. You might never want store-bought again!
Print
Coffee Ice Cream Recipe
- Total Time: 10 minutes plus chilling and churning
- Yield: 1 quart 1x
- Diet: Vegetarian
Description
Indulge in the rich and creamy goodness of homemade Coffee Ice Cream. This luscious frozen dessert is a perfect treat for coffee lovers, with a hint of espresso in every bite. Enjoy it on its own or use it to create decadent ice cream sundaes.
Ingredients
Ice Cream Base:
- 2 cups heavy cream
- 1 cup whole milk
- 3/4 cup granulated sugar
- 1/4 teaspoon salt
Coffee Infusion:
- 2 tablespoons instant espresso powder (or strong instant coffee)
- 1 tablespoon hot water
- 1 teaspoon vanilla extract
Instructions
- Prepare Coffee Infusion: Dissolve instant espresso in hot water. Set aside.
- Mix Ingredients: Whisk sugar, salt, milk, and dissolved espresso in a bowl until sugar dissolves. Stir in cream and vanilla.
- Chill Mixture: Refrigerate for at least 2 hours.
- Churn Ice Cream: Process in ice cream maker for 20-25 minutes.
- Freeze: Transfer to a container, freeze for 2 hours.
- Serve: Scoop and enjoy!
Notes
- Enhance with chocolate chips, toffee, or fudge swirls.
- Decaf espresso powder can be used.
- Prep Time: 10 minutes
- Cook Time: 0 minutes
- Category: Dessert
- Method: Churned
- Cuisine: American
Nutrition
- Serving Size: 1/2 cup
- Calories: 210
- Sugar: 19 g
- Sodium: 35 mg
- Fat: 14 g
- Saturated Fat: 9 g
- Unsaturated Fat: 4.5 g
- Trans Fat: 0 g
- Carbohydrates: 20 g
- Fiber: 0 g
- Protein: 2 g
- Cholesterol: 55 mg


