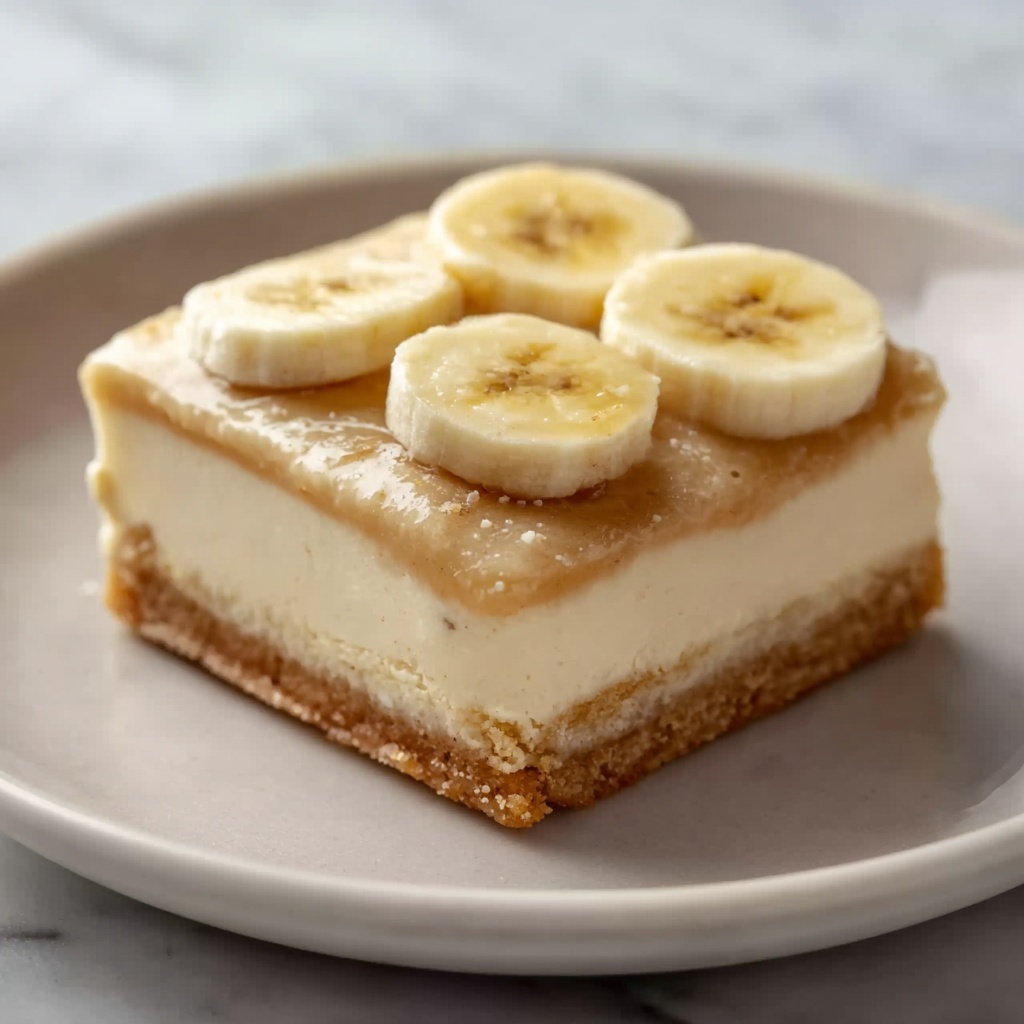
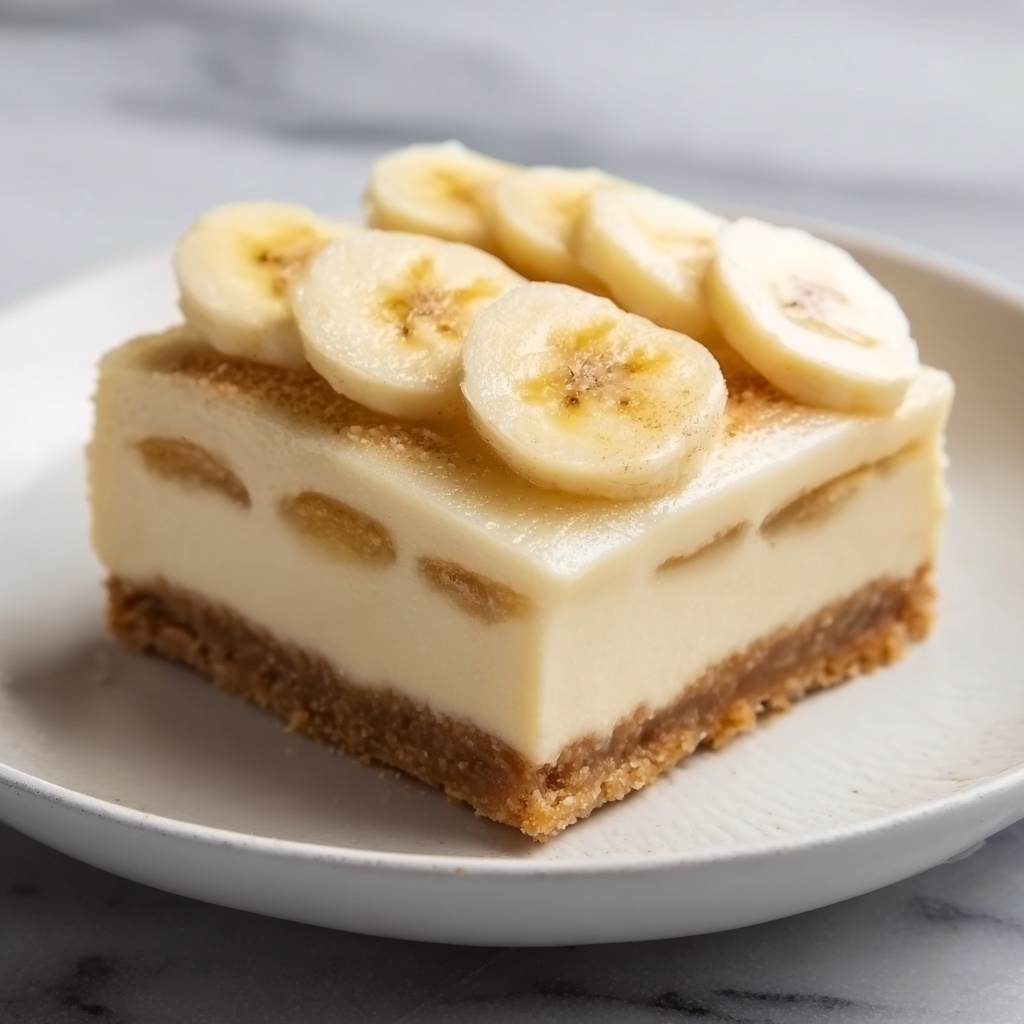
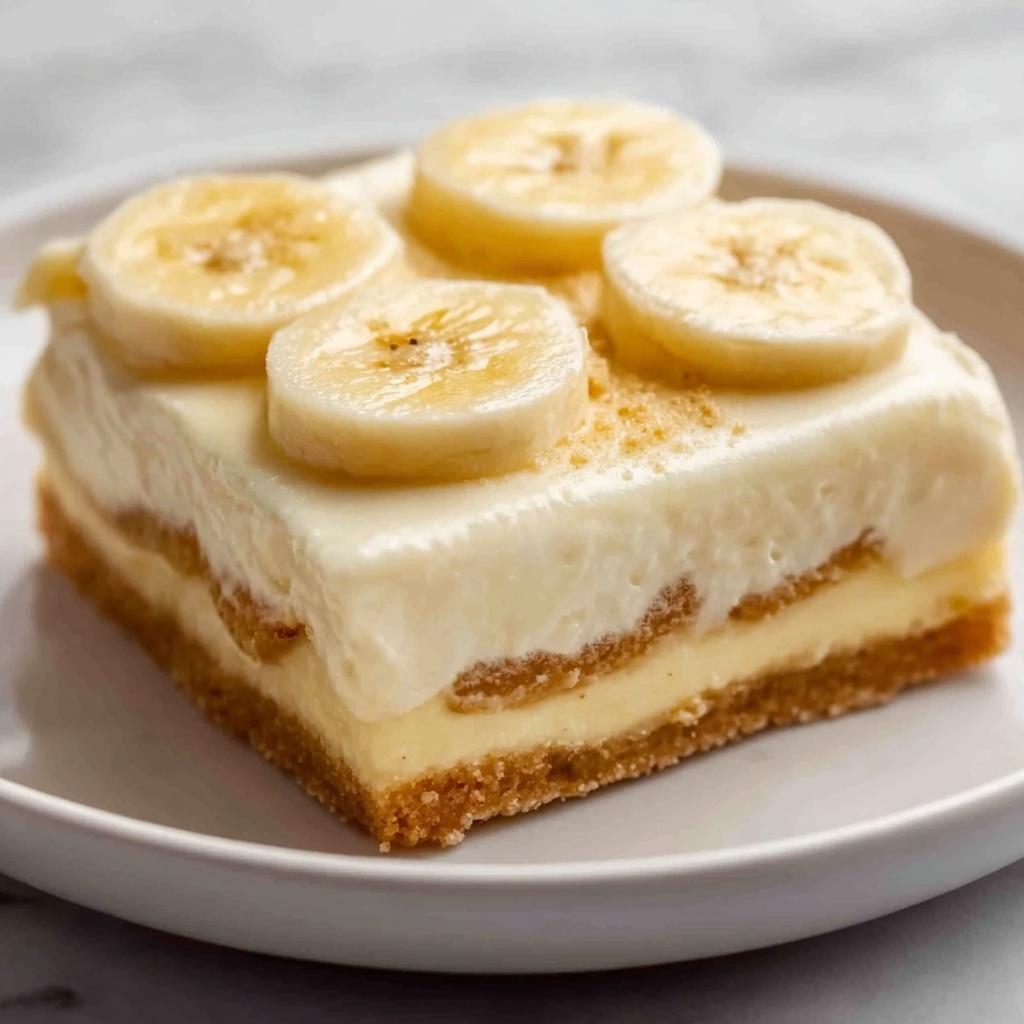
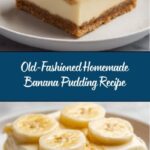
If you’ve ever tasted the comforting embrace of classic Southern desserts, you’ll know why this Old-Fashioned Homemade Banana Pudding Recipe holds a special place in many hearts. Creamy, sweet, and layered with soft bananas and crisp vanilla wafers, this pudding brings together simple ingredients into a nostalgic, luscious treat that’s perfect for gatherings or a sweet moment just for yourself. With its silky texture and perfectly balanced flavors, this recipe is a timeless treasure you’ll want to make again and again.
Ingredients You’ll Need
This recipe comes together with straightforward, pantry-friendly items that work beautifully to create the lusciousness and texture characteristic of the best banana pudding. Each ingredient plays a vital role, from thickening the custard to adding that fragrant vanilla note and the delightful crunch from the wafers.
- Granulated sugar (¾ cup): Sweetens the custard base while helping to achieve that perfect silky consistency.
- All-purpose flour (¼ cup): Acts as the thickening agent, giving the pudding its classic creamy body.
- Salt (¼ teaspoon): Enhances and balances the sweetness, bringing out the best flavors in each ingredient.
- Milk (3 cups): Provides the creamy liquid foundation essential for a rich, smooth pudding.
- Large eggs (3): Add richness and help set the custard to the right firmness.
- Pure vanilla extract (2 teaspoons): Infuses the pudding with a warm, sweet aroma that’s pure comfort in a spoon.
- Vanilla wafers (1 box, approx. 8 ounces): Offer a nostalgic crunch and sweetness, plus they soak up delicious flavors as they layer in the pudding.
- Ripe bananas (3–4, sliced): Bring natural sweetness and that classic banana flavor that’s the star of the show.
How to Make Old-Fashioned Homemade Banana Pudding Recipe
Step 1: Prepare the custard base
Start by whisking together the sugar, flour, and salt in a medium saucepan. This dry mixture will ensure your custard thickens evenly without lumps. Gradually add the milk, whisking constantly until the mix looks smooth and uniform.
Step 2: Cook and thicken the pudding
Place the pan over medium heat and keep stirring to prevent the custard from sticking or burning. In a few minutes, you’ll see it begin to bubble and thicken beautifully. Reduce heat and let it cook for two more minutes while stirring to create a velvety texture.
Step 3: Temper the eggs
To avoid scrambled eggs, lightly beat the eggs in a small bowl. Then slowly whisk in half a cup of the hot milk mixture—the gradual warming helps the eggs combine smoothly into the custard without curdling.
Step 4: Finish cooking the custard
Pour the tempered eggs back into your saucepan and return it to medium heat. Stir continuously until the mixture gently boils, then cook for an additional two minutes. This step ensures the pudding thickens to the perfect firmness while maintaining a creamy silky mouthfeel.
Step 5: Flavor and cool the pudding
Remove from heat and stir in the vanilla extract to infuse every bite with warmth and sweetness. Let the pudding cool for about 15 minutes, stirring occasionally to prevent a skin from forming on the surface.
Step 6: Layer the dessert
In an 8-inch square baking dish, layer approximately 25 vanilla wafers at the bottom as a crunchy foundation, then add a layer of the sliced bananas on top. Pour half of the cooled pudding over the bananas, spreading it evenly for that balanced bite of custard, fruit, and wafer.
Step 7: Repeat the layers and chill
Repeat the layering process with the remaining vanilla wafers, bananas, and pudding. Cover the pudding with plastic wrap, pressing it directly onto the surface to keep the pudding moist and prevent a skin from forming. Refrigerate for at least four hours or overnight to let all those flavors meld perfectly.
How to Serve Old-Fashioned Homemade Banana Pudding Recipe
Garnishes
Sprinkle crushed vanilla wafers on top for an inviting crunch that contrasts delightfully with the creamy pudding. You can also dust a little cinnamon or add a few dollops of freshly whipped cream for an elegant touch.
Side Dishes
This pudding is a wonderful stand-alone dessert but pairs beautifully with light, fresh sides like a crisp green salad or some tangy berry compote to cut through the richness.
Creative Ways to Present
For a fun twist, serve in individual glass jars or trifle bowls, creating visible layers of bananas, wafers, and pudding that look as delightful as they taste. You can also add toasted coconut flakes on top for an extra burst of flavor and texture.
Make Ahead and Storage
Storing Leftovers
Keep your leftover banana pudding covered tightly in the refrigerator. It will stay fresh for about 3 days, although it’s best enjoyed within the first couple of days before the bananas start to brown and soften further.
Freezing
Freezing banana pudding is not recommended because the texture of the bananas and custard can become watery and lose that wonderful creaminess upon thawing. For the best experience, enjoy fresh or chilled.
Reheating
This pudding is designed to be served cold, but if you prefer, reheat gently in the microwave in short bursts just until warmed, then stir to restore smoothness. Warming more than once might break down the texture, so keep it minimal.
FAQs
Can I use instant pudding mix instead of making custard from scratch?
While instant pudding mix is convenient, nothing beats the rich texture and deep flavor you get from making the custard yourself. This Old-Fashioned Homemade Banana Pudding Recipe shines thanks to its homemade touch.
What type of bananas work best in this pudding?
Use ripe but firm bananas—too soft and they’ll become mushy after chilling. Bananas with a touch of yellow and a few brown spots have the best balance of sweetness and texture.
Can I prepare this recipe ahead of time for a party?
Absolutely! Preparing it the day before allows the flavors to meld beautifully and the vanilla wafers to soften just right. Make sure to cover it well to prevent the pudding from forming a skin.
Is there a way to make this recipe dairy-free?
You can substitute the milk with unsweetened almond, oat, or coconut milk and use a dairy-free vanilla wafer cookie. The texture and flavor will be slightly different but still delicious!
How do I prevent the bananas from turning brown?
Layer the pudding as soon as you slice the bananas and cover the dish tightly with plastic wrap pressed onto the pudding’s surface. Serving within a day keeps the bananas looking fresh and tasty.
Final Thoughts
This Old-Fashioned Homemade Banana Pudding Recipe is truly a gift to dessert lovers everywhere. It’s simple to make, incredibly satisfying, and offers that warm, nostalgic flavor that feels like a hug from the inside. I encourage you to dive into this recipe and experience how each creamy, sweet bite brings a little sunshine to your day.
Print
Old-Fashioned Homemade Banana Pudding Recipe
- Prep Time: 15 minutes
- Cook Time: 25 minutes
- Total Time: 40 minutes plus chilling time
- Yield: 8 servings
- Category: Dessert
- Method: Stovetop
- Cuisine: American
Description
This classic Old-Fashioned Homemade Banana Pudding recipe combines layers of creamy vanilla custard, ripe bananas, and crunchy vanilla wafers for a nostalgic dessert that’s easy to prepare and perfect for gatherings. The pudding is made from scratch on the stovetop, providing a rich and smooth texture balanced by the fresh fruit and crispy wafers.
Ingredients
Custard
- ¾ cup granulated sugar
- ¼ cup all-purpose flour
- ¼ teaspoon salt
- 3 cups milk
- 3 large eggs
- 2 teaspoons pure vanilla extract
Layers
- 1 box (approximately 8 ounces) vanilla wafers
- 3–4 ripe bananas, sliced
Instructions
- Prepare the custard base: In a medium saucepan, whisk together the sugar, flour, and salt until well combined. Gradually whisk in the milk until the mixture is smooth and free of lumps.
- Cook the custard: Place the saucepan over medium heat and stir constantly as the mixture heats. Continue cooking until it thickens and begins to bubble, ensuring the flour fully cooks through for a smooth texture.
- Simmer briefly: Reduce the heat to low and continue cooking for 2 more minutes, stirring constantly to prevent scorching. Once thickened, remove the saucepan from the heat.
- Temper the eggs: In a small bowl, lightly beat the eggs. Slowly add about ½ cup of the hot milk mixture into the eggs while whisking continuously to temper and prevent curdling.
- Combine eggs and custard: Pour the tempered eggs back into the saucepan with the remaining milk mixture, whisking constantly to incorporate evenly.
- Finish cooking custard: Return the saucepan to medium heat and cook the mixture until it gently boils, stirring constantly. Maintain this gentle boil for an additional 2 minutes to thicken fully and ensure safety.
- Add vanilla and cool: Remove the custard from heat and stir in the vanilla extract. Let the pudding cool for 15 minutes, stirring occasionally to prevent a skin from forming.
- Assemble the pudding layers: In an 8-inch square baking dish, place about 25 vanilla wafers to cover the bottom evenly.
- Add banana layer: Arrange a layer of sliced bananas over the vanilla wafers, making sure the fruit is evenly distributed.
- Layer pudding: Pour half of the cooled custard evenly over the bananas to cover them completely.
- Repeat layering: Add a second layer with the remaining vanilla wafers, followed by the remaining sliced bananas and custard, creating a layered effect.
- Cover and chill: Press a piece of plastic wrap directly onto the surface of the pudding to prevent a skin from forming. Cover the dish completely and refrigerate for at least 4 hours or overnight to set and meld flavors.
- Serve with garnish: Just before serving, sprinkle crushed vanilla wafers on top for added texture and a pleasing crunch.
Notes
- Make sure to whisk constantly when cooking the custard to avoid lumps and prevent burning on the bottom of the pan.
- Tempering the eggs is essential to prevent scrambling and achieve a smooth pudding.
- Pressing plastic wrap directly on the pudding surface helps avoid an unappetizing skin from forming.
- This pudding tastes best after resting overnight, allowing flavors to meld and the wafers to soften just right.
- For variation, you can use banana chips or add whipped cream topping if desired.


