If you are craving a dessert that is rich, creamy, and impressively smooth but want to keep things delightfully simple, this New York Cheesecake Made in Blender Recipe is the perfect answer. This effortlessly whipped cheesecake boasts that classic dense yet velvety texture, with the ease of blending ingredients instead of mixing by hand. It’s a real game-changer for cheesecake lovers who want delectable results without complicated steps. From a buttery graham cracker crust to the luscious cream cheese filling, every bite highlights the best of New York-style cheesecake—made stress-free with the blender doing most of the work for you.
Ingredients You’ll Need
What makes this cheesecake so stunning is the way these straightforward, quality ingredients work together to create a rich, dreamy dessert. Each item plays a vital role, whether adding creaminess, structure, sweetness, or that essential buttery crunch of the crust.
- Graham cracker crumbs: The base of our crust, delivering a slightly sweet, crunchy foundation for the cheesecake.
- Unsalted butter: Melted and mixed with crumbs, it helps bind the crust and adds buttery richness.
- Granulated sugar: Sweetens both the crust and batter, balancing tartness elegantly.
- Full-fat cream cheese: The star of the show, softened for easy blending and that signature creamy texture.
- Large eggs: Eggs provide structure and stability while keeping the filling light and smooth.
- Heavy cream: Adds richness and silkiness, making the cheesecake luxuriously luscious.
- Vanilla extract: Brings warmth and depth to the batter with its lovely floral notes.
- Lemon juice (optional): Just a splash for brightness and a subtle tang that lifts the flavor.
How to Make New York Cheesecake Made in Blender Recipe
Step 1: Prepare the Crust
Start by preheating your oven to 325°F (163°C) and greasing a 9-inch springform pan to ensure the crust doesn’t stick. Next, combine the graham cracker crumbs, melted butter, and sugar in a bowl, stirring until the texture looks like wet sand. Press this mixture firmly and evenly into the bottom of the pan using the bottom of a glass or your fingers to compact it. This step sets the perfect base, providing that golden, slightly crunchy contrast to the creamy filling. Bake the crust for 10 minutes, then let it cool while you prepare the batter so it stays crisp under the creamy topping.
Step 2: Make the Batter in the Blender
This is where the New York Cheesecake Made in Blender Recipe truly shines in convenience and smoothness. Add the softened cream cheese to your blender first, blending until silky and free of lumps. Gradually add the sugar and vanilla extract, blending again to ensure a smooth mix. Then, incorporate the eggs one at a time—be careful not to over-blend after each addition, just enough to combine. Finally, pour in the heavy cream slowly and blend until silky. Avoid overmixing here as it can introduce too much air, which affects the texture. If you want a subtle tang, toss in the tablespoon of lemon juice at this stage and blend lightly.
Step 3: Assemble and Bake
Now it’s time to bring all those elements together. Wrap the springform pan on the outside with heavy-duty aluminum foil to prevent water from the water bath from leaking inside. Pour your luscious batter over the cooled crust and smooth the top with a spatula. Place this pan in a larger baking dish and carefully pour hot water halfway up the sides of the cheesecake pan to create the gentle steam bath that will cook your cheesecake evenly and prevent cracking. Bake for about 55 to 65 minutes until the edges are set but the center still jiggles slightly like jelly. This precise baking gives you the ultimate creamy, dense texture that defines a New York cheesecake.
Step 4: Cool and Chill
Don’t rush the cooling process—it’s essential! Turn off the oven, crack the door open, and let your cheesecake rest inside for an hour. This slow cool helps reduce cracking and improves consistency. Then take it out and let it cool to room temperature before refrigerating for at least 4 hours or ideally overnight. This chilling time helps the cheesecake fully set, bringing out those incredible flavors and perfect creamy texture that will wow anyone who tastes it.
How to Serve New York Cheesecake Made in Blender Recipe
Garnishes
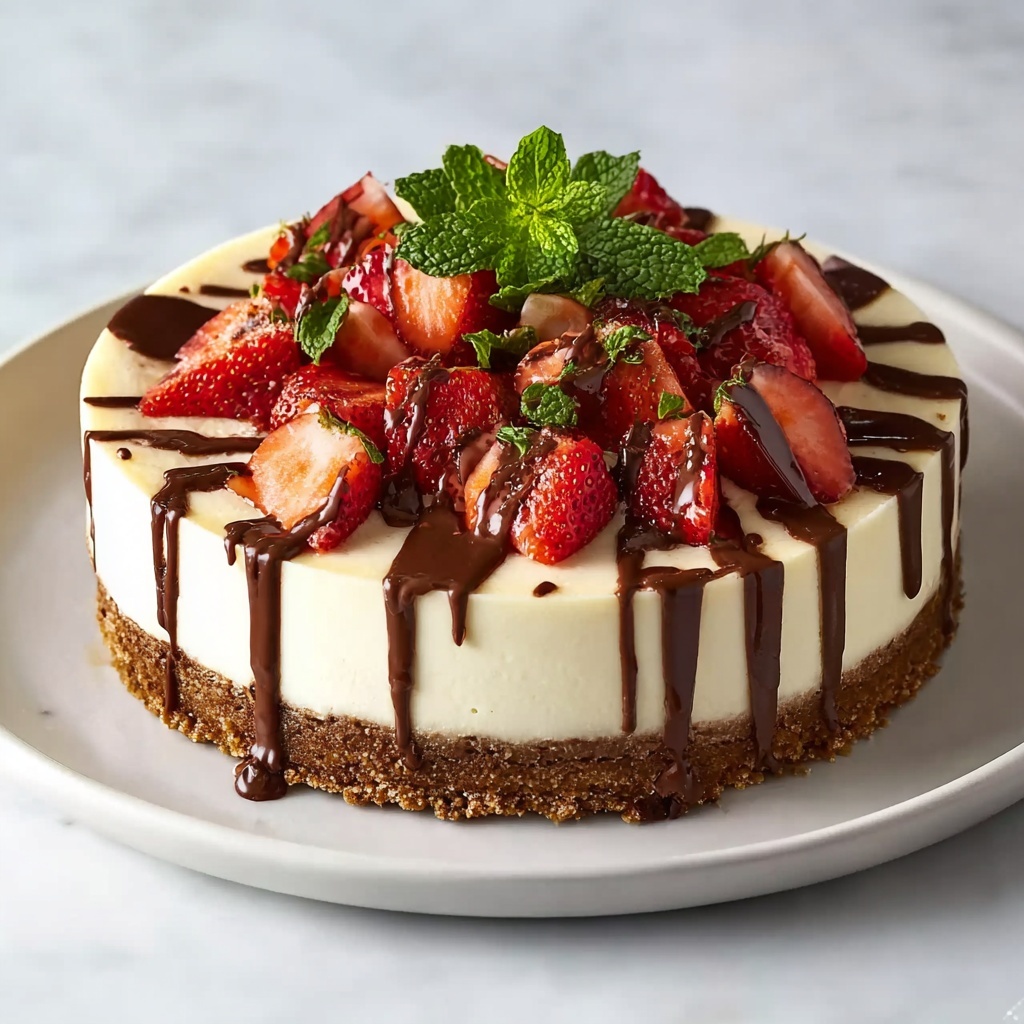
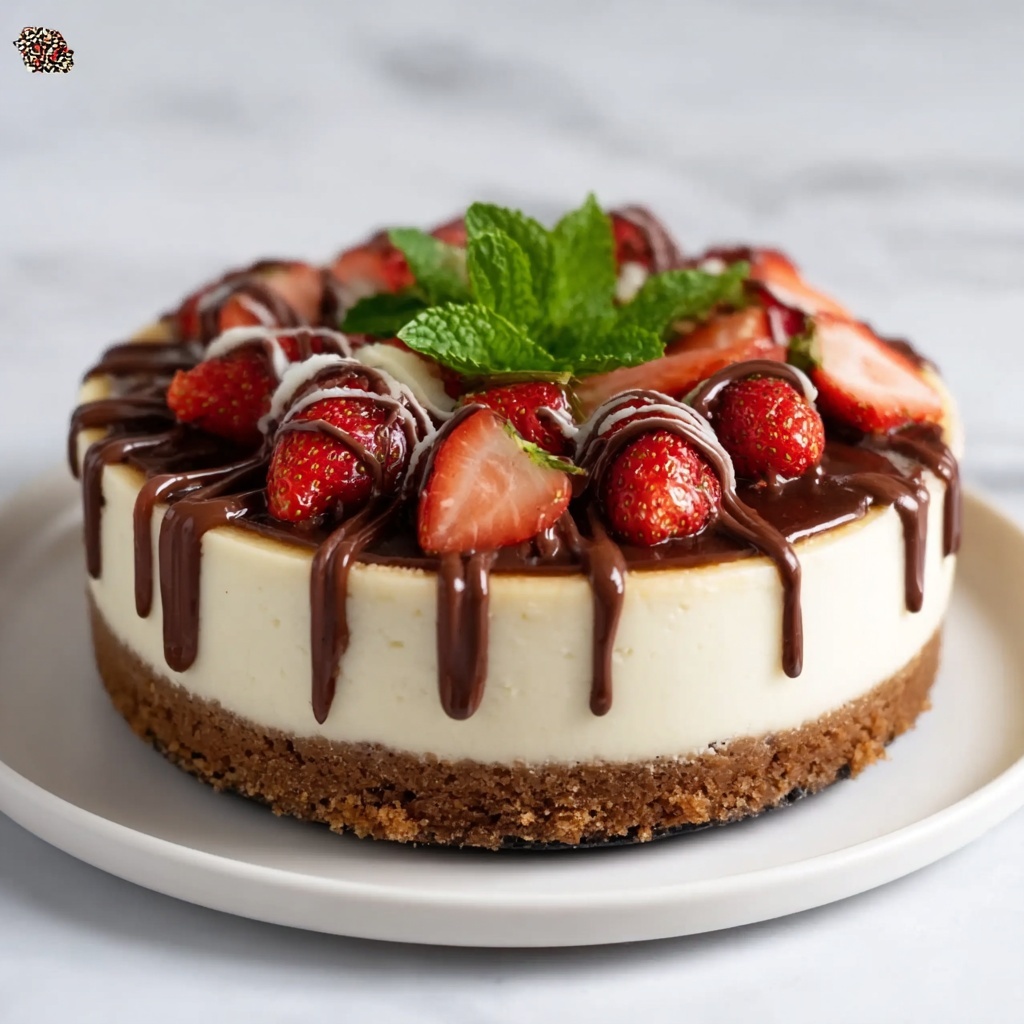
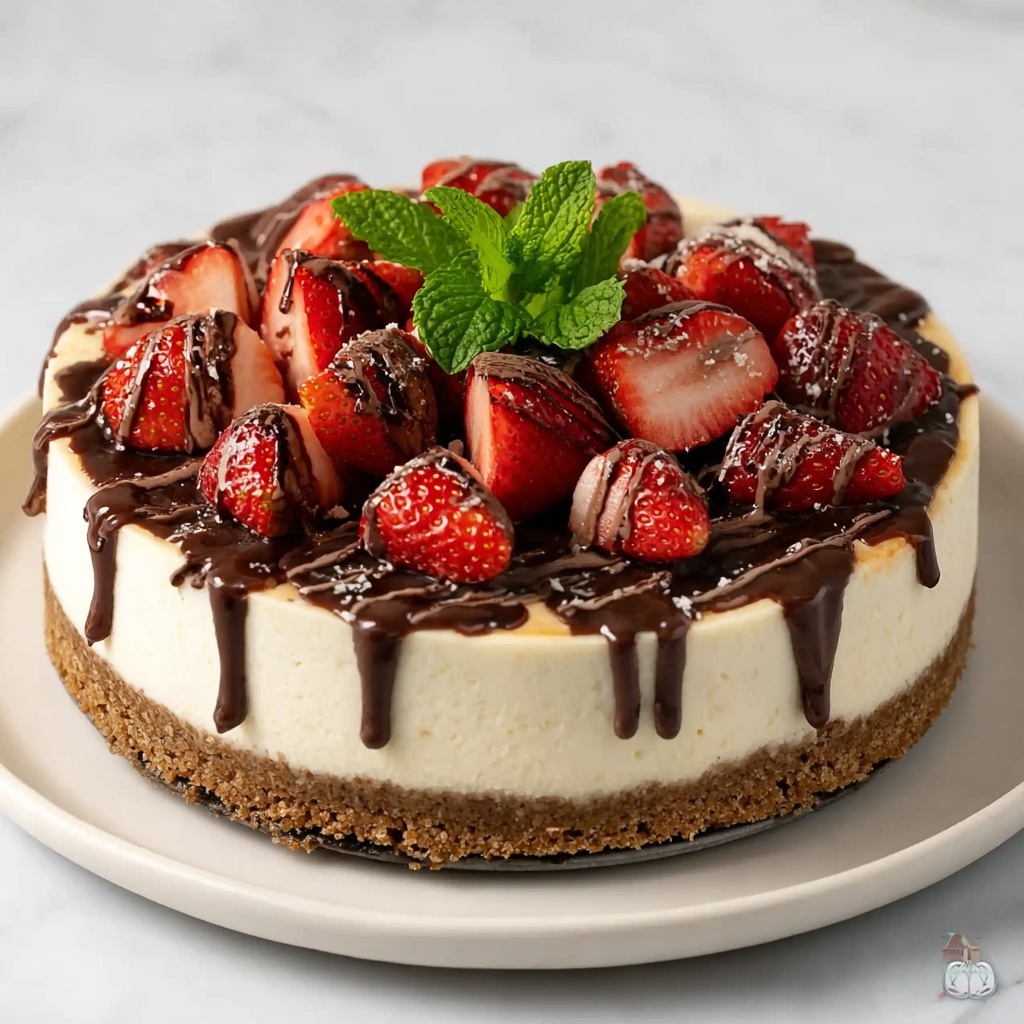
While this cheesecake is a showstopper on its own, adding fresh garnishes can really elevate your presentation and flavor. Think bright, juicy berries like strawberries, blueberries, or raspberries scattered over the top for a burst of color and tartness that cut through the richness. A drizzle of chocolate or caramel sauce adds decadent sweetness, and a dollop of whipped cream always brings a fluffy freshness to each bite.
Side Dishes
Pairing your New York Cheesecake Made in Blender Recipe with the right sides can create a stunning dessert experience. Consider serving with a fresh fruit compote, such as cherry or mango, to complement the creamy richness. A cup of freshly brewed coffee or a glass of dessert wine pairs beautifully, balancing the cheesecake’s sweetness and making each bite even more indulgent.
Creative Ways to Present
Presentation can turn your homemade cheesecake into a memorable dessert centerpiece. Try individual mini cheesecakes in ramekins or a tart pan for personal servings. Another fun idea is to create a layered parfait with crumbled crust, cheesecake filling, and fruit layers for a playful twist. Even simple swirls of fruit sauces on the top or sides make a lovely artistic impression that impresses your guests.
Make Ahead and Storage
Storing Leftovers
Leftover cheesecake is every bit as good as fresh if stored properly. Keep it tightly wrapped or covered in the refrigerator for up to 5 days. This prevents drying out and absorbs any fridge odors, so each slice stays creamy and fresh-tasting.
Freezing
If you want to save cheesecake for longer, freezing is a great option. Wrap slices individually with plastic wrap and then aluminum foil to protect against freezer burn. The cheesecake will keep well for up to 2 months. When you’re ready to enjoy, thaw overnight in the fridge for ideal texture.
Reheating
Cheesecake is typically enjoyed cold or at room temperature, but if you prefer it slightly warmed, place slices in a warm (not hot) oven at 275°F (135°C) for 10 to 15 minutes. This softens the texture while maintaining that luscious creaminess without drying it out.
FAQs
Can I use low-fat cream cheese for this New York Cheesecake Made in Blender Recipe?
While low-fat cream cheese might seem like a healthier choice, it will affect both the texture and richness. Full-fat cream cheese is recommended to achieve that classic dense, creamy mouthfeel this recipe is famous for.
Is it necessary to use a water bath when baking this cheesecake?
Yes! The water bath provides gentle and even heat, which helps prevent cracks and ensures your cheesecake bakes uniformly while keeping it moist and creamy.
Can I make this cheesecake without a blender?
Absolutely, but blending makes this recipe incredibly quick and smooth. If you don’t have a blender, use a stand mixer or hand mixer, just be sure to mix thoroughly to avoid lumps.
How do I prevent cracks on the surface of my cheesecake?
Using a water bath, avoiding overmixing, cooling the cheesecake slowly in the open oven, and not overbaking are key tips to prevent cracking for a perfectly smooth top.
Can I add flavor variations to the New York Cheesecake Made in Blender Recipe?
Definitely! Try stirring in seasonal fruits, chocolate chips, or swirls of caramel or fruit preserves before baking to create your own signature version while maintaining the smooth texture.
Final Thoughts
Embracing the ease and deliciousness of this New York Cheesecake Made in Blender Recipe means you can enjoy a classic, restaurant-worthy dessert anytime without stress or fuss. The smooth batter, buttery crust, and that authentic dense yet creamy texture make this cheesecake a guaranteed crowd-pleaser. So go ahead, invite some friends over, blend up this delightful cake, and watch everyone fall in love bite after luscious bite.
Print
New York Cheesecake Made in Blender Recipe
- Prep Time: 20 minutes
- Cook Time: 1 hour 15 minutes
- Total Time: 6 hours 35 minutes
- Yield: 12 servings
- Category: Dessert
- Method: Baking
- Cuisine: American
Description
This classic New York Cheesecake recipe offers a rich, creamy filling made effortlessly in a blender, paired with a buttery graham cracker crust. Baked in a water bath for perfect texture and a smooth finish, this cheesecake is ideal for any special occasion or indulgent treat. With simple ingredients and clear steps, it ensures a traditional cheesecake experience with a modern twist of convenience.
Ingredients
For the Crust:
- 2 cups graham cracker crumbs
- 6 tbsp unsalted butter, melted
- 2 tbsp granulated sugar
For the Cheesecake Batter:
- 24 oz (3 blocks) full-fat cream cheese, softened
- 1 cup granulated sugar
- 3 large eggs, at room temperature
- 1 cup heavy cream
- 2 tsp vanilla extract
- Optional: 1 tbsp lemon juice for tanginess
Optional Toppings:
- Fresh fruit (berries, sliced mango, or kiwi)
- Chocolate drizzle or caramel sauce
- Whipped cream or fruit compote
Instructions
- Prepare the Crust: Preheat the oven to 325°F (163°C) and grease a 9-inch springform pan to prevent sticking. In a mixing bowl, combine graham cracker crumbs, melted butter, and sugar. Stir until the mixture resembles wet sand. Press the mixture firmly and evenly into the bottom of the pan using a glass or the back of a spoon to compact it tightly. Bake the crust for 10 minutes, then remove and allow it to cool while preparing the batter.
- Make the Batter in the Blender: Add the softened cream cheese to the blender and blend until completely smooth, ensuring there are no lumps. Gradually add sugar and vanilla extract to the blender and blend again until fully combined. Crack eggs one at a time into the blender, blending briefly after each addition to incorporate. Slowly pour in the heavy cream while blending until the batter is smooth and creamy. Avoid overmixing to keep the texture light.
- Assemble and Bake: Wrap the outside of the springform pan with heavy-duty aluminum foil to prevent water from leaking in during the water bath. Pour the prepared cheesecake batter over the cooled crust and smooth the top with a spatula. Place the springform pan inside a larger baking dish, then pour hot water into the outer dish so it reaches halfway up the sides of the pan, creating a water bath. Bake in the preheated oven for 55–65 minutes, or until the edges are set but the center still jiggles slightly when gently shaken.
- Cool and Chill: Once baking is complete, turn off the oven and crack the door open. Let the cheesecake sit and cool inside the oven for 1 hour, which helps prevent cracking. Remove the cheesecake from the oven and allow it to cool to room temperature. Then, refrigerate the cheesecake for at least 4 hours or preferably overnight to set fully and enhance the flavor and texture. Before serving, optionally top with fresh fruit, chocolate or caramel drizzle, whipped cream, or fruit compote for added indulgence.
Notes
- Ensure cream cheese is fully softened to avoid lumps in the batter.
- Use room temperature eggs for better blending and smooth texture.
- Wrapping the springform pan securely with foil prevents water from infiltrating the cheesecake during the water bath bake.
- Baking in a water bath helps the cheesecake cook evenly and reduces cracking.
- Do not overmix the batter after adding heavy cream to maintain a light texture.
- Chilling overnight is recommended for the best taste and firmness.
- Optional lemon juice adds a subtle tang and brightness to the flavor.


